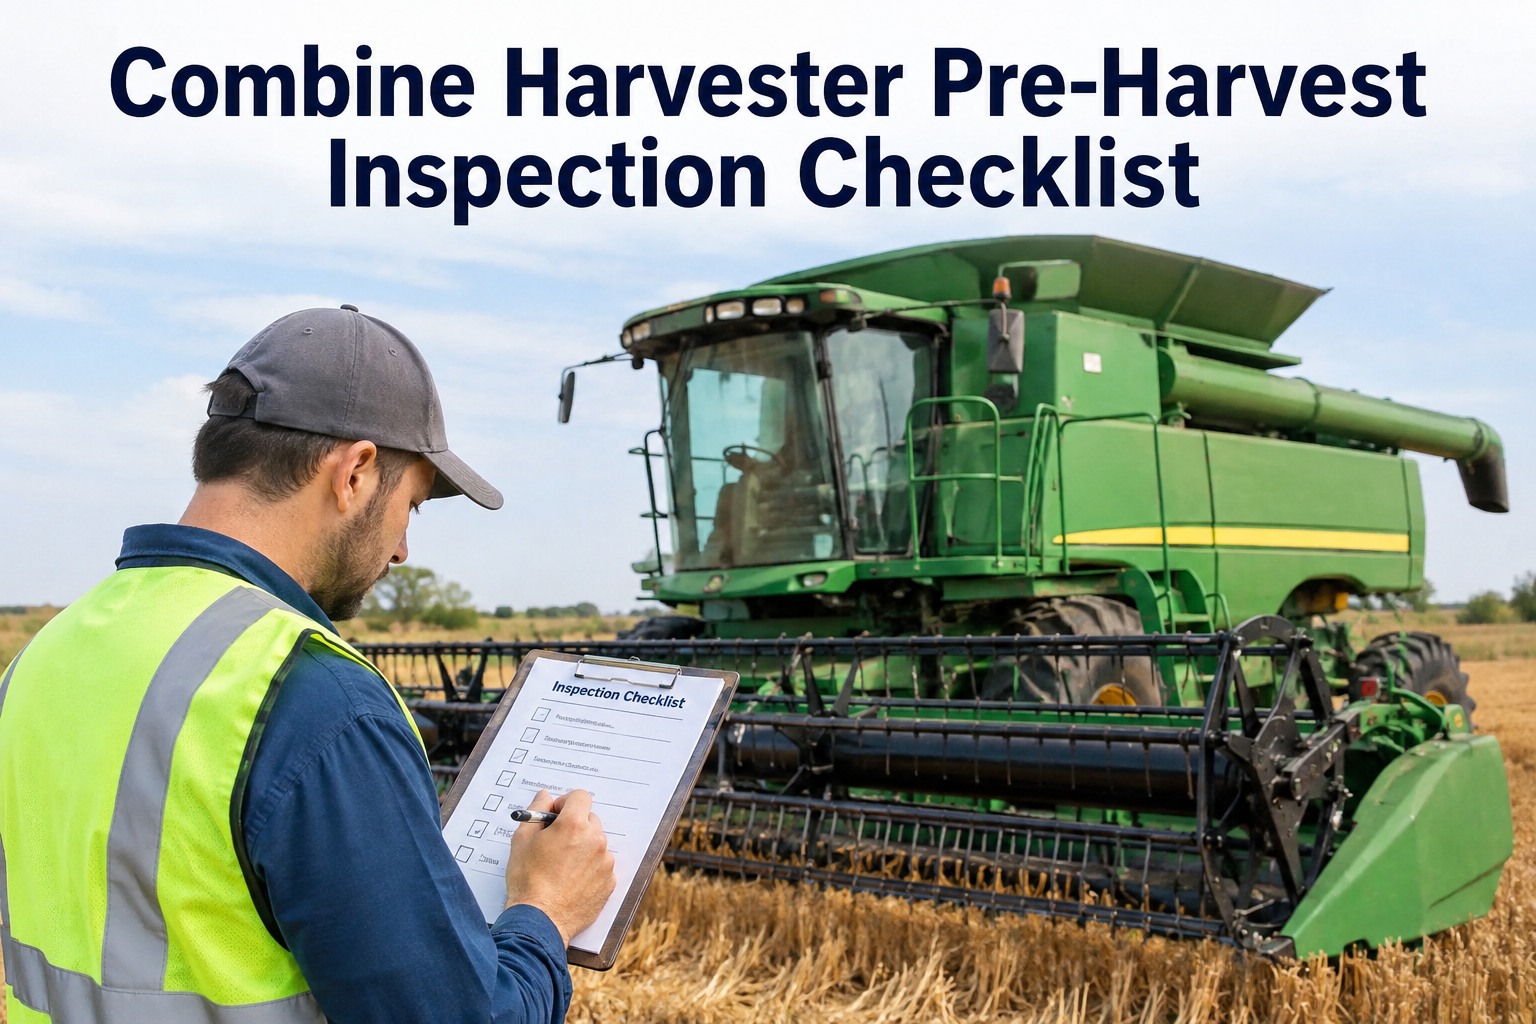
Every bushel that never makes it into the tank was lost at the front of the machine, not the back. A combine header that is out of time, out of clearance or missing a knife section can leave 3 to 5 bushels per acre on the ground before the operator even notices, which is why combine header maintenance is really a revenue conversation dressed up as a shop task. Grain platforms, corn heads and draper headers each fail in their own way, and each failure shows up as crop on the ground, slugged cylinders or a machine parked in the field while the weather window closes. This guide walks through what to check on each header type, how to time the pre-season overhaul, and how a digital inspection routine keeps the wear parts on the shelf instead of on back-order. If you want to see how fleets run these checks on a phone, book a short walkthrough on your own units and watch the header checklist in action.
Is your header feeding the machine, or feeding the field?
Header condition decides how much crop enters the combine and how much stays on the ground. A worn knife section, a lazy snapping roll or a drifting draper belt costs you bushels every pass, and most of it never shows up until the yield monitor tells the story.
The numbers behind combine header maintenance
Four figures worth pinning to the shop wall before harvest starts.
On 1,500 acres of wheat at $6 a bushel, that is up to $18,000 left in the field for want of a few hundred dollars in sections.
Deck plate spacing is a five-minute adjustment that pays for itself on the first field.
Knife sections, belts and snapping rolls sell out regionally when everyone breaks the same part in the same week.
A down machine in a narrowing weather window costs far more than the part that failed.
Grain platform checklist: knife, sickle, reel and auger
The platform is where most header loss starts. Work front to back, and check these in order.
Knife sections and guards
Run a gloved hand along the sickle. Any section with rounded serrations or a broken point is a streak of uncut crop waiting to happen. Check guards for wear grooves where the knife rides; a worn guard lets the section lift and chew instead of shear. Replace sections in pairs and torque the bolts to spec, because a loose section snaps the knife back.
Sickle drive and hold-downs
Cycle the sickle by hand and listen. Grinding or a tight spot means a bent knife or a worn pitman. Hold-downs should keep the knife seated without pinching it; too loose and the knife rattles itself apart, too tight and you cook the drive. Grease the wobble box or epicyclic drive on schedule, not when it starts to howl.
Reel condition and timing
Bent tines push crop forward instead of laying it onto the platform, and that is shatter loss you will never get back. Check reel timing so the tines clear the knife and sweep the crop evenly. A reel running too fast shells grain before it is cut; too slow and it batters the standing crop.
Auger flighting and clearance
Worn flighting edges leave a ribbon of crop riding around the auger instead of feeding to the centre. Measure the clearance between flighting and the stripper plate; too much gap and crop wraps, too little and it grinds. Check the retractable fingers in the centre for straightness and timing, and inspect the feeder house connection for play in the drive and worn slip clutches.
These checks are exactly the kind that get skipped when they live on a clipboard in the cab. Putting the grain platform checklist on a phone with photo capture means the operator photographs a worn guard the day it appears, not the day it fails.
Corn head maintenance and draper header service: what to check first
Corn heads and drapers fail differently from platforms, and both punish neglect in bushels.
Corn head: rolls, chains and deck plates
- Snapping rolls and stalk rolls: check the knife edges for rounding and the flutes for wear. Worn rolls pull stalks slowly, which drops ears and plugs the row unit. Measure roll gap front and rear; it should taper so stalks accelerate through.
- Gathering chains: look for stretched chain, worn lugs and sloppy idlers. A chain that jumps a tooth throws timing off across the row unit and leaves ears hanging.
- Deck plate spacing: this is the single biggest loss lever on a corn head. Set plates to stalk size, not habit. Too wide and small ears shell through; too narrow and stalks wedge and push over.
- Row unit gearboxes: pull the dipstick or level plug on every row. Milky oil means water got in over winter and the bearings are already scoring.
Draper header: belts and drives
- Belt condition: run the drapers slow and watch for frayed edges, cracked cleats and glazing. A glazed belt slips under load and leaves crop sitting on the deck.
- Belt tracking: a belt that walks to one side wears the edge and eventually folds. Adjust tracking until the belt runs centred at operating speed, not just at idle.
- Drive rollers and bearings: spin each roller by hand with the belt slack. Any roughness or side play is a bearing on borrowed time, and draper bearings never fail at a convenient hour.
- Centre seal and deck: check the seal where the two belts meet the centre feed. A worn seal lets grain dribble under the belts and build up until something jams.
If you run both corn and cereal crops, the two headers need separate checklists with separate wear items. A quick demo of how multi-header fleets set this up shows each attachment carrying its own inspection template and its own parts list.
See your header checklist running on a phone
Book a 30-minute demo and we will load your combine and header into HVI so you can watch a pre-start inspection turn into a work order in under a minute.
Header height control and the gearbox service everyone misses
Two systems that quietly decide cut quality, and two that rarely make it onto a paper checklist.
Header height and flotation control
A header that rides too high leaves pods and ears; too low and it bulldozes soil into the feeder house. Test the auto-height sensors on every row or across the platform, and check the flotation springs or accumulators for correct pressure. On flex headers, verify the cutterbar actually flexes through its full range; a seized pivot turns a flex head into a rigid one and you will see it in the stubble.
Gearbox and driveline lubrication
Header gearboxes sit low, collect dust and get forgotten. Check oil level and condition on the main drive gearbox, the wobble box and every row unit. Grease PTO shafts, slip clutches and U-joints, and exercise each slip clutch once before the season so it has not rusted solid. A clutch that cannot slip turns a small plug into a twisted shaft.
Wear part inventory before the rush
Knife sections, guards, belts, snapping rolls, gathering chain and reel tines are the parts every dealer in your region runs out of in the same fortnight. Count what you have against what you wore through last season, and set minimum stock levels so the shelf is never empty when the crop is ready. This is where a parts and inventory walkthrough pays for itself, because min/max alerts fire before you are standing in a parts queue.
The pre-season header overhaul, week by week
Spread the work across the off-season and harvest morning stops being a gamble.
| When | Header task | Why it matters |
|---|---|---|
| Post-harvest | Wash down, photograph wear, log every defect found during the season | You order parts against evidence, not memory, and nothing gets forgotten over winter |
| 8-10 weeks out | Full teardown inspection: knife, rolls, belts, chains, gearboxes, bearings | Long-lead parts arrive before the regional rush empties the shelves |
| 4 weeks out | Install wear parts, set deck plates and roll gaps, adjust belt tracking | Adjustments get dialled in without a crop waiting at the gate |
| 1 week out | Grease everything, exercise slip clutches, test height control, run the header at speed | Catches the seized bearing and the dead sensor while the shop is still open |
| Every harvest morning | Pre-start checklist: knife condition, belt tracking, roll clearance, leaks, loose guards | Ten minutes on a phone beats a day down in a narrowing weather window |
Fleets that start logging header inspections free build this timeline into recurring work orders, so the post-harvest photo set and the pre-season overhaul generate themselves instead of relying on someone remembering.
Four ways HVI keeps headers cutting and combines rolling
Header named in every pre-start
The combine pre-start checklist in HVI names the header line by line: knife sections, belt tracking, roll clearance, guards and leaks. Operators tap through it on any phone in under ten minutes, with photos attached to every defect.
Annual overhaul as a work order
Schedule the pre-season header overhaul as a recurring work order tied to the combine and each attachment. Every section, roll and belt replaced is logged against the unit, so next year's parts order writes itself from history.
Parts and inventory with min/max
Set minimum stock levels on knife sections, belts, rolls and chains. When the shelf count drops below the line, HVI flags it before harvest week, so you never stand in a parts queue while the crop waits.
Photo capture that ends arguments
A timestamped photo of a worn guard or a frayed belt goes straight from the field to the shop, attached to a work order. No more text-message photos lost in a group chat, and no debate about whether a part was really due.
Combine header maintenance, boiled down
The header is a revenue item
Every bushel lost at the front never reaches the tank. Knife sections, deck plate spacing and belt tracking are profit levers, not just shop tasks, and combine header maintenance belongs in the same conversation as yield.
Each header type fails differently
Platforms lose crop at the knife and reel, corn heads at the rolls and deck plates, drapers at the belts and drives. One generic checklist misses the failures that actually cost you.
Timing beats effort
The overhaul done eight weeks out costs a fraction of the same repair done in harvest week, and the parts are actually on the shelf. A digital schedule makes the timing automatic.
Records pay for themselves
Photo-backed inspections and a parts history per header turn next season's prep from guesswork into a shopping list. If you want to see it working, walk through it on your own headers before the season starts.
I used to find out about a worn knife when the operator called from the field with crop wrapped around the auger. Now the pre-start flags it with a photo before the machine leaves the yard. The number I watch is header-related downtime hours, and since we put the checklist on phones that number has dropped to nearly nothing. The parts shelf tells the same story, because we order sections and belts in July instead of begging a dealer for them in September.
Dale Kowalski, Maintenance Manager, broadacre grain operation
Combine header maintenance FAQs
How often should you replace knife sections on a grain platform?
What deck plate spacing should I run on a corn head?
How do I stop a draper belt from walking to one side?
Which header wear parts should I keep in stock before harvest?
Can a digital checklist really replace the paper header inspection?
Put your headers on a schedule that holds
See HVI running your combine pre-starts, header overhauls and parts min/max on your own fleet. Book a 30-minute demo and bring your toughest header problem.
Free to start - Works on any phone - No card needed