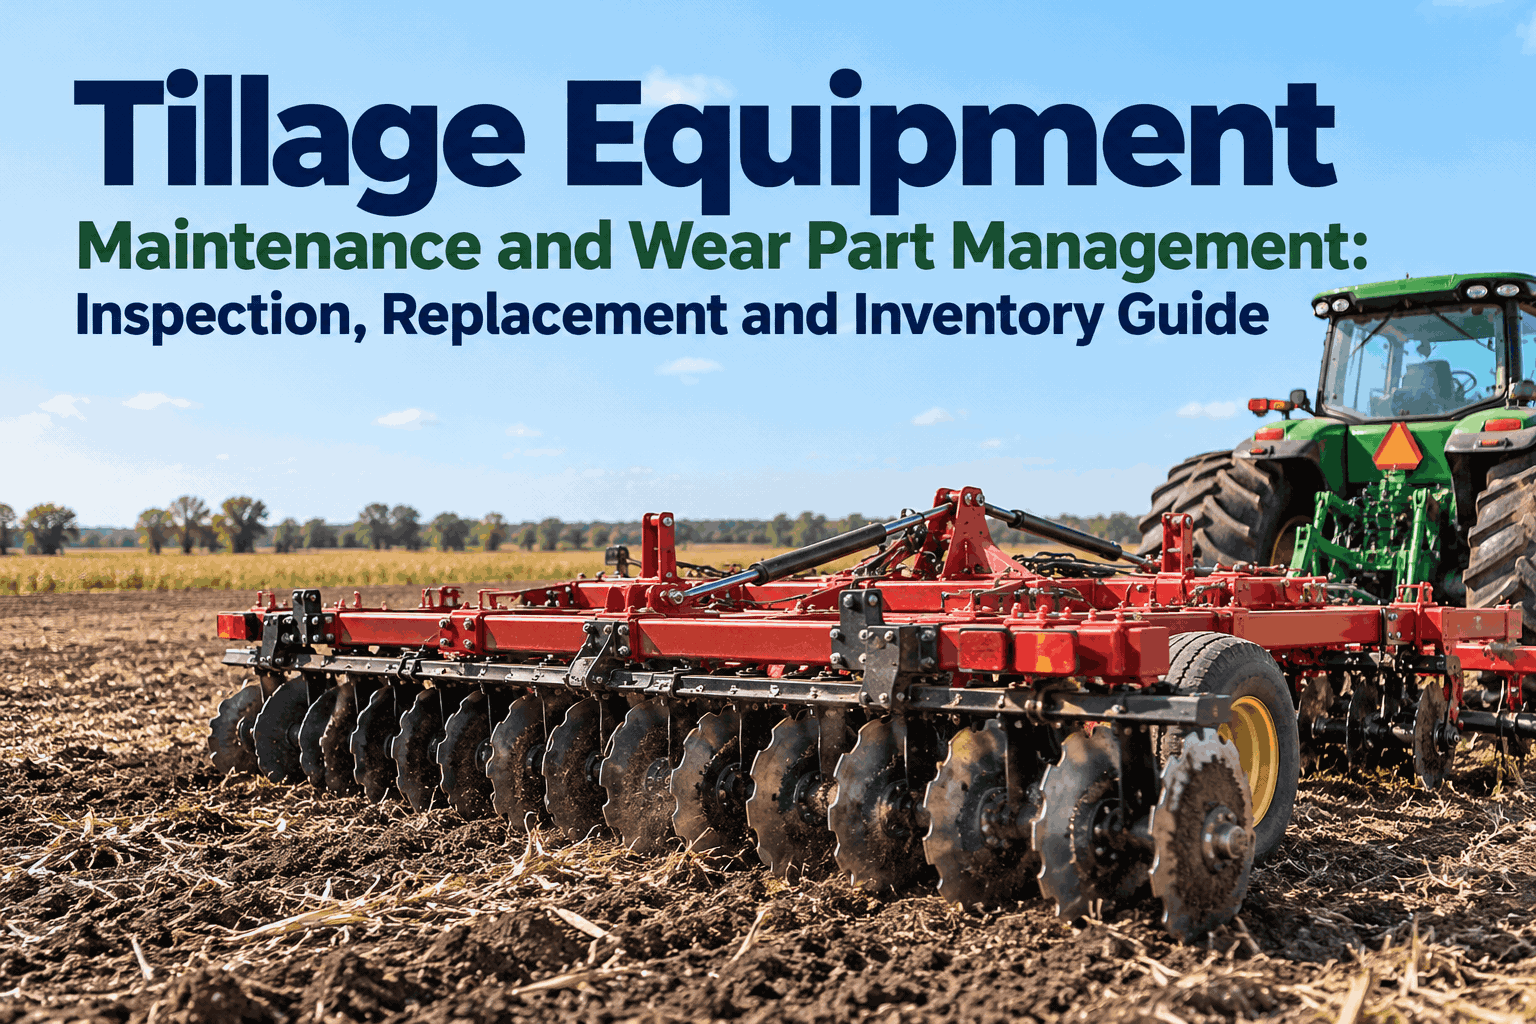
Tillage equipment maintenance becomes urgent when a worn sweep changes working depth, a disc bearing heats up, or a broken shank stops an entire field crew. This guide explains how to inspect tillage implements, plan wear-part replacement, organize spare parts, and maintain reliable service records before the next field window.
Your next field pass depends on the parts you checked today.
Discs, sweeps, shanks and bearings wear at different rates. Build an inspection-to-replacement routine that keeps the implement ready and the right spare part close at hand.
Where tillage equipment wears first
Different ground-engaging components need different inspection evidence. Use the equipment manufacturer's limits, not a universal wear percentage, to decide when a part is due.
Disc blades & coulters
Look for reduced diameter, uneven edges, cracks, wobble and poor penetration.
Record: diameter / edge condition / positionSweeps, points & shanks
Check loss of profile, bending, loose fasteners and damage after rock strikes.
Record: part type / position / remaining profileGang & wheel bearings
Inspect for play, abnormal noise, seal leaks and heat concerns per safe procedures.
Record: location / symptom / service actionFrames & hydraulics
Check welds, hoses, pins, transport locks and folding mechanisms for defects.
Record: defect photo / severity / repairKeep each finding attached to the correct machine: Sign Up Free to Build Tillage Inspection Records →
A practical tillage equipment inspection checklist
Inspect with the implement parked, secured and isolated according to the manufacturer's procedures. Never reach under unsupported or raised equipment.
Confirm guards, transport locks, hitch connections, tire condition, hydraulic hoses and visible frame integrity.
Inspect disc edges, sweeps, shanks, coulters and fasteners. Compare wear against the correct service criteria.
Check bearings and disc gangs for looseness, damaged seals and signs of abnormal operation.
Recheck bent components, cracked mounts and loosened hardware; document any defects before reuse.
Make every inspection useful for the next service decision.
Capture configurable equipment checks, photos, defects and maintenance follow-up in one HVI workflow.
Replace wear parts before they cost a field day
Manage replacement using observed condition, acreage or hours as context, soil abrasiveness and actual manufacturer limits—not a fixed calendar interval alone.
Inspect
Capture blade dimensions, sweep profiles, bearing symptoms and photos.
Compare
Review against OEM criteria and the implement's previous inspection.
Plan
Assign service work, verify compatible parts and schedule downtime.
Close out
Record replacements, labor, part usage and return-to-service checks.
Example: disc harrow wear trend
Illustrative record, not a replacement threshold.
Use the specific blade's allowable minimum diameter and field performance to determine action.
What the replacement record should contain
- Equipment ID and component position
- Reason for replacement and inspection photo
- Part number, quantity and supplier
- Service date, cost and technician notes
- Next inspection or maintenance action
Match spare parts to the machines that use them
A sweep that fits one cultivator may not fit another. Tie stocking decisions to machine model, component position and expected work, then record actual consumption.
| Wear part | Inventory signal | Next action |
|---|---|---|
| Disc bladesSize & bolt pattern | Check stock | Match implement specification |
| Cultivator sweepsWidth & mounting | Planned use | Reserve for next service |
| Gang bearingsHousing & seal type | Critical spare | Confirm compatible replacement |
| Ripper pointsShank system | Review wear | Inspect before reorder |
Illustrative planning board; labels are examples, not live HVI data.
Build a maintenance rhythm around field windows
Combine condition-based inspections with manufacturer-specified lubrication and service intervals, then adjust review frequency for abrasive soils, rocks and heavy usage.
Before the season
Baseline wear measurements, repair known defects, verify hydraulic systems and stock critical parts.
During fieldwork
Perform pre-use checks, log impact damage and compare wear trends after demanding conditions.
After the season
Clean and inspect, complete repairs, preserve service history and prepare storage according to OEM guidance.
Link each implement's inspections, photos, reported defects, preventive maintenance, parts usage and service history to its asset record. This helps teams prepare for the next field window without claiming automatic wear measurement.
Tillage equipment maintenance FAQs
Practical answers for farm equipment operators and maintenance supervisors.
What should a tillage equipment maintenance checklist include?
Include hitch and frame integrity, hydraulic lines, transport locks, tires, disc blades, sweeps, shanks, bearings, fasteners and documented defects. Tailor the checklist to the specific implement and manufacturer's instructions.
How often should disc harrows and cultivators be inspected?
Complete appropriate pre-use checks and follow the manufacturer's scheduled maintenance intervals. Add condition checks after impacts, unusually abrasive work, abnormal noise or other indications of damage.
When should disc blades and cultivator sweeps be replaced?
Replace parts when they reach manufacturer wear limits, become damaged, or no longer perform safely or effectively. Inspect for cracking, bending, profile loss and uneven wear; do not rely on a universal dimension.
How can farms control tillage wear-part inventory costs?
Track part numbers by implement, monitor consumption and lead times, reserve critical spares and record replacement costs. Avoid overstocking incompatible sizes or configurations.
How does HVI support tillage equipment maintenance?
HVI can help organize equipment inspection checklists, photos, defects, preventive maintenance, parts and inventory records, and maintenance history. Physical measurements and safe repair decisions remain the responsibility of trained personnel.
Give every tillage implement a clear maintenance record.
Start with digital inspections and build a more dependable routine for wear parts, repairs and inventory.