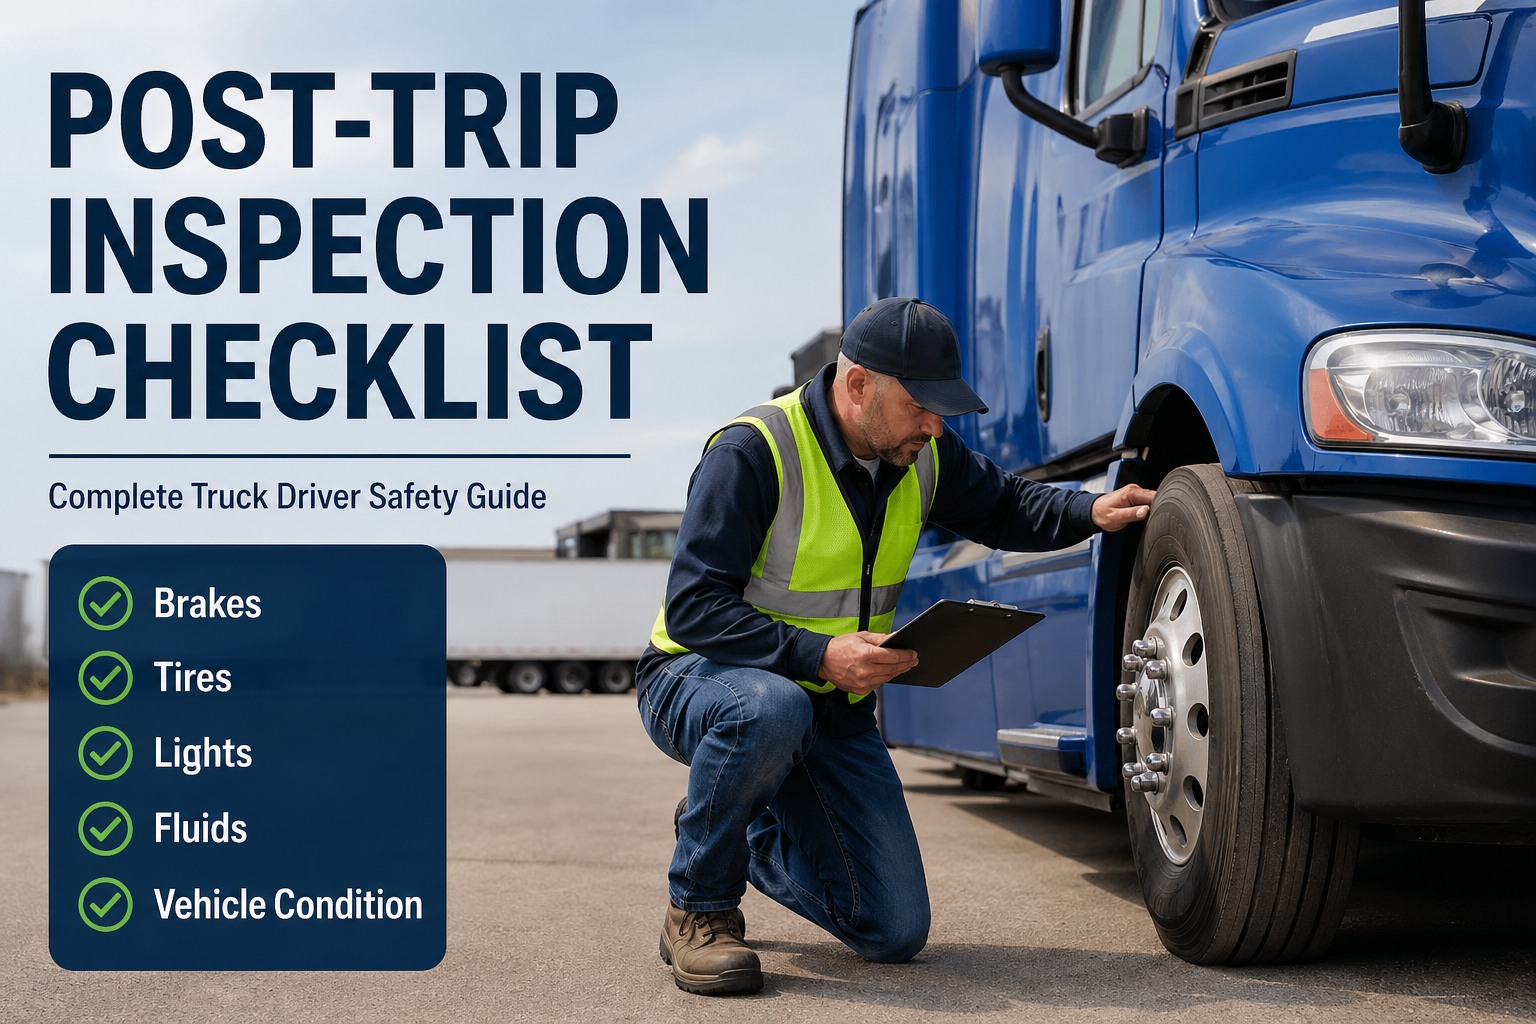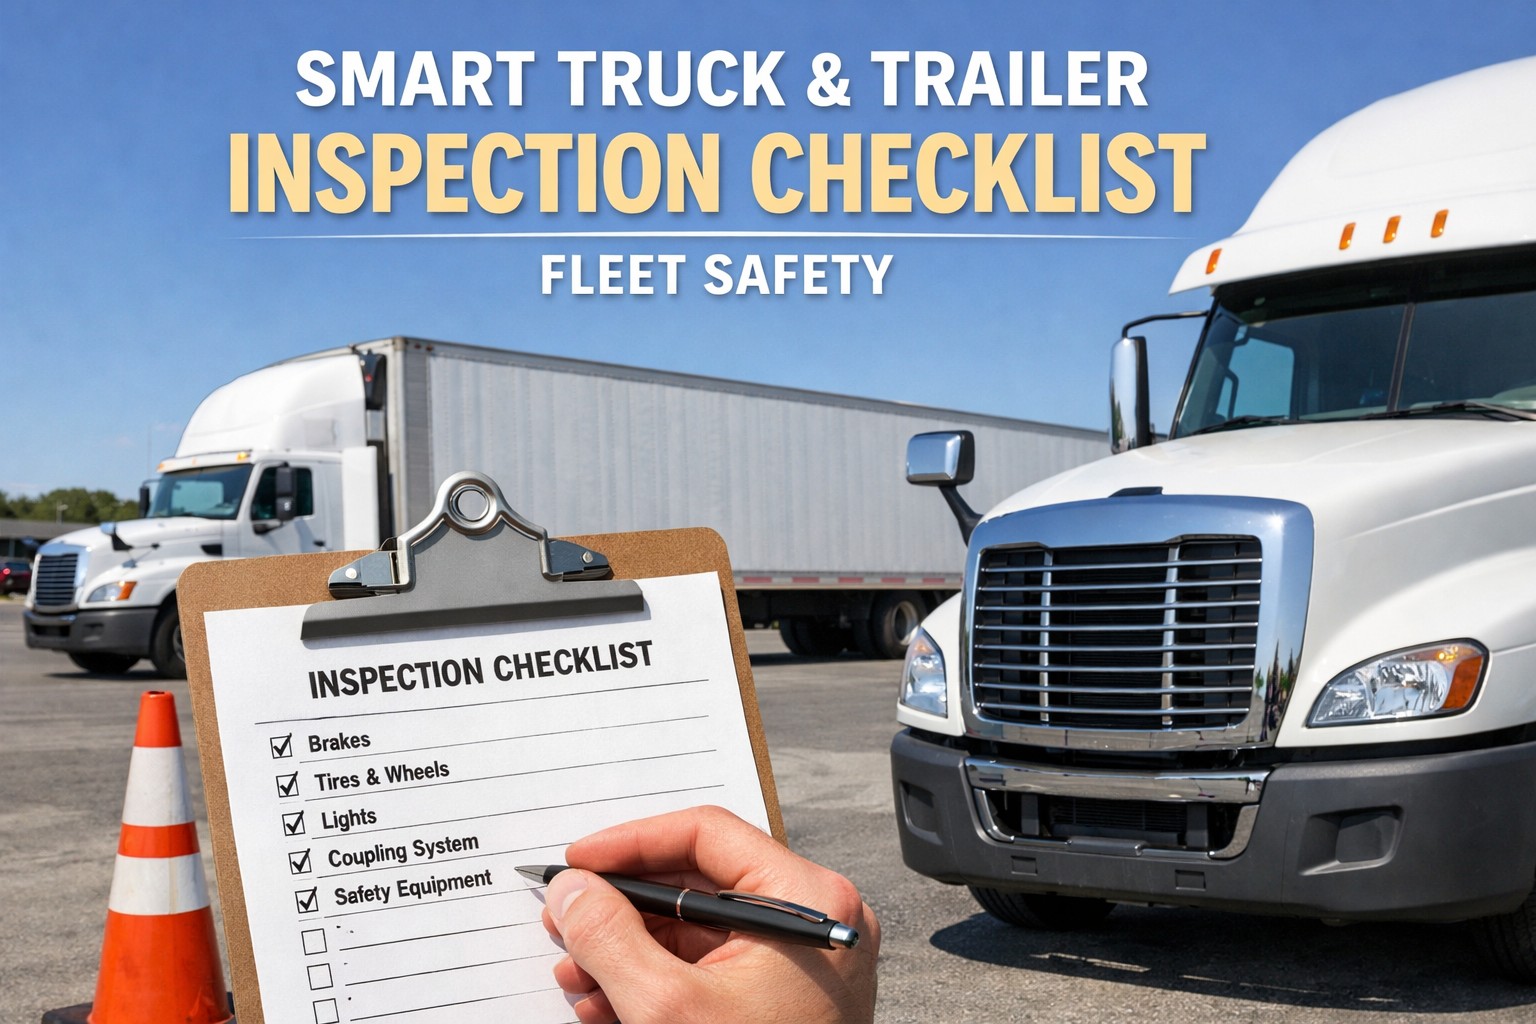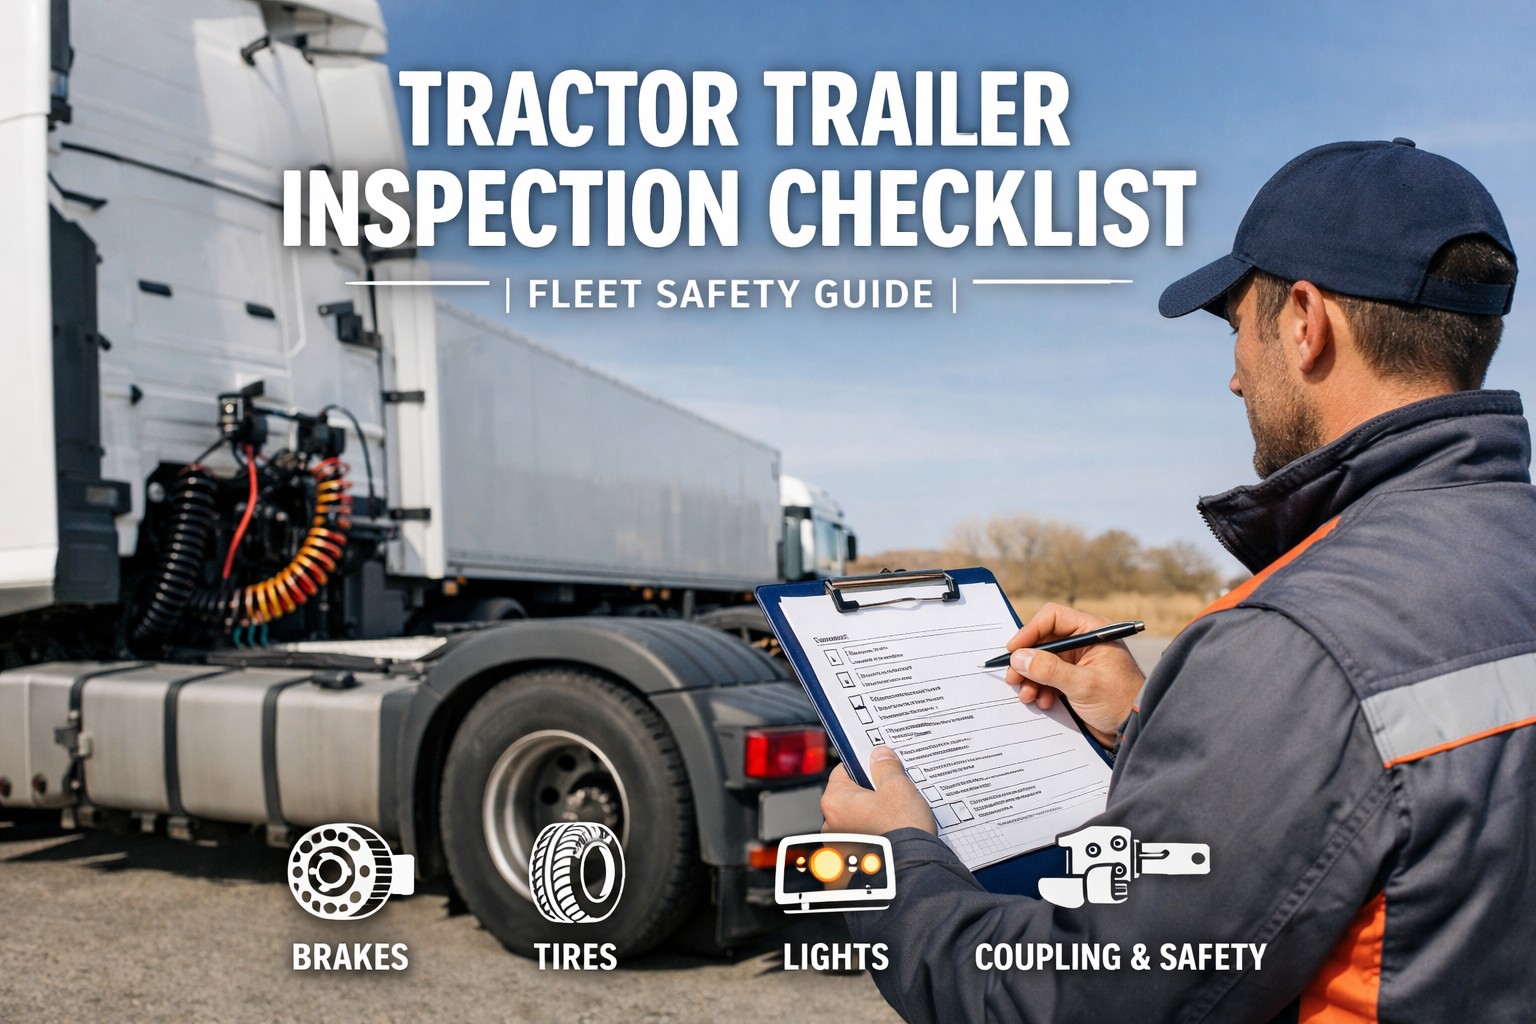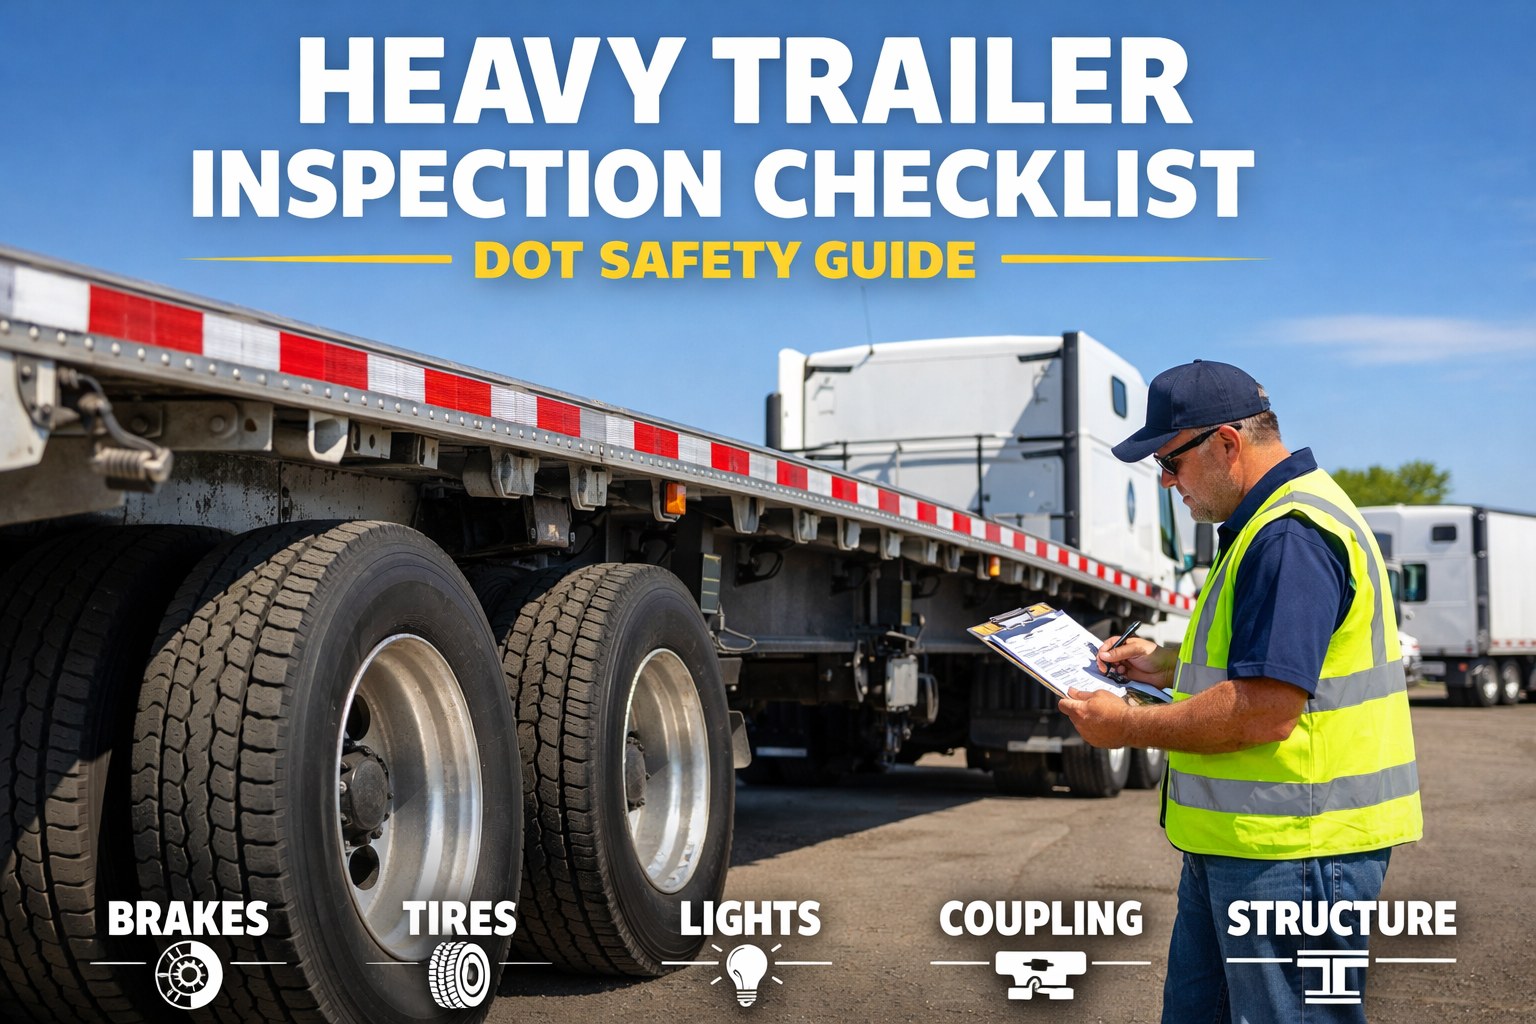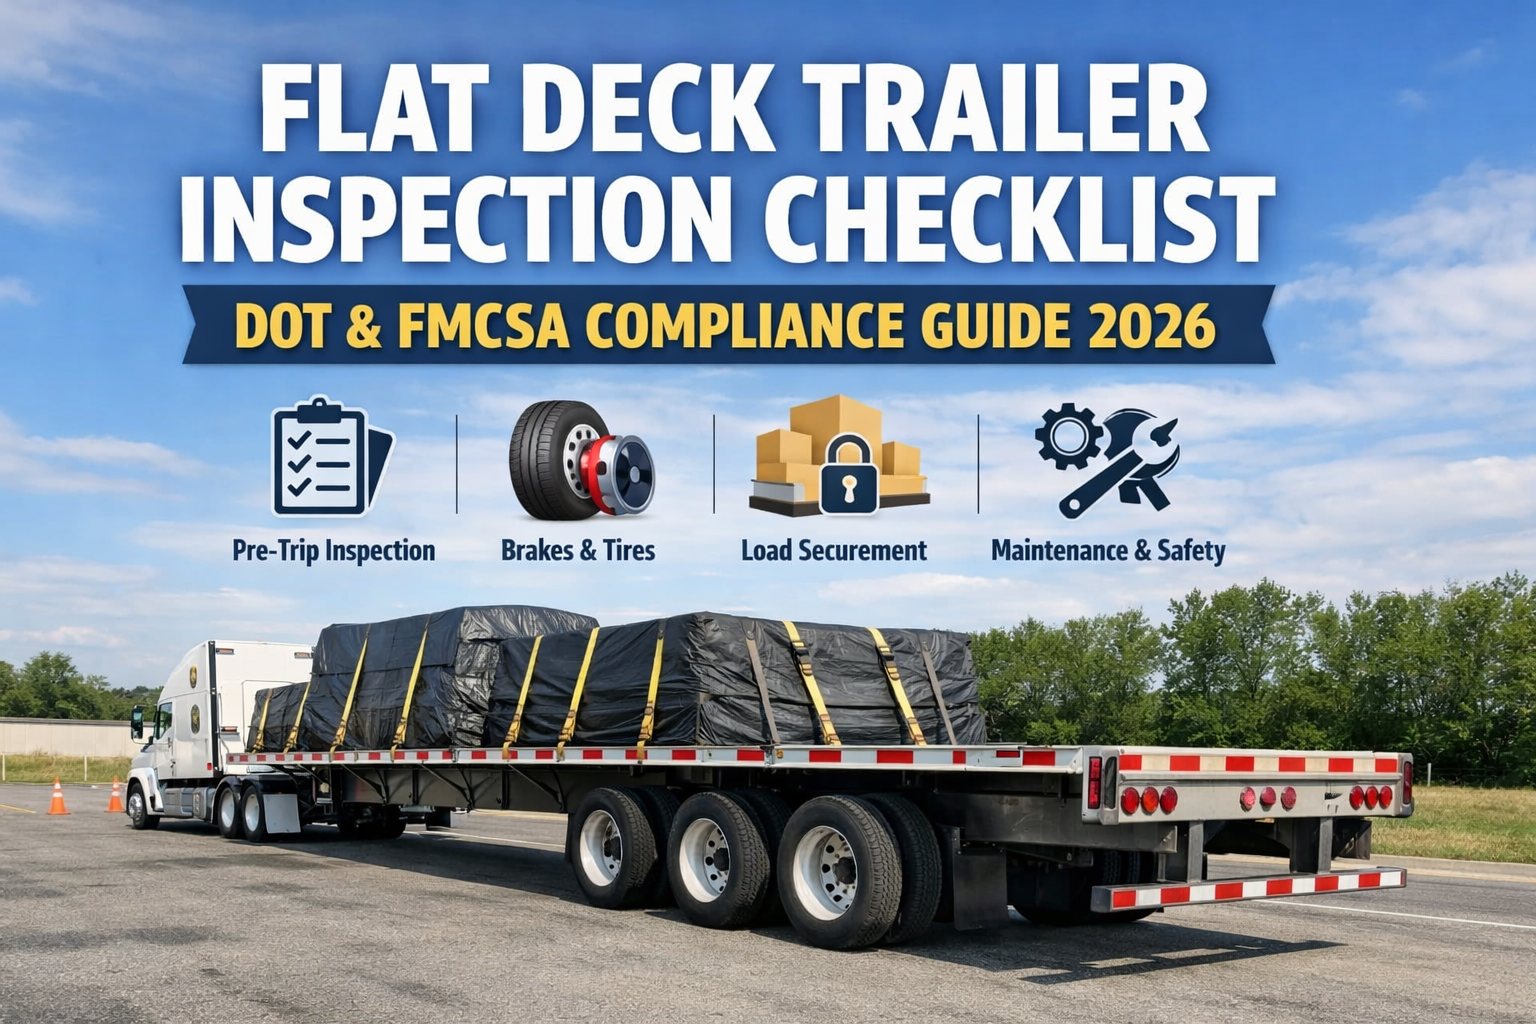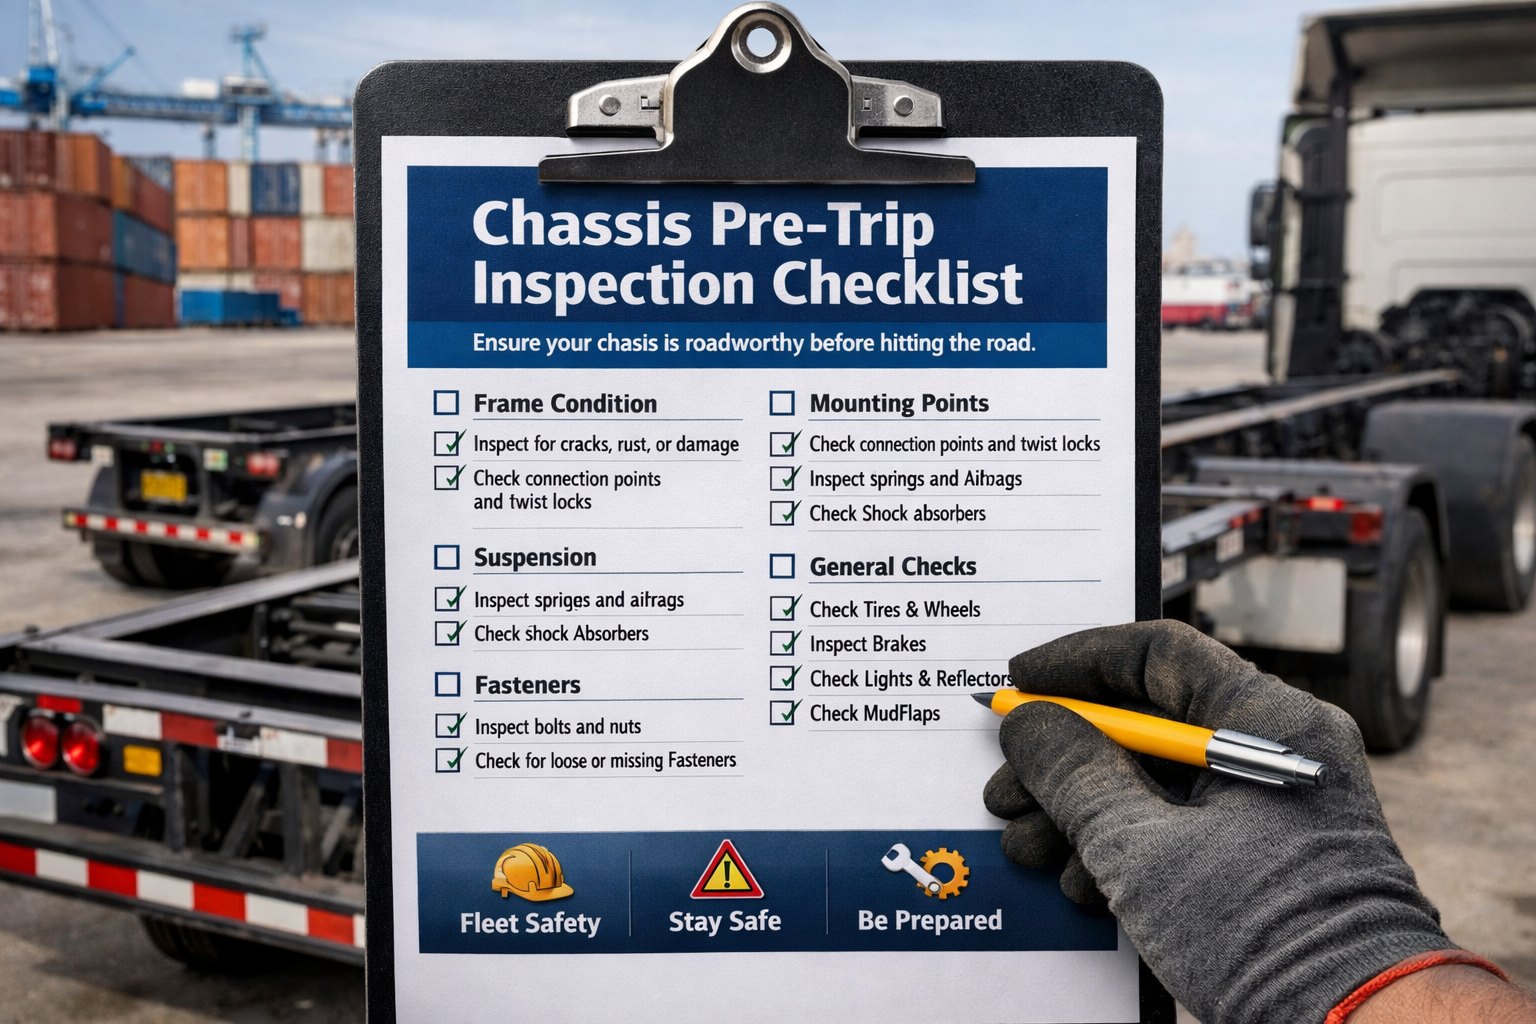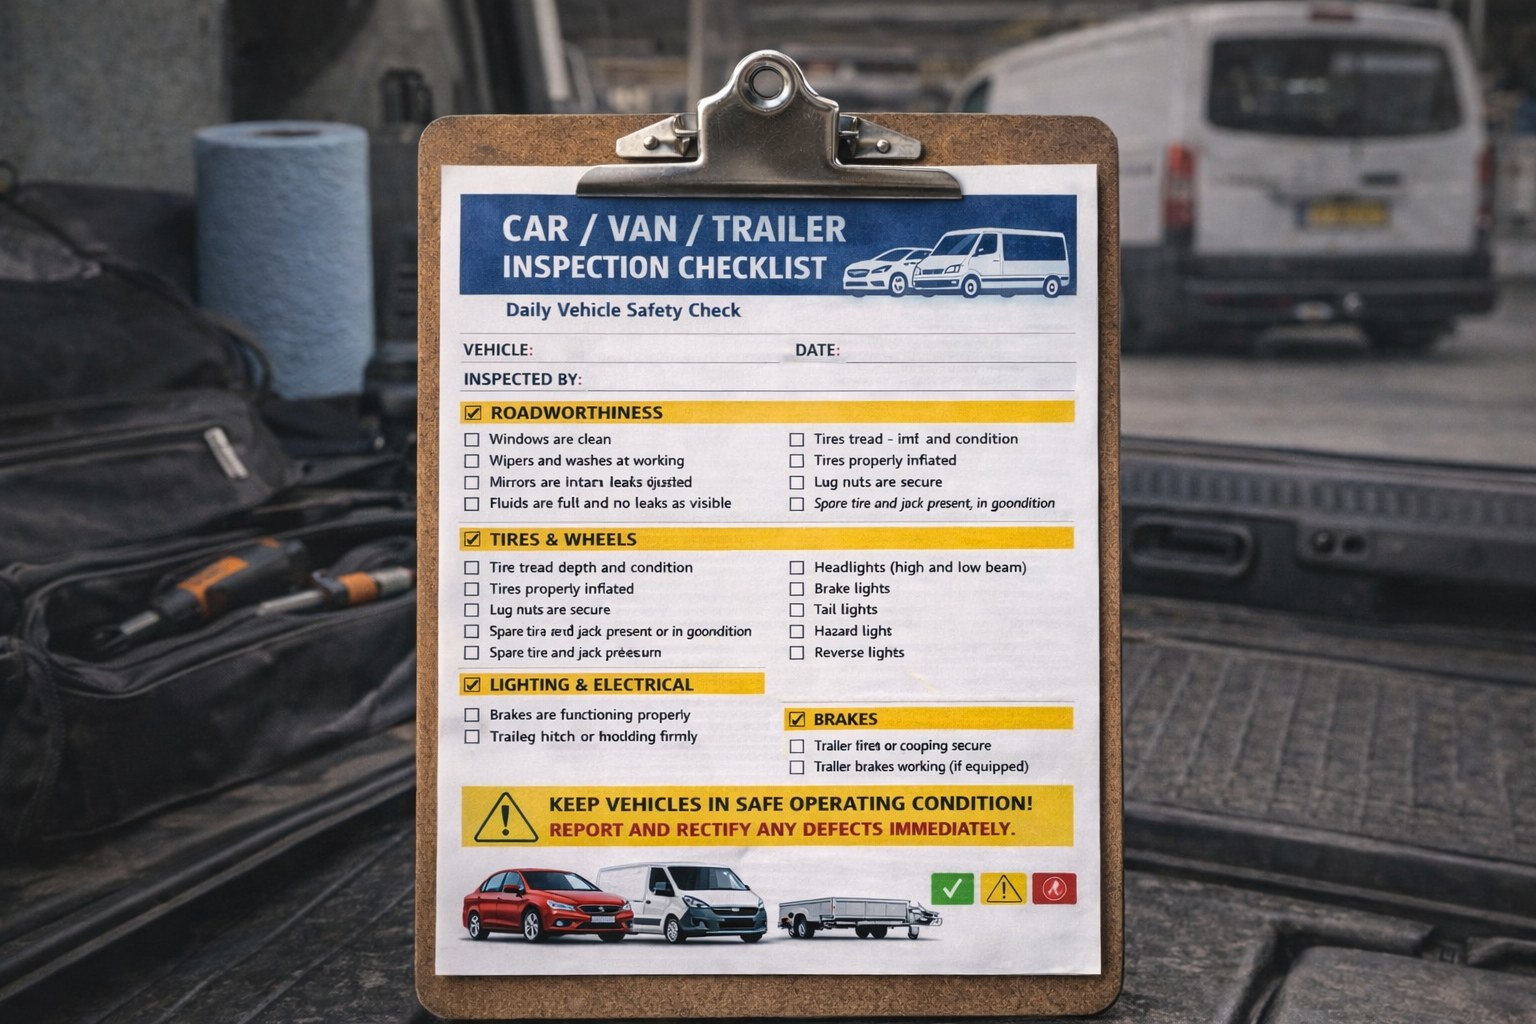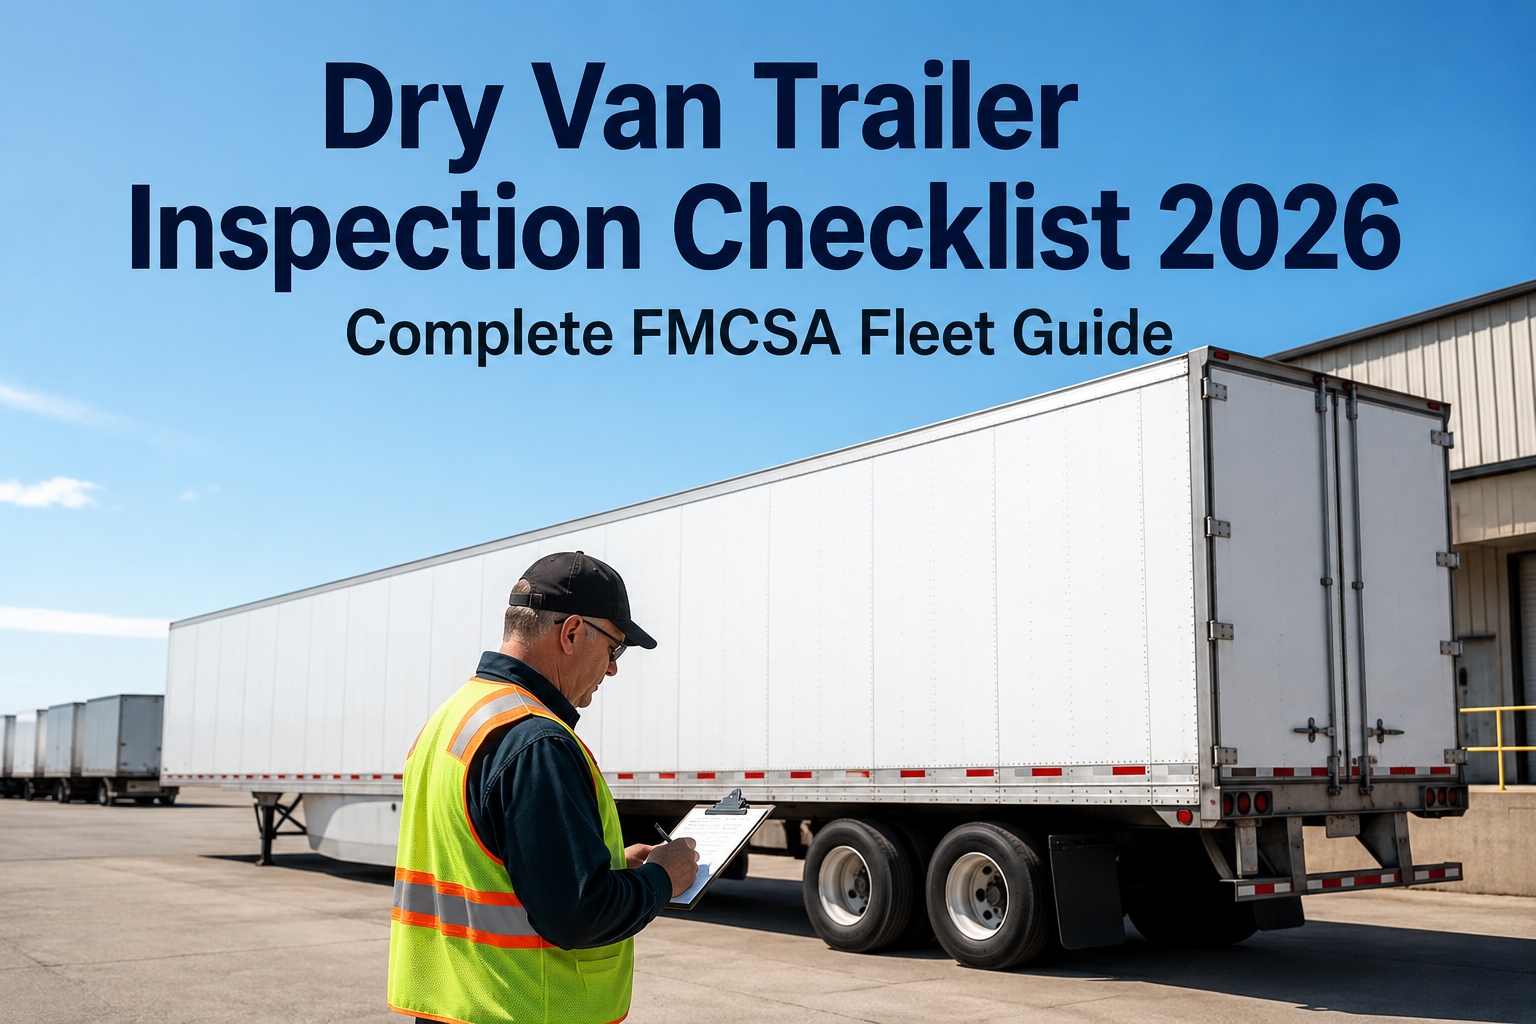
The 8-Zone Dry Van Pre-Trip
Doors. Roof. Floor. Walls. Kingpin. Suspension. Brakes. Lights. Every zone caught before the shipper rejection, the roadside inspection, or the floor replacement invoice.
Why the Dry Van DVIR is the Most Rushed Inspection in the Fleet
The dry van is the least mechanically dramatic trailer type — no hoist cylinder, no reefer unit, no bulk tank. That simplicity is exactly why the walkaround gets skipped. Three operational patterns quietly compound the risk on every trip.
Familiarity Trap
- Same trailer, same route, same customer three days a week. The driver's mental model says nothing has changed since yesterday, so the walkaround becomes a formality. Meanwhile the floor has taken 40 pallet jack transits and the roof took a low-clearance brush at the last dock.
Dock Time Pressure
- The unload window is compressed. Detention pay is at stake. The driver's DVIR gets a 90-second walkaround instead of the 12 minutes the eight zones actually need — and the damage report gets deferred to "next time" that never comes.
Invisible Damage Zones
- Floor rot from moisture and roof punctures from overhead impacts are the two damage categories a ground-level walkaround physically cannot see. Without a systematic interior + top-rail check, both go undetected until cargo damage claim or the next rain event.
Zone 1 — Rear Doors & Door Seals
The rear doors are the single most-cycled component on a dry van. Hinges take the load, seals take the aggregate abrasion, and locking rods take the tension of every latch cycle. Inspection at every pre-trip is non-negotiable.
Doors & Hinges
Seals & Handles
Interior Rods & Locks
Zone 2 — Roof & Top Rail
The dry van roof is a 53-foot aluminum sheet approximately 0.040 inches thick over steel bows on 24-inch centers. Punctures happen at low-clearance docks and under overhanging tree branches. Once compromised, the roof leaks — and cargo claims start within days.
Roof Panel & Bows
Seams & Top Rail
Water Damage Signs
Zone 3 — Interior Floor & Cargo Space
Dry van floors are typically 1-3/8 inch laminated hardwood or composite, secured with 2-3 screws per board. Floor replacement runs $2,000 to $8,000 per unit — and once water damage starts, it spreads fast. Systematic floor inspection is where the DVIR pays for itself.
Floor Consistency
Board Integrity
Tie-Downs & Hardware
Zone 4 — Sidewalls, Front Wall & Structural
Sidewall damage happens at every loading dock — forklifts, pallet jacks, and shifting cargo all leave their mark. A dented panel is cosmetic; a cracked wall post is a structural signal.
Exterior Walls
Interior Walls
Front & Corners
Zone 5 — Kingpin, Landing Gear & Frame
The kingpin locks the trailer to the tractor. The landing gear supports it when uncoupled. The longitudinal frame carries the load. All three are structural check items and get overlooked because they look "the same as last time."
Kingpin & Coupler
Landing Gear
Frame
Zone 6 — Suspension, Axles & Wheel Ends
Standard suspension DVIR items. On a dry van pulling loaded across state lines, tandem slider function is the item most often overlooked because it "worked yesterday."
Suspension System
Hardware
Wheels & Slider
Zone 7 — Brake System, Air Lines & ABS
Brake defects were 41.1% of all vehicle out-of-service violations at the 2025 CVSA International Roadcheck. The ABS warning lamp glowing at pre-trip is the single fastest path to an OOS.
Foundation Brakes
Slack & Chambers
Air Lines & ABS
Zone 8 — Tires, Lights & Reflective Tape
Tire violations were the second most common OOS category at 2025 Roadcheck (21.4% of vehicle violations). Lighting and reflective tape complete the roadside-visible compliance picture.
Tire Health
Wheels & Fittings
Lights & Reflective
Cost of a Skipped DVIR Item — What Each Zone Prevents
The dry van DVIR isn't a bureaucratic exercise. Every skipped item has a dollar consequence measured either in repair bills or in shipper rejection. Here's what each type of damage actually costs to fix.
Door Seals
- $150 – $400 per replacement. Caught at pre-trip is the cost. Missed and discovered by a rain-soaked cargo claim is 10x that.
Sidewall Panels
- $300 – $1,500 per repair, depending on damage severity. Structural panel replacement is the upper end.
Roof Repair
- $500 – $3,000 range. Small patch on the lower end; full panel replacement on the upper end with 2-3 days of downtime.
Floor Replacement
- $2,000 – $8,000 full swap. Hardwood at $35-$45/linear foot; composite at $45-$60/linear foot but 40% longer service life.
How HVI Runs the Dry Van DVIR
Paper DVIR gets stuffed into a dashboard folder and never re-read. Digital DVIR becomes the trail of evidence that defends the driver, the maintenance manager, and the safety score. HVI closes the operational gap in three places.
Zone-by-Zone Photo Evidence
- Every one of the 8 zones inspected with photo evidence attached to the trip record. Door seal condition, floor consistency, roof-to-sidewall seam — all captured against the timestamp and archived per unit for 3 years per 49 CFR 396.
Floor & Roof Special Focus
- Interior floor and roof-line inspections prompted separately in the workflow with photo capture, so the two hardest-to-see damage categories don't get skipped. Historical photo comparison flags new damage between trips.
CSA-Ready Audit Export
- Complete DVIR history exported for CSA scoring, insurance renewal, shipper compliance, and incident defense. Digital DVIR reduces inspection time and catches materially more defects than paper checklists.
Dry Van Trailer Inspection FAQ
1. How often should a dry van trailer be inspected?
Under 49 CFR 396.13 and 49 CFR 396.11, every commercial motor vehicle including trailers requires a driver pre-trip inspection before operation and a Driver Vehicle Inspection Report (DVIR) at the end of each duty day when defects are found. For dry vans specifically, the walkaround should cover all eight zones above, with special interior attention to the floor and roof-line at least weekly — the two damage categories a ground-level check physically cannot see. Annual periodic inspection is required under 49 CFR 396.17 for every CMV in interstate commerce. Fleets running high-mileage operations typically layer a monthly detailed inspection on top of the daily DVIR, covering scuff-band integrity, tandem slider function, and interior wall conditions.
2. What are the most commonly missed items on a dry van pre-trip?
Four categories dominate the missed-item list: (1) roof condition — drivers can't see the roof from ground level and cab-height check gets skipped; (2) floor consistency — requires stepping into the trailer and walking the length, which the compressed dock window doesn't allow; (3) door seals — the rubber gasket wear pattern is subtle until it's causing an active water leak; and (4) ABS warning lamp function — drivers habituate to the lamp glowing and stop treating it as a defect. Each of these is a paper-DVIR blind spot that a systematic 8-zone digital DVIR resolves. Book a demo to see the floor and roof capture workflow live.
3. What does dry van floor damage actually cost?
Full floor replacement on a 53-foot dry van runs $2,000 to $8,000 depending on trailer length and flooring material. Hardwood floor replacement costs $35-$45 per linear foot for materials and labor; composite flooring costs $45-$60 per linear foot but delivers approximately 40% longer service life. Beyond the direct replacement cost, factor in 2-3 days of downtime at most shops and the cargo revenue lost during that window. Water damage spreads quickly once it starts — a small soft spot on Monday can become a full-section replacement by the end of the following week. The pre-trip floor check is a five-minute item that prevents the $8,000 conversation.
4. What are the interior dimensions of a standard 53-foot dry van?
A standard modern 53-foot dry freight van typically has an interior width around 101 inches and a rear interior height around 111 inches. Floor construction is commonly a full 1-3/8 inch laminated hardwood floor with 2-3 screws per board, depending on specification. The roof is usually an aluminum sheet approximately 0.040 inches thick, supported by steel anti-snag roof bows on 24-inch centers. These dimensions matter for the inspection because knowing what standard construction looks like lets you distinguish normal wear from structural trouble — a sagging bow, a sidewall separation at a specific interval, or a floor board spacing gap all become recognizable defects against a known baseline.
5. Can dry van roof damage be repaired or does the whole panel need replacement?
Both approaches are used depending on damage severity. Patch repair works for small punctures and tears — a material patch is placed over the affected area with sealant to create a watertight barrier. Small patches on the lower cost range run $500 to $1,500 including labor. Panel replacement is required when significant portions of the roof are compromised or when multiple patches indicate systemic degradation. Full panel replacement runs $2,000 to $3,000+ and takes 2-3 days. The industry rule of thumb: one good patch is fine; a "patch city" of multiple patches usually means the trailer is a recurring cargo-claim risk. During inspection, existing patches should be noted in the DVIR history and monitored for active seepage at the edges.
Dry Van DVIR, One Digital Workflow
Eight zones, one platform. HVI runs the full dry van DVIR — rear door and seal verification, interior floor and roof photo capture, sidewall and structural documentation, kingpin and landing gear check, suspension and brake compliance, tire pressure and lighting verification, and 3-year audit archive per 49 CFR 396. Start your free trial now (no credit card required) or book a 15-minute demo.
Fix the Rushed DVIR Before It Becomes a Cargo Claim
Join fleets running their dry van DVIR as an integrated digital compliance workflow — photo-verified 8-zone inspections, floor and roof capture prompts, sidewall damage documentation, and audit-ready export for CSA scoring, shipper compliance, and insurance renewal. Set up in minutes. Live before your next dispatch.