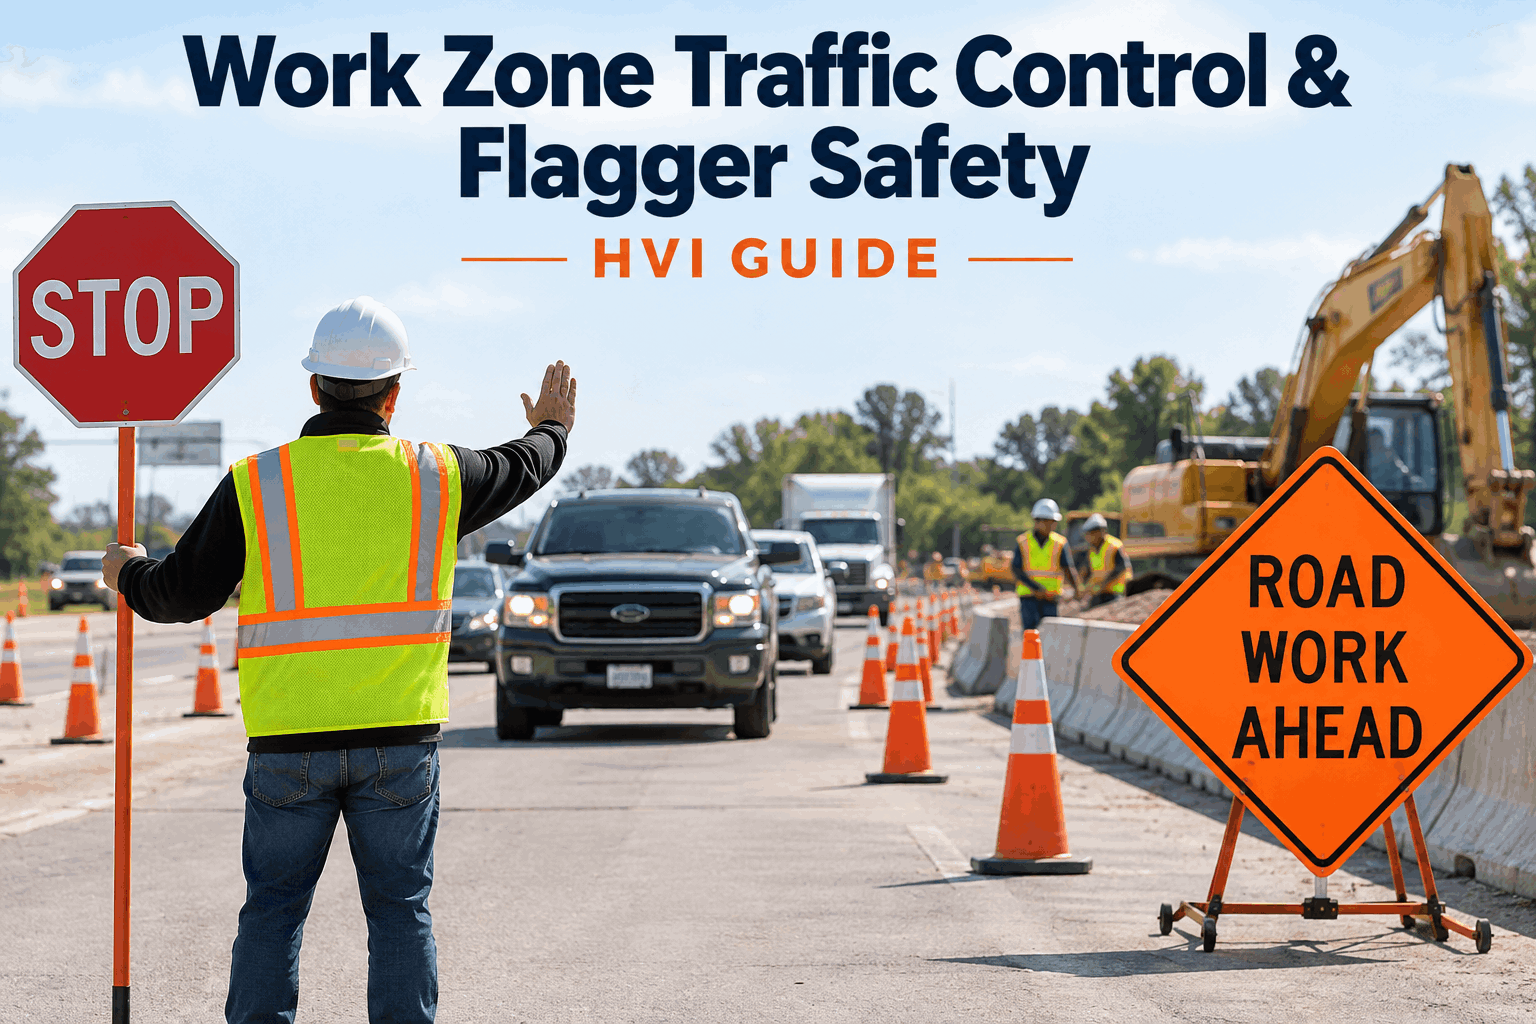
Every cone, sign, and flagger in a work zone exists to solve one problem: keeping moving traffic away from the people working next to it. Work zone traffic control is the system that does that — a layered set of signs, channelizing devices, barriers, and flaggers arranged in a specific order to warn drivers, redirect them, and give workers a protected space. Get it right and drivers slow and pass safely; get it wrong and a work zone becomes one of the most dangerous places on any jobsite. This guide walks the anatomy of a work zone, the device stack, flagger rules, and the daily verification behind it. Book a demo to see work-zone setup verified every shift.
Keep the Traffic Out, Keep the Crew Safe
A work zone isn't a scatter of cones — it's an engineered sequence: warn drivers, redirect them, buffer the crew, protect the work, and return traffic to normal. Every area has a job, and one missing piece breaks the whole chain.
Work zones are struck-by territory. Commonly cited figures put work-zone crashes at around 1,000 deaths a year, the large majority caused by driver error — a driver who didn't see the warning, didn't slow, or drifted into the space where people were working. The entire traffic control system exists to shrink that risk: to make the zone impossible to miss and the safe path impossible to mistake.
The Anatomy of a Work Zone
A properly set-up work zone is divided into distinct areas, arranged in the order a driver meets them. Each one does a specific job, and skipping or shortening any of them weakens the protection for the crew downstream.
Advance warning area
Where signs warn approaching drivers of construction ahead — the first notice that something's changed, giving them time to react and slow before they reach the zone.
Transition area (the taper)
Where drivers are redirected out of their normal path using a taper of channelizing devices. This is where the flagger usually stands, guiding traffic over.
Buffer zone
The empty dead space between the transition and the work area — deliberately kept clear of workers and equipment to absorb a vehicle that intrudes before it reaches the crew.
Work area
Where the actual construction happens, closed to traffic and set aside for workers and equipment by barriers and channelizing devices that keep vehicles out.
Termination area
Where drivers return to their normal path and resume regular speed, marked to the last traffic control device — the controlled end of the zone.
The order matters as much as the pieces: a driver has to be warned before they're redirected, redirected before the buffer, and buffered before the crew. Set up out of sequence — a taper with no advance warning, a work area with no buffer — and the system stops giving drivers the time and space it was designed to. Book a demo to see each zone area checked on setup.
The Traffic Control Device Stack
Within those areas, the protection is built in layers — each type of device doing a different part of the job of warning, guiding, and physically protecting. A good zone uses them together, not in isolation.
Signs & message boards
Standard highway and work-zone signs — reduced speed, road closed, flagger ahead — plus message boards that instruct drivers to follow a path away from the work.
Channelizing devices
Cones, drums, barrels, tubular markers, vertical panels, and barricades that form the taper and channel traffic. Cones are predominantly orange and made not to damage a vehicle that strikes them.
Barriers & attenuators
Concrete, water, and sand barriers, crash cushions, and truck-mounted attenuators that physically limit motorist intrusion into the work space — the last line when signs and cones aren't enough.
The layering is the point: signs warn, channelizing devices guide, and barriers protect. Relying on one layer alone — cones with no advance signs, or signs with no physical protection — leaves a gap a distracted driver can find. OSHA's rule of thumb is that flaggers and traffic control devices are required whenever signs, signals, and barricades alone aren't enough to protect the crew. Start free and log the device setup for each zone.
Flagger Requirements
When signs and barricades aren't enough, flaggers direct traffic directly — and because they stand in the transition area closest to moving vehicles, they're among the most exposed workers on site. That exposure drives strict requirements.
High-visibility clothing
Fluorescent orange-red or yellow-green background with retroreflective material, performance class 2 or 3 — making the flagger visible from at least 1,000 feet, from any direction, against the background.
Standard signals & devices
A STOP/SLOW paddle as the primary hand-signaling device, used with standard, recognized signals — plus an advance sign warning drivers that a flagger is ahead.
Training & certification
Flaggers are trained and, in many states and on many projects, certified (for example through ATSSA) — competent in work-zone setup, signaling, and traffic control references.
The flagger is both the most effective traffic control tool and the most at-risk person using it, which is why the requirements aren't optional details. A flagger without proper high-vis, without the advance warning sign, or without training isn't protected — and neither is the crew relying on them to hold the traffic. Book a demo to see flagger readiness on the daily check.
The Traffic Control Plan
All of this is tied together by a traffic control plan — the document, required for work-zone operations, that lays out how traffic will be managed through and around the site before any devices go out.
Government officials determine how to temporarily control public traffic; the construction project manager sets the internal traffic plan within the worksite.
The device layout, taper and zone dimensions, flagging operations, speed and detour management, and coordination between routes and adjacent projects.
OSHA 1926 Subpart G for signs, signals, and barricades, and the MUTCD for temporary traffic control device standards and placement.
The plan is the design; the devices on the ground are the build. A solid plan that's never checked against the actual setup is just paper — which is exactly why the plan alone doesn't keep anyone safe. The safety happens when the zone on the ground is verified to match the plan, every day it's in place. Start free and check the zone against the plan daily.
Why the Zone Has to Be Verified Every Day
Here's what a plan can't capture: a work zone doesn't stay as it was set up. Over a shift, it drifts — and the drift is invisible until someone looks for it or a driver finds it.
A clipped cone, a barrel pushed out of line, a barricade shifted — the taper that channeled traffic yesterday has a gap today.
A sign turned by wind, obscured by a parked truck, or too faded to read at speed stops warning the drivers it was placed for.
As the job progresses, the work area shifts — and a zone laid out for yesterday's position may no longer match where the crew actually is.
The buffer only protects while it's empty. A worker or a piece of equipment drifting into it quietly removes the margin it was there to provide.
This is why work-zone safety is a daily verification, not a one-time setup. Walking the zone each shift — signs visible, taper intact, buffer clear, flaggers equipped, plan still matched — is the safety act that keeps the drift from becoming an incident. It's the same daily rigor behind a proper signs, signals, and barricade setup check. Start free and make the zone walk a daily record.
How HVI Keeps the Work Zone Verified
A work zone is only as safe as its current state, and its current state changes daily — so the verification has to be as routine as the setup. Three capabilities make that a documented daily habit.
Daily zone setup checklist
Signs, taper, channelizing devices, buffer, barriers, and flagger readiness as a required daily check against the traffic control plan — run each shift on a phone, in the field.
Photo-verified setup
Capture photos of the signs, taper, and barriers in place — a visual record that the zone matched the plan at the start of the shift, not just a ticked box.
Defect routing & audit trail
A missing sign or downed device routes to a fix, and every zone check is timestamped and kept — a defensible record that the work zone was verified, shift by shift.
The result is a work zone whose safety is proven daily, not assumed from the day it was set up: verified against the plan, photo-documented, and on the record every shift. That's what turns traffic control from a setup you hope still holds into a control you confirm. Book a demo to see it on your work zones. Start free and verify your zones daily.
From a safety manager who walks every zone at shift start
We set up a textbook zone on a Monday and by Wednesday it was a mess nobody noticed — two cones gone, the flagger-ahead sign knocked flat, the buffer full of stored pipe. The plan was fine; the zone wasn't. Now the setup gets walked and photo-checked at the start of every shift, and anything off routes to a fix before the crew's exposed. The plan says how it should look; the daily check confirms it does.
Frequently asked questions
What is work zone traffic control?
Work zone traffic control is the system of signs, channelizing devices, barriers, and flaggers used to move traffic safely through or around a construction area while protecting the workers inside it. A work zone is arranged into ordered areas — advance warning, transition (taper), buffer, work area, and termination — each doing a specific job of warning drivers, redirecting them, and giving the crew a protected space. It's governed by OSHA 1926 Subpart G for signs, signals, and barricades and by the MUTCD for temporary traffic control device standards.
What are the areas of a work zone?
A highway work zone is typically divided into five areas in the order a driver meets them: the advance warning area (signs alert drivers to construction ahead); the transition area or taper (channelizing devices redirect traffic out of its normal path, where the flagger usually stands); the buffer zone (empty space that protects the crew from an intruding vehicle); the work area (where construction happens, closed to traffic); and the termination area (where drivers return to their normal path and speed). Each area has a distinct job, and the sequence matters.
What are the requirements for flaggers?
Flaggers must wear high-visibility clothing with a fluorescent orange-red or yellow-green background and retroreflective material, performance class 2 or 3, making them visible from at least 1,000 feet from any direction. They use a STOP/SLOW paddle as the primary hand-signaling device with standard signals, and drivers must be warned by an advance "flagger ahead" sign. Flaggers should be trained and are often required to be certified (for example through ATSSA). OSHA requires flaggers and traffic control devices whenever signs, signals, and barricades alone aren't enough to protect workers.
Is a traffic control plan required?
Yes — a traffic control plan is required for managing traffic in work zones. Government officials determine how public traffic is temporarily controlled, and the construction project manager sets the internal traffic plan within the worksite. The plan covers the device layout, taper and zone dimensions, flagging operations, speed and detour management, and coordination between routes, all built to OSHA 1926 Subpart G and MUTCD standards. Just as important as having the plan is verifying that the zone set up on the ground actually matches it, every shift the work zone is active.
Why do work zones need daily verification?
Because a work zone doesn't stay as it was set up. Over a shift, cones get knocked or moved, signs fade or fall or get hidden, the work area shifts as the job progresses, and people or equipment drift into the buffer that's supposed to stay empty. Each of these quietly removes protection the zone was designed to provide, and the drift is invisible until someone checks or a driver finds it. Walking and verifying the zone each shift — signs visible, taper intact, buffer clear, flaggers equipped — is what keeps a plan on paper matched by protection on the ground.
Verify Every Work Zone Matches Its Plan, Every Shift
Run the work-zone setup as a daily field check — signs, taper, buffer, barriers, and flagger readiness verified against the traffic control plan, photo-documented, with any defect routed to a fix. So the zone that protects your crew is confirmed, not assumed, every shift it's in place. Live in under two weeks, trusted by 25,000+ users worldwide.
No credit card · No hardware · Work-zone inspection templates ready on day one