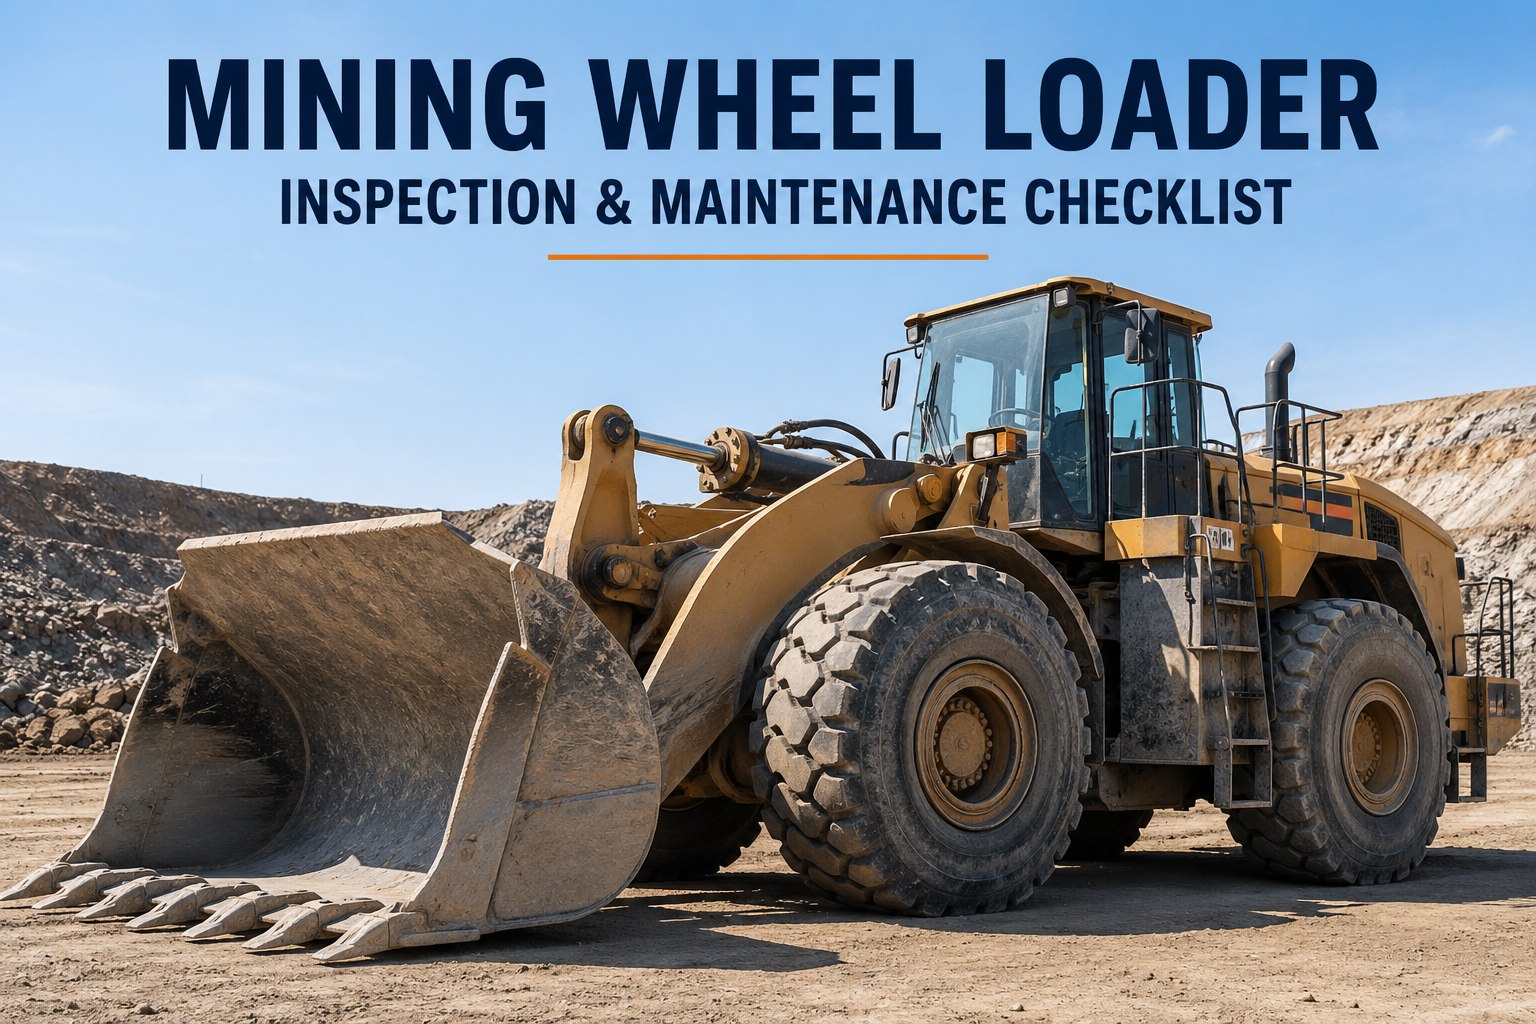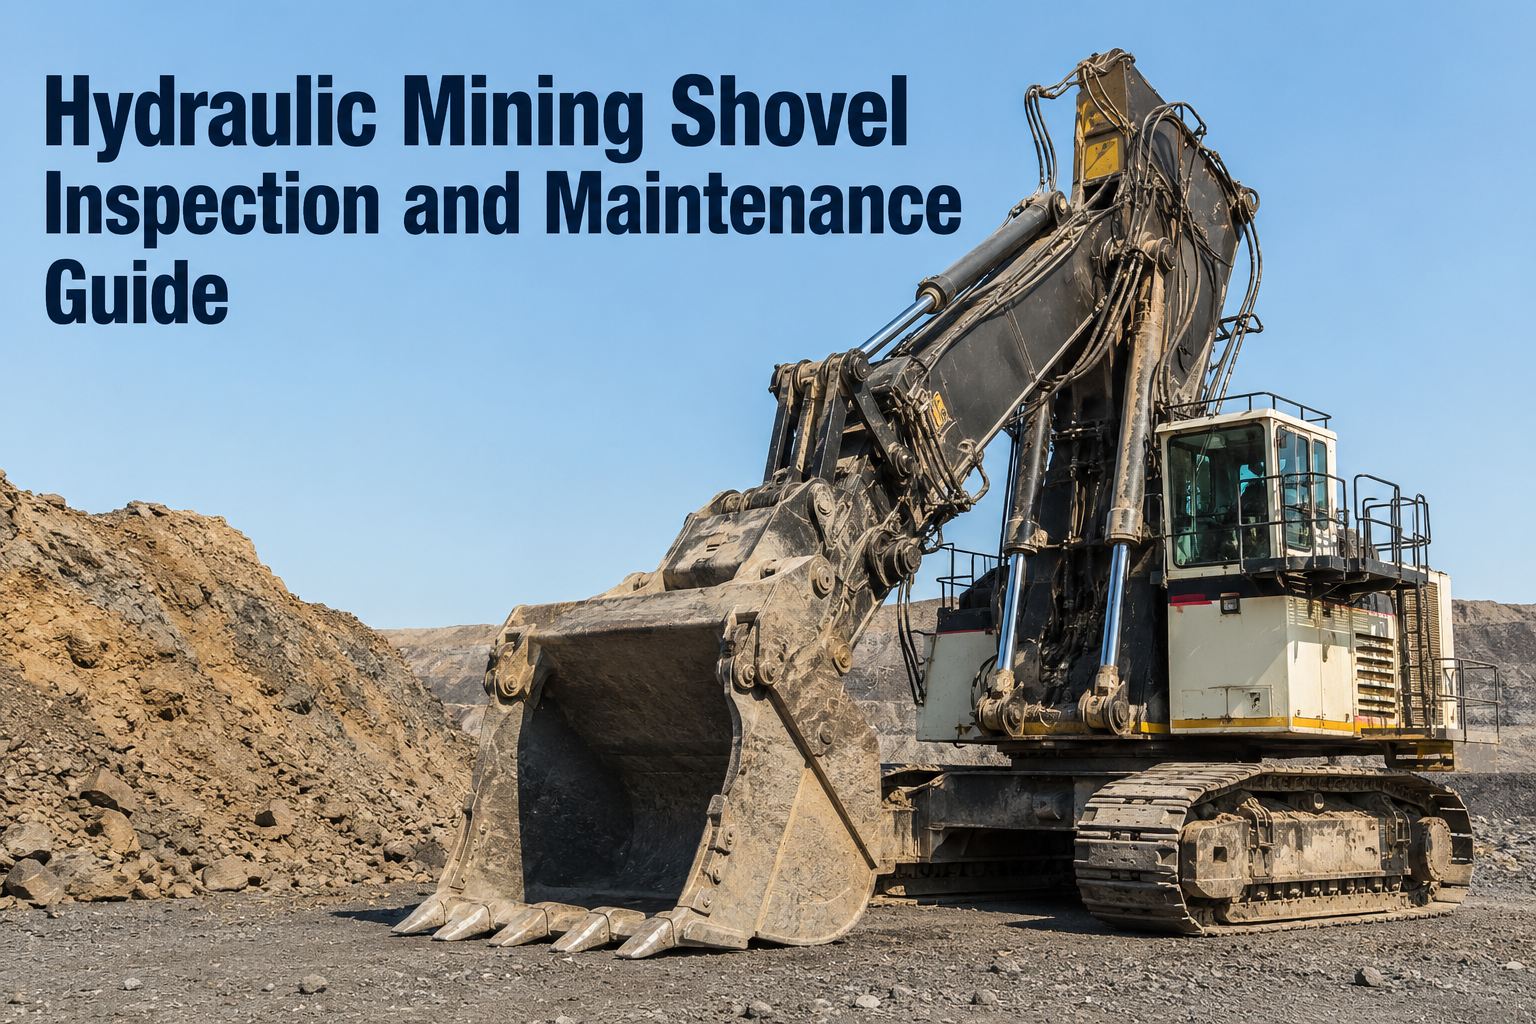
It is 6:40 a.m. at the pit face and your 250-tonne hydraulic mining shovel is sitting dead over a half-loaded truck because a main boom hose let go sometime in the last hour. The oil loss is bad; the lost production is worse, because when the face shovel stops, every truck and the crusher behind it stops too. A disciplined hydraulic mining shovel inspection and maintenance routine is what stands between that morning and a normal one, and this guide walks through exactly what to check, how often, and how to prove it was done. From high-pressure hydraulics to boom welds, swing bearings and bucket wear packages, you will get a practical, shift-by-shift framework you can defend to your GM. If you would rather see this running digitally on your own units than read about it, you can book a 30-minute walkthrough for your fleet at any point.
Hydraulic Mining Shovel Inspection Guide
When the shovel stops, the whole pit stops. What did last shift actually check?
Large hydraulic shovels and mining excavators run extreme pressures and relentless duty cycles. These are the checks that keep them loading.
What One Down Shovel Costs You
The numbers your GM will ask about
A production shovel is a constraint asset: its availability sets the ceiling for the entire load-and-haul fleet. These four figures are the ones worth putting in front of anyone who questions inspection time.
Mining Shovel Checklist
What a hydraulic mining shovel inspection must cover every shift
A shovel walk-around is not a truck pre-trip. The machine is bigger, the pressures are higher and the access is worse, so the checklist has to be built around the systems that actually fail. Group your checks into these six zones.
Hydraulics: hoses, fittings, cylinders, pumps
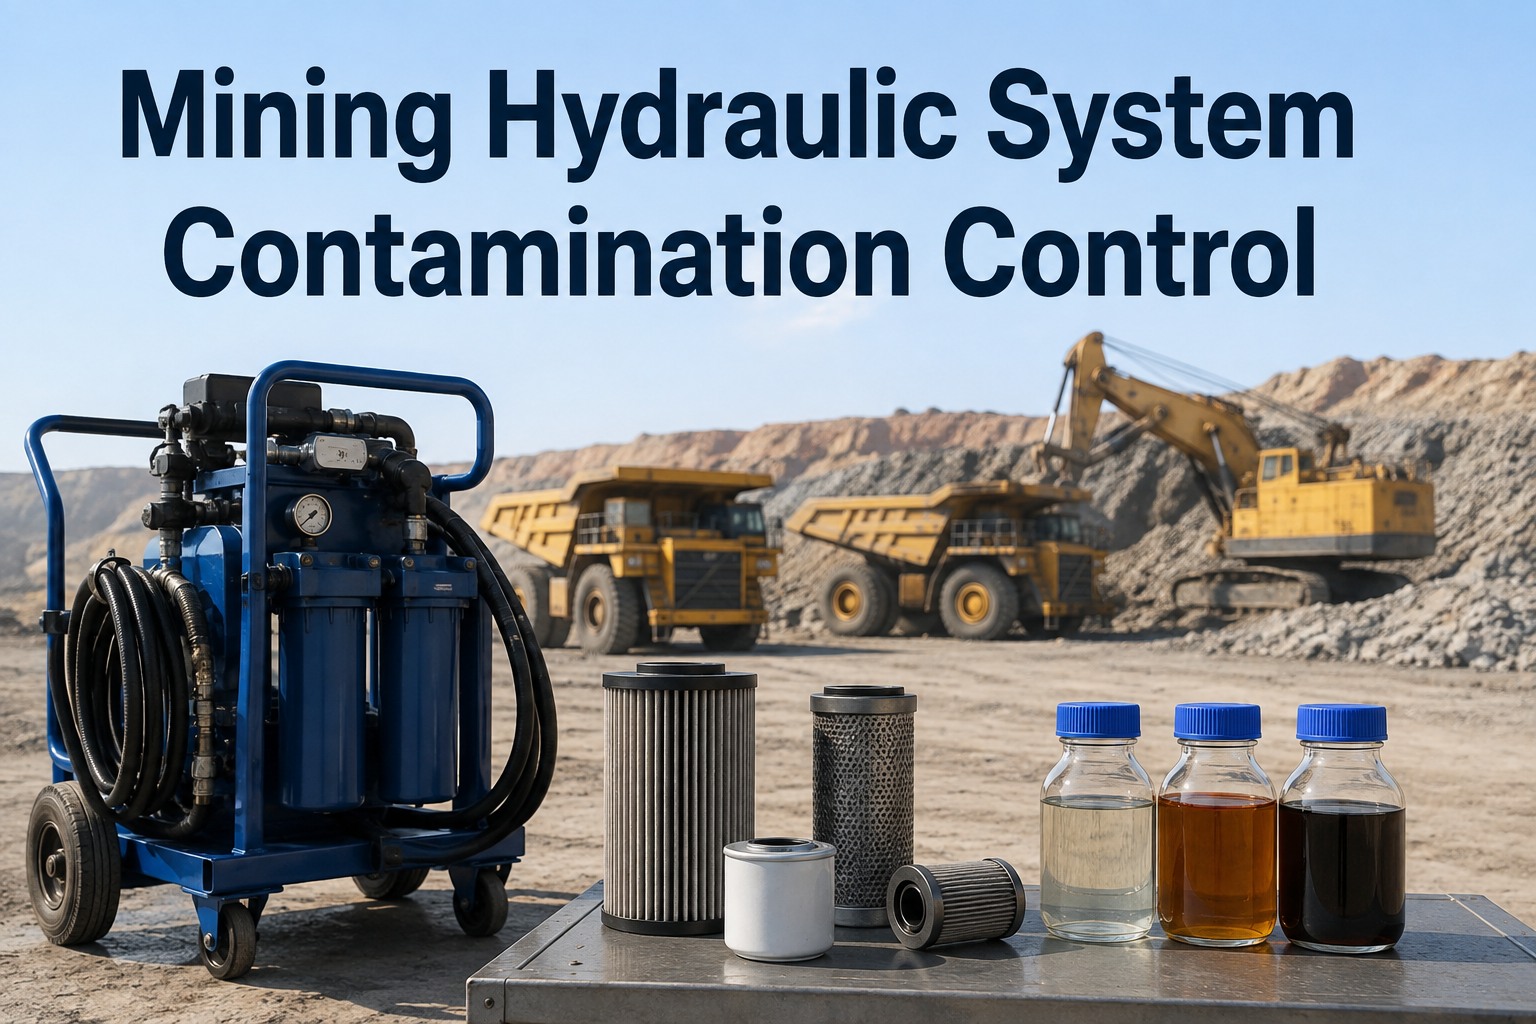
Chafe points where hoses cross the boom foot, weeping fittings on the main valve block, scored cylinder rods, oil mist on the pump bay doors. A hose that rubbed through at 3,500 psi does not drip - it cuts skin and injects oil. Flag any wet fitting as a defect, not a note.
Boom, stick and attachment welds
Fatigue cracking starts at weld toes on the boom foot, stick nose and bucket ears, exactly where paint hides it. Look for rust bleeding from a weld line, fresh paint cracks and elongated pin bores. Any crack indication on a primary structure stops the machine until it is assessed.
Swing system: bearing and gearbox
Check swing bearing bolt torque marks, grease purge condition and any grinding or hesitation on swing. Gearbox oil level and metal on the drain magnet tell you what the bearing cannot. A neglected swing bearing is a six-figure repair and weeks of downtime.
Undercarriage and track condition
On tracked units, measure track tension, look for loose or missing shoe bolts, check roller and idler oil leaks and watch for uneven sprocket wear. A thrown track on a 250-tonne machine at the face is a full-day recovery with a crane.
Bucket, teeth and wear package
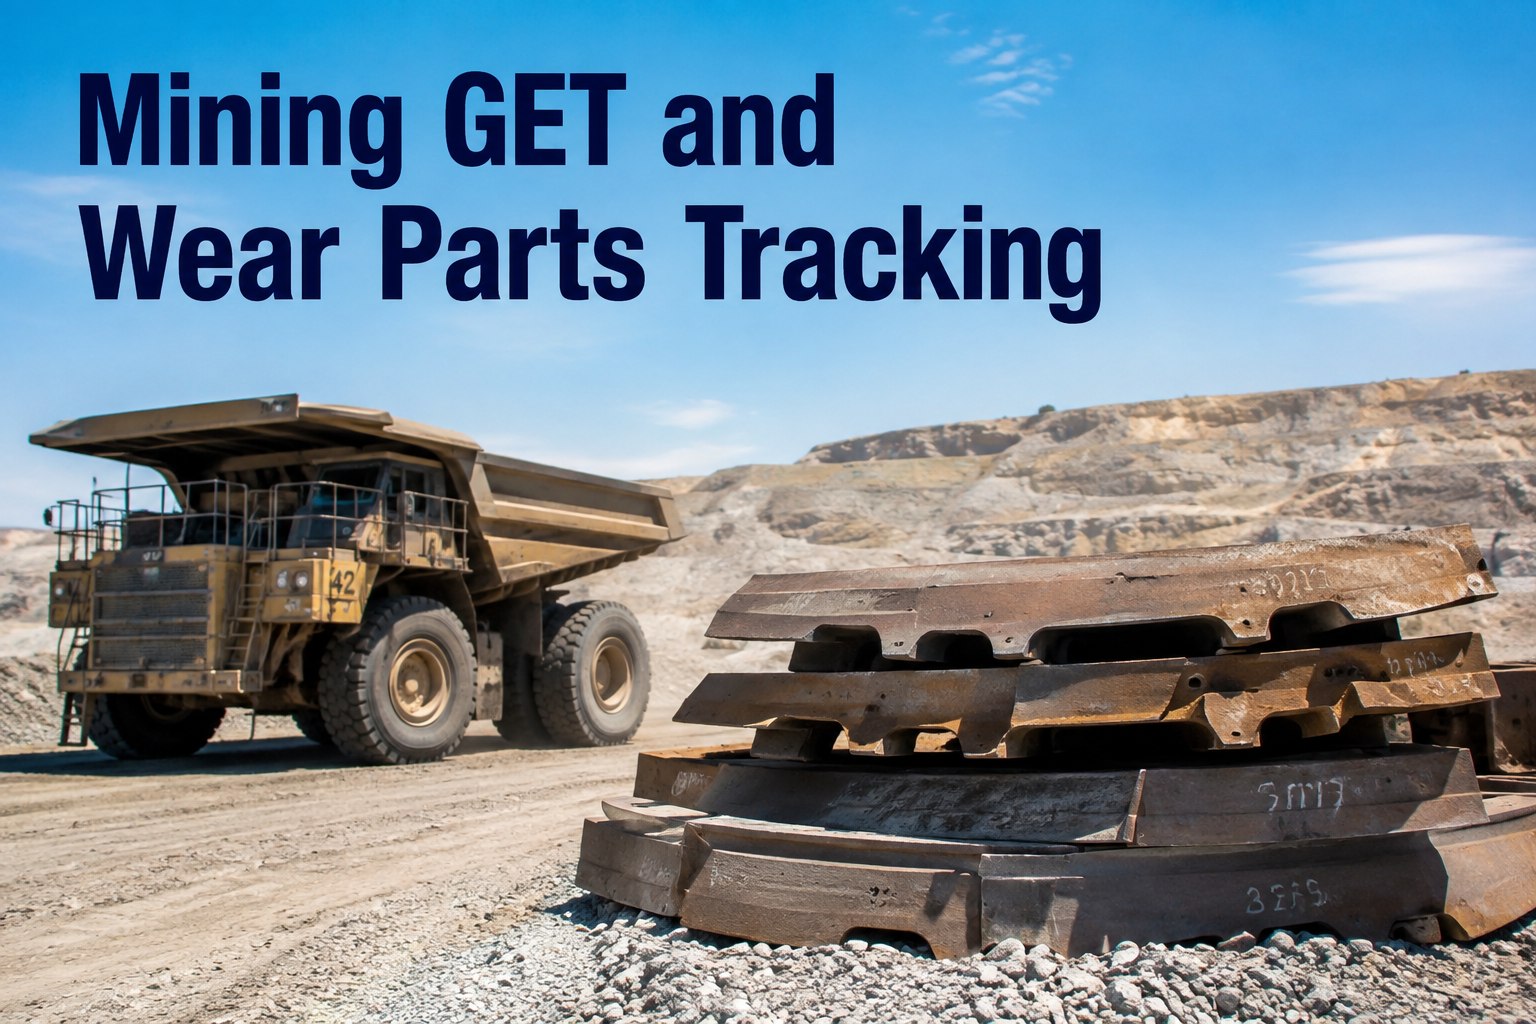
Tooth wear past the adapter line, cracked lip shrouds, missing heel wear plates and loose GET hardware. Worn teeth cost you penetration force and fuel on every pass; lost GET down the crusher is a far bigger bill. Log tooth condition with a photo, not a tick box.
Cooling in heat and dust
Radiator and oil cooler cores pack with dust fast in pit conditions, and a shovel running hot derates or trips out mid-truck. Check core condition, fan operation, coolant level and hydraulic oil temperature trend. In 40-degree ambient conditions this check alone saves shifts.
Inspection Frequency
How often should you inspect a large mining shovel?
One annual OEM service is not a maintenance strategy. Large shovels earn their keep on layered inspection: fast operator eyes every shift, technician depth every week, and structural and oil-analysis programs on longer cycles. Here is a cadence that works on real sites.
| Interval | Who | Focus | Record you need |
|---|---|---|---|
| Every shift (10-15 min) | Operator | Hydraulic leaks, hose chafe, GET and teeth, track tension, coolant and oil levels, warning lights, swing noise | Digital walk-around with photos of any defect |
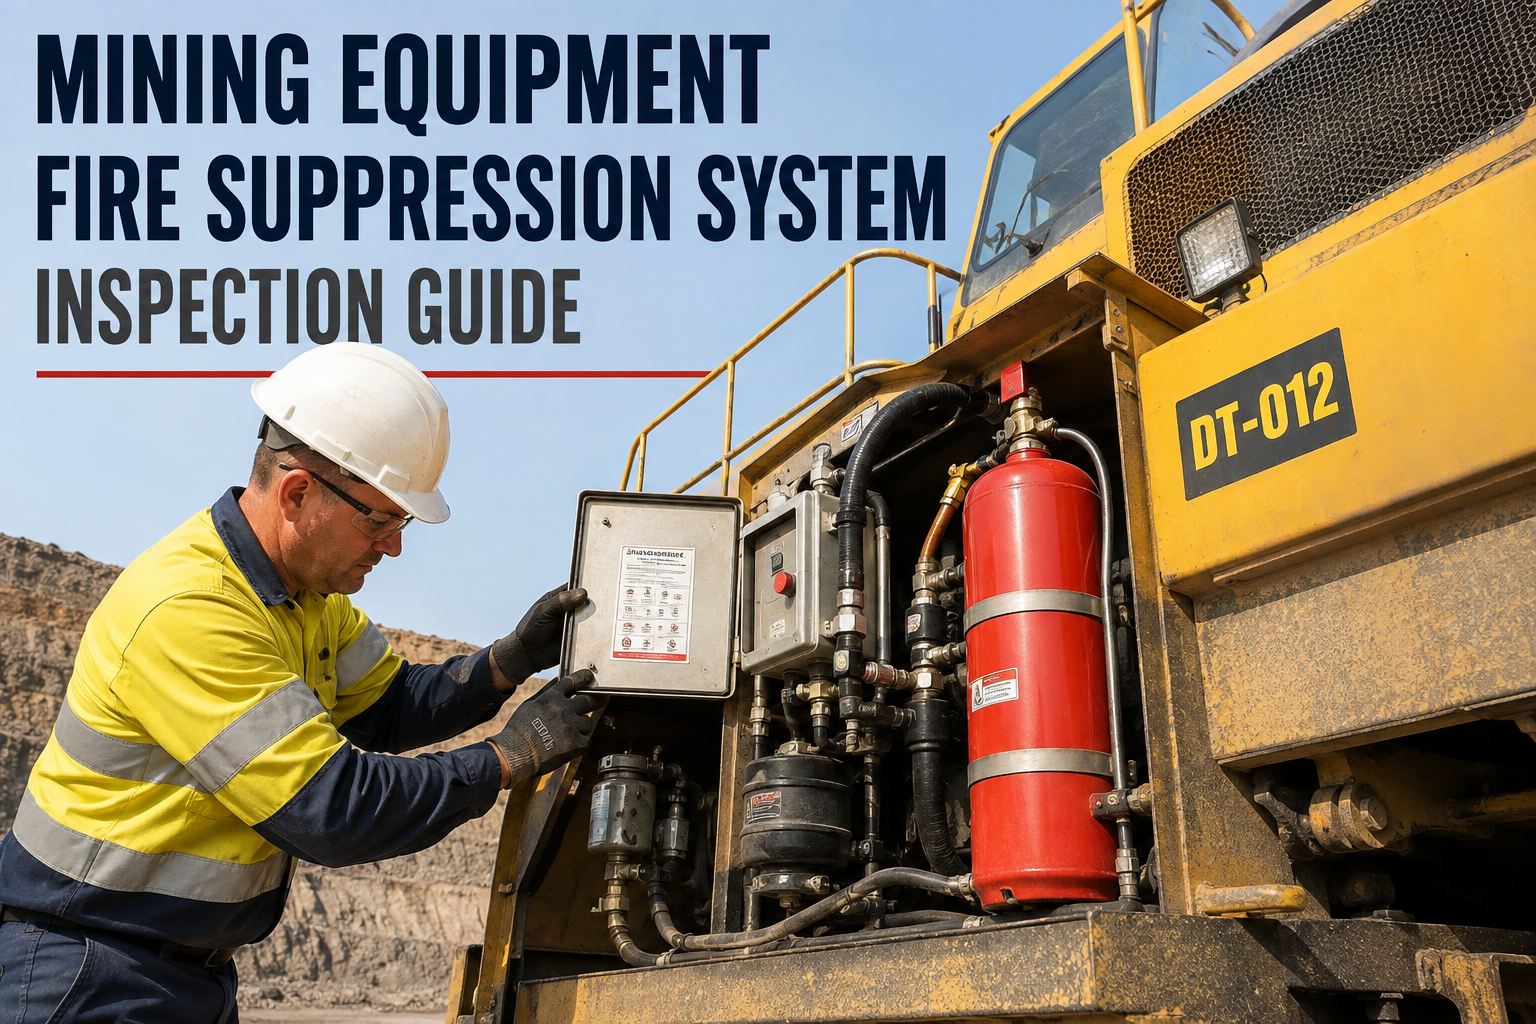
| Weekly | Technician | Weld-toe crack check on boom and stick, pin and bushing play, swing bolt torque marks, battery and fire suppression | Technician checklist with measurements logged |
| 250-500 hrs | Lube tech / PM crew | Engine and hydraulic oil samples, filter changes, grease system output, cooler core blow-down | PM work order with oil sample results attached |
| 2,000+ hrs / annual | Specialist / OEM | NDT on boom and stick welds, swing bearing clearance measurement, pump flow testing, structural alignment | Certified inspection report filed against the asset |
The shift check is where most failures are first visible. If that ten minutes lives on a paper card in the cab, it is also where the evidence disappears. Moving the shift check into a free digital inspection you can start today means every hose weep and cracked tooth is timestamped, photographed and routed to the shop before the operator leaves the cab.
The Access Problem
You cannot inspect what you cannot safely reach
A large mining shovel puts its most failure-prone points eight to twelve metres in the air. Boom foot welds, main valve blocks and crowd machinery sit above any ladder. If your inspection plan depends on a fitter improvising with a bucket or a ladder, you do not have an inspection plan - you have an incident waiting for a date.
What improvisation looks like
- Fitters climbing the stick to reach boom welds with a torch in one hand
- Checks skipped at height because there was no platform that shift
- Photos taken from the ground that show nothing an auditor accepts
- Fall risk on the exact asset your safety case says is controlled
What planned access looks like
- Scheduled use of the site man-lift or built-in machine walkways for upper-structure checks
- Weekly weld inspections planned around shovel downtime windows, not squeezed between trucks
- Close-range photo evidence of every weld toe and fitting, captured from a stable platform
- A defensible record that the check was physically possible and actually done
This is where digital checklists earn their keep: the template itself can require a photo of the boom foot welds, which quietly forces the access conversation every single week instead of once a quarter. If you want to see how sites enforce photo-required checkpoints, walk through it on a live demo with your own shovel model.
Worked Example
What one missed hose actually costs
Take a single main circuit hose on a 250-tonne class shovel. The part itself is a few hundred dollars. The failure is not.
Now compare: a chafing hose caught on a shift inspection is a planned two-hour swap during a scheduled window, at parts-and-labour cost only. That is roughly a 98% cost reduction for ten minutes of looking. Multiply it across every hose, fitting, tooth and weld on the machine and the business case for disciplined shovel maintenance writes itself. Sites that see the defect-to-work-order flow in a demo usually spot two or three of these leaks in their own process within the first call.
See your shovel checklist running on a phone, not a clipboard
Book a 30-minute demo and we will build your actual hydraulic mining shovel template live - hoses, welds, swing, GET and all.
How HVI Helps
Four ways HVI keeps your shovel loading
HVI (Heavy Vehicle Inspection & Maintenance, by JRS Innovation Inc.) is cloud + mobile inspection and maintenance work order software built for fleet-heavy operations. Here is what it does specifically for production shovel maintenance.
Shovel-specific templates
Build a checklist per machine model - face shovel or backhoe configuration, tracked or not - with photo-required checkpoints on boom welds, hose runs and GET. Outcome: no more generic excavator cards that skip the points that actually fail.
Photo evidence on critical sections
Every weld toe, weeping fitting and worn tooth is captured with a timestamped photo tied to the asset. Outcome: when a client, insurer or regulator asks how you monitor structural condition, you show them in seconds instead of digging through binders.
Offline capture in the pit
Pits and remote benches have no signal; HVI works offline on any phone or tablet and syncs when the device does. Outcome: the shift check happens at the face, not back at the office from memory at the end of a 12-hour shift.
Defect-to-work-order routing
A flagged hose or crack becomes a work order assigned to the right technician with the photo attached, and PM schedules track engine hours automatically. Outcome: defects stop dying in group chats, and planned swaps replace emergency callouts.
Because HVI covers trucks, loaders, dozers and shop equipment on the same platform, your shovel records sit beside the rest of the fleet for uptime and cost-per-asset reporting. If you are running mixed plant, it is worth a demo across your whole fleet, not just the diggers.
Key Takeaways
The short version for your next production meeting
A hydraulic mining shovel is a production constraint: every hour it sits, the trucks and crusher behind it sit too. Inspection time is production time, not overhead.
Hydraulics, boom and stick welds, swing bearing, undercarriage, GET and cooling are the six zones that fail. Build your checklist around them, not around a generic excavator card.
One missed hose can cost $150k+ in lost flow; the same hose caught early is a planned two-hour swap. The math on shift inspections is not close.
Safe access is part of the inspection plan. Photo-required checkpoints on a digital template force the platform conversation and give you audit-ready proof the check physically happened.
You can have a working digital shovel checklist this week: sign up free and build your first template, or bring your toughest machine to a demo and watch it get built for you.
"My rule is simple: nobody touches a boom weld with a grinder until I have a photo of the crack on file. We lost a swing bearing in 2019 because three people assumed someone else had checked the grease purge - that was a $220,000 lesson. Now the shovel check is on the phone, the photos are mandatory, and I can pull any machine's history in about ten seconds when the auditor shows up. I track one number every Monday: shovel availability. Since we went digital it has not dipped below 94%."
Daniel Reyes - Maintenance Manager, open-pit aggregates operation
Common Questions
Hydraulic mining shovel inspection FAQs
How often should a hydraulic mining shovel be inspected?
At minimum: an operator walk-around every shift (10-15 minutes), a technician structural and torque check weekly, oil sampling and PM service every 250-500 engine hours, and specialist NDT on boom and stick welds annually or per OEM hours. High-duty or high-abrasion sites should shorten the weekly structural check to twice weekly.
What are the most common hydraulic failures on large mining shovels?
Hose chafe and burst at boom-foot crossings, weeping or cracked fittings on the main valve block, scored cylinder rods from debris, and pump wear showing up as slow cycle times. Most are visible days before failure as wet fittings, mist on bay doors or shiny rub marks - which is exactly what a shift inspection with photo capture is designed to catch.
Where does fatigue cracking usually start on a shovel boom or stick?
Almost always at weld toes in high-stress zones: the boom foot, boom-to-stick area, stick nose and bucket ear plates. Rust bleeding from a weld line or a fresh crack in the paint film are the early tells. Any indication on primary structure should ground the machine until a qualified assessment, and every check should be photo-documented.
How do you inspect a large shovel safely when the key points are 10 metres up?
Plan the access instead of improvising it: schedule upper-structure checks around a man-lift or the machine's own walkways during downtime windows, and never send a fitter up the stick with a torch. Digital templates help because a photo-required checkpoint makes the access need explicit every week. You can see how photo-mandatory checkpoints work in a short demo.
Can digital inspection software work in a pit with no signal?
Yes - HVI captures inspections fully offline on any phone or tablet and syncs automatically when the device regains coverage, so the shift check happens at the face with photos and timestamps intact. Defects still route to work orders once synced. If you want to test it on your own site conditions, you can sign up free and run a real shovel check today.
Keep the shovel loading - and prove every check
Move your hydraulic mining shovel inspections off paper and into HVI: photo-backed, offline-capable, and routed straight to work orders. Book a demo and we will map your exact machine live.
Free to start - Works on any phone - No card needed