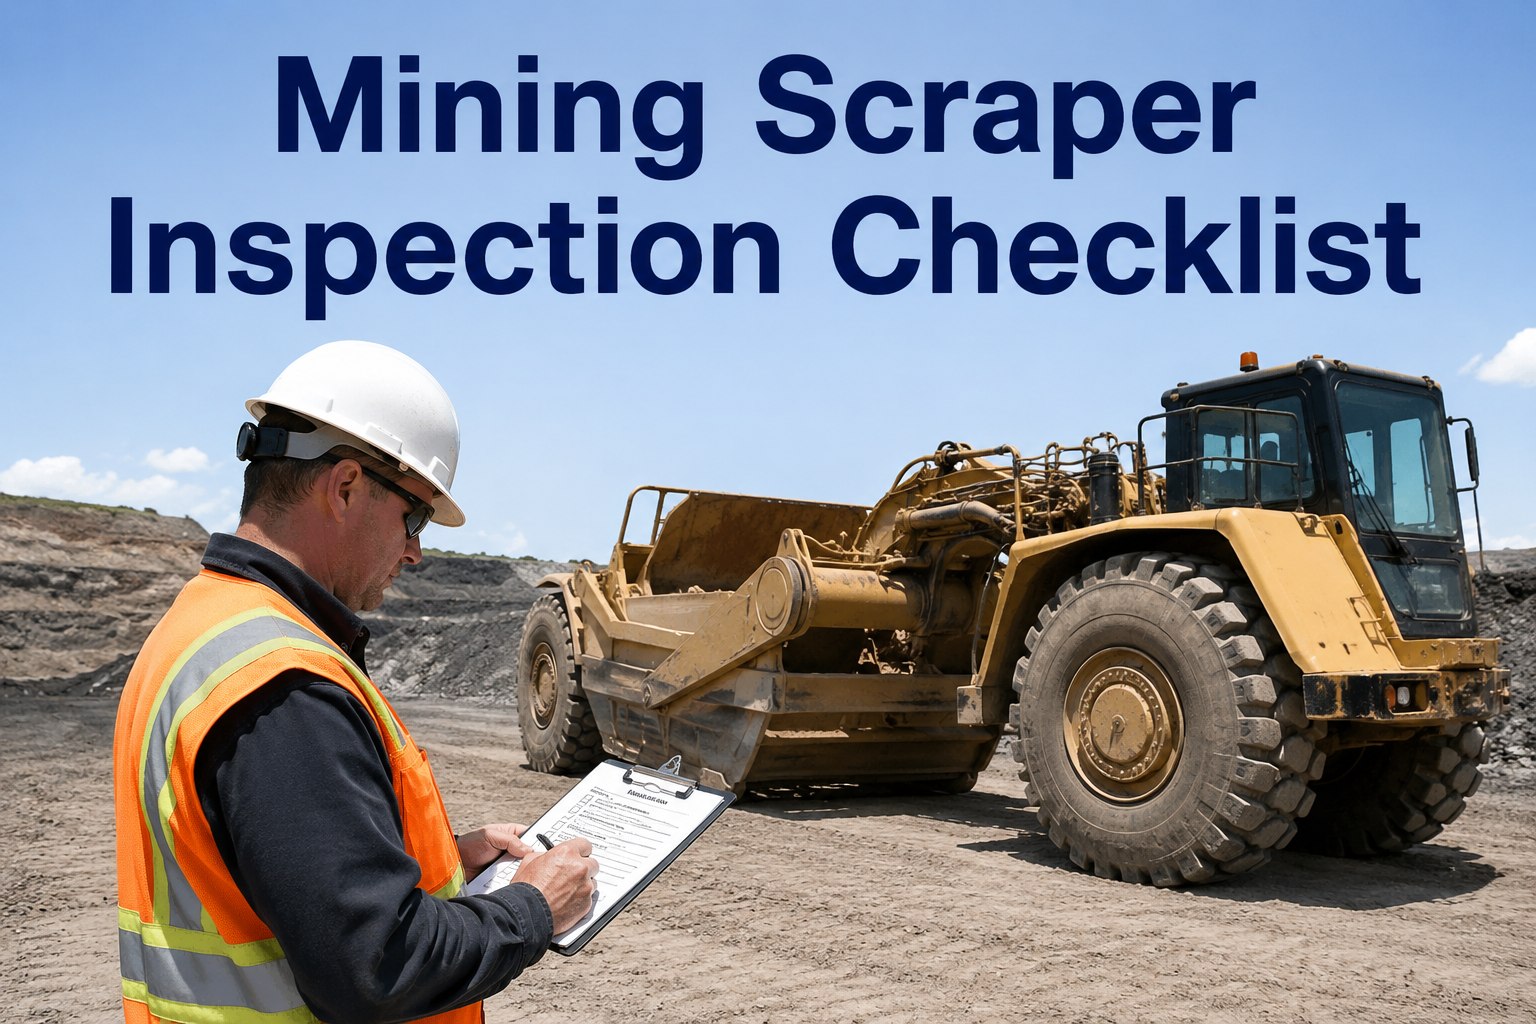
You already know the sound: a scraper coming back down the haul road with the bowl hanging a touch low, the operator saying the brakes "felt fine yesterday," and a load capacity plate so buried under dust and overspray that nobody can read the rating. A proper mining scraper inspection is the difference between catching a worn cutting edge at the pre-shift check and losing a full production shift when the bowl won't load or the park brake won't hold on a grade. Generic equipment checklists miss the attachment, load plate and cutting edge points that actually drive scraper reliability, which is why so many fleets end up with green ticks on paper and red iron in the shop. This page gives you a structured, section-by-section mining scraper checklist built for surface and underground machines, plus how to run it digitally so every defect becomes a tracked work order instead of a text message that gets forgotten. If you want to see how this looks on your own units, you can book a 30-minute walkthrough of a scraper template and test it against your current form.
The 10-minute pre-shift check that protects a full production shift
Attachments, brakes, cabin, controls, damage, fluids, hydraulics, load plates and wheels - the sections a scraper actually lives and dies by, structured so an operator can complete them in the dark, in the dust, with gloves on.
- Bowl, apron, ejector and cutting edge wear with photo capture
- Service brake and park brake function test before first load
- Load capacity plate legibility - the compliance item that quietly disappears
- Hydraulics through full range, ROPS/FOPS, fire extinguisher, steering, tyres
Scraper downtime is measured in loads, not hours
A scraper is a production machine first and a vehicle second. When one goes down, you do not just lose the machine - you lose the dirt it was supposed to move, and every number below lands on your cost per bank cubic yard.
A mining scraper inspection checklist that covers what generic forms miss
Most generic plant checklists were written for a generic machine. Scrapers carry a bowl, an apron, an ejector and a cutting edge, steer with a hitch, and stop with brakes that work hard on loaded downhill runs. These are the sections your form needs, in the order an operator actually walks the machine.
Attachments and mounting integrity
Check the bowl, apron and ejector for cracks around welds and pivot points, and confirm every pin, keeper and retaining bolt is present and seated. Look at the hitch and gooseneck for play - a scraper that wanders on the haul road is often a worn hitch, not a steering fault. Any cracked mount or missing keeper is a park-it item, not a note-it item.
Cutting edge and bowl wear
Measure the cutting edge against its wear limit and check the bowl floor and side plates for thinning or cracks. Running an edge past its limit does not save money - it transfers the wear into the bowl, where the repair bill is ten times the edge. Photograph the edge each week so wear rate is a trend, not a surprise.
Service brake and park brake
Test the service brakes for pull, fade and pedal feel before the first load, and confirm the park brake holds the machine on the steepest grade it will see that day. On a loaded scraper, brake defects do not give you a second chance. Any fade, pull or weak park brake is an immediate defect-to-work-order, not a "monitor it."
Hydraulics through full range
Cycle the bowl, apron and ejector through their full travel and watch for slow response, drift, chatter or a cylinder that will not hold position. Check hoses and fittings at the hitch and bowl for weeping, chafing and abrasion points. A hose that weeps at the start of shift is a hose that bursts mid-shift under load.
Fluids and leak inspection
Check engine oil, coolant, hydraulic oil and transmission or drivetrain levels against the dipsticks and sight glasses, then walk the machine and look for fresh drips, wet spots and dust-caked residue that marks a slow leak. A sudden drop in any level between shifts is a defect, not a top-up.
Cabin, controls and operator interface
Confirm the seat and belt are sound, mirrors and cameras are clean and aimed, all gauges and warning lights work, and every control returns to neutral. Test the horn, lights, wipers and any reverse alarm or camera. A dead warning light is how a small hydraulic problem becomes a burnt-out pump.
Structural damage assessment
Walk the frame, gooseneck, bowl and ROPS/FOPS structure looking for fresh cracks, bent members, impact damage and cracked welds. Pay attention to the areas around the hitch and the bowl pivots, where stress concentrates. Photograph anything questionable so the shop can judge it without pulling the machine in blind.
Load capacity plate and decals
Confirm the load capacity plate is present, legible and matches the machine. This is a compliance item that quietly disappears under dust, mud and overspray until an auditor or client asks for it. If the plate is unreadable, raise it as a defect and order a replacement - do not wait for an inspection to find it for you.
Wheels, tyres or tracks
Check tyre pressures and look for cuts, chunking, sidewall damage and uneven wear, and confirm wheel nuts are torqued and none are missing. On tracked configurations, check track tension, pads and rollers. Tyre and undercarriage wear is one of the biggest controllable costs on a scraper fleet - catch it with pressure and condition checks, not failures.
ROPS, FOPS, fire extinguisher and steering
Confirm the ROPS and FOPS structures are undamaged and certification plates are intact, the fire extinguisher is present, charged and tagged, and the steering responds smoothly lock to lock with no excessive free play. These are the life-safety items - any doubt here and the machine does not leave the park-up.
Why the same checklist works harder as a digital scraper inspection
The checklist itself is only half the battle. The other half is what happens to a defect after the operator ticks the box. Here is how the same ten sections behave on a paper form versus inside HVI.
| Checklist section | On paper | In HVI |
|---|---|---|
| Cutting edge and bowl wear | A tick and a scribbled note nobody measures | Photo each week, wear tracked as a trend against the limit |
| Brake function | "Brakes OK" with no record of the test | Timestamped test result, any fail triggers an instant work order |
| Hydraulic leaks | A grease pencil circle that washes off | Photo of the weep, location tagged, severity rated for the shop |
| Load capacity plate | Ticked without anyone actually reading it | Photo required - illegible plate becomes a tracked defect |
| Tyre pressures and fluids | Levels guessed, pressures skipped on cold mornings | Numeric entries logged, out-of-range values flagged automatically |
| Audit trail | A binder in the site office, if it made it back | Audit-ready, timestamped, photo-backed record per machine |
If you want to see this exact table running as a live template, walk through a scraper inspection on a demo call and we will load your own machine sections into it.
What one caught defect is worth on a real job
Run the numbers on a single caught hydraulic hose and the case for a structured scraper maintenance inspection writes itself.
Multiply that by every brake, hydraulic, tyre and cutting-edge defect your operators catch in a year and the ROI stops being a debate. Fleets that move this onto a digital DVIR typically find the system pays for itself on the first avoided breakdown, which is why so many start by signing up free and running one scraper through it before rolling it out fleet-wide.
How HVI helps you run scraper inspections that actually hold up
HVI is cloud plus mobile Vehicle Inspection and Maintenance Work Order CMMS software built for fleet-heavy businesses. It turns the checklist above into a scraper-specific digital template your operators complete on any phone, in the dust, with gloves on - and every defect becomes a tracked work order with photo evidence.
Scraper-specific templates
Templates built around attachments, brakes, hydraulics, load plates, cutting edges, ROPS/FOPS and tyres - not a generic plant form. Outcome: nothing that matters gets skipped because the form did not ask.
Photo evidence and defect-to-work-order
Critical items require a photo, and any failed item converts to a work order in one tap. Outcome: no more text-message photos that vanish, and no defect that dies in a binder.
Wear, tyre and fluid tracking
Bucket and cutting edge wear, tyre pressures and fluid levels are logged as numbers, so preventive maintenance triggers on real condition. Outcome: you replace parts on your schedule, not the machine's.
Audit-ready records
Every inspection is timestamped, photo-backed and stored per asset, ready for DOT, client, safety or insurance audits. Outcome: you prove every inspection in seconds instead of digging through binders.
If you manage a mixed fleet, the same platform covers your trucks, trailers and other plant, so you are not running one system for scrapers and another for everything else. You can see it running on your own fleet in a 30-minute demo before you commit to anything.
Put this scraper checklist on your operators' phones this week
Stop losing defects to paper forms and group chats. Run the checklist digitally and turn every fault into a tracked work order.
How to move your scraper fleet off paper in four steps
You do not need a six-month project to digitise a mining scraper inspection. Most fleets are live in days because the operators already know the machine - you are just giving them a better form.
Build your scraper template
Start from a scraper-specific template covering the ten sections above, then add or remove points to match your machines and your site rules. Mark the items that require a photo - cutting edge, load plate, any leak, any structural crack.
Assign it to each machine
Link the template to each scraper by asset number so the operator scans or selects the unit and the right form loads. Set the pre-shift inspection as required before first load so it cannot be skipped without a record.
Connect defects to work orders
Route failed items straight to the shop as work orders with the photos attached, and set preventive maintenance by date, engine hours or condition so brakes, hydraulics and cutting edges are serviced before they fail.
Track compliance and cost
Use the reporting to see inspection completion rates, repeat defects and cost per asset, so you can show exactly what the program is catching and what it is saving. That is the number you take to your director.
If you would rather have someone set the first template up with you, book a demo and we will build it around your machines on the call.
The short version on mining scraper inspections
Generic checklists fail scrapers
Scrapers live and die by their attachments, cutting edge, load plate, brakes and hydraulics - the exact points generic forms skip. A mining scraper inspection has to be built around the machine, not borrowed from a truck form.
The load plate is a compliance item
The load capacity plate quietly disappears under dust and paint until an auditor or client asks for it. Make legibility a checked, photographed item so you find it before they do.
A caught defect pays for the system
One hydraulic hose or brake fault caught at pre-shift instead of failing under load saves several thousand dollars and a production shift. That single save covers months of digital inspections.
Digital makes the record defensible
Timestamped, photo-backed, per-asset records turn your scraper maintenance inspection from a binder nobody trusts into proof you can hand to any auditor, client or insurer in seconds.
The bottom line: a structured mining scraper inspection checklist, run digitally, protects production, cuts repair cost and gives you a record you can defend. If you are ready to run it on your own units, start logging inspections free and see the difference on the first shift.
"The thing that used to drive me mad was the load plate. Operators would tick it every morning and nobody had actually read it in months - it was caked in dust. Now the form makes them photograph it, and I track one number: how many defects per week turn into work orders instead of coming back as breakdowns. Since we moved the scrapers onto digital checks, that number went up and our breakdown calls went down. That is the whole argument."
Daniel Reeves - Fleet Maintenance Manager, civil earthworks and mining contractor
Mining scraper inspection FAQs
What should a mining scraper inspection checklist include?
How often should a scraper be inspected?
Why does the load capacity plate matter so much?
Can operators do the inspection on a phone in the field?
How do digital inspections help in an audit?
See HVI running on your own scrapers - book a 30-minute demo
We will load a scraper-specific template, show you defect-to-work-order with photo evidence, and map it to your machines and your audit requirements.
Free to start - Works on any phone - No card needed