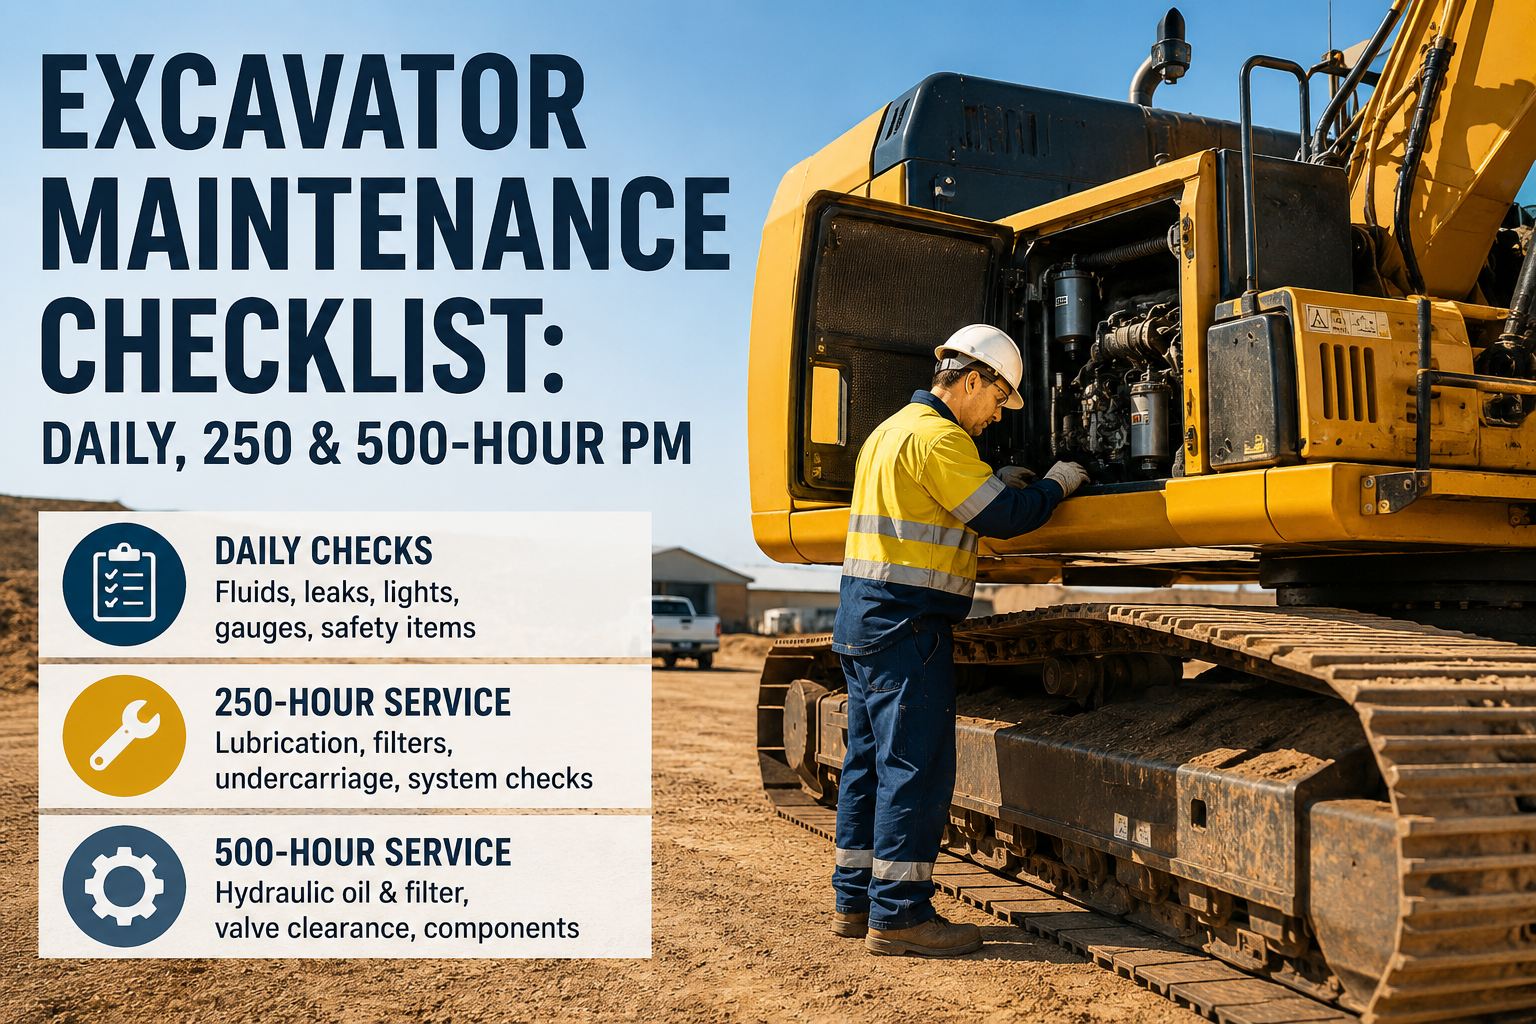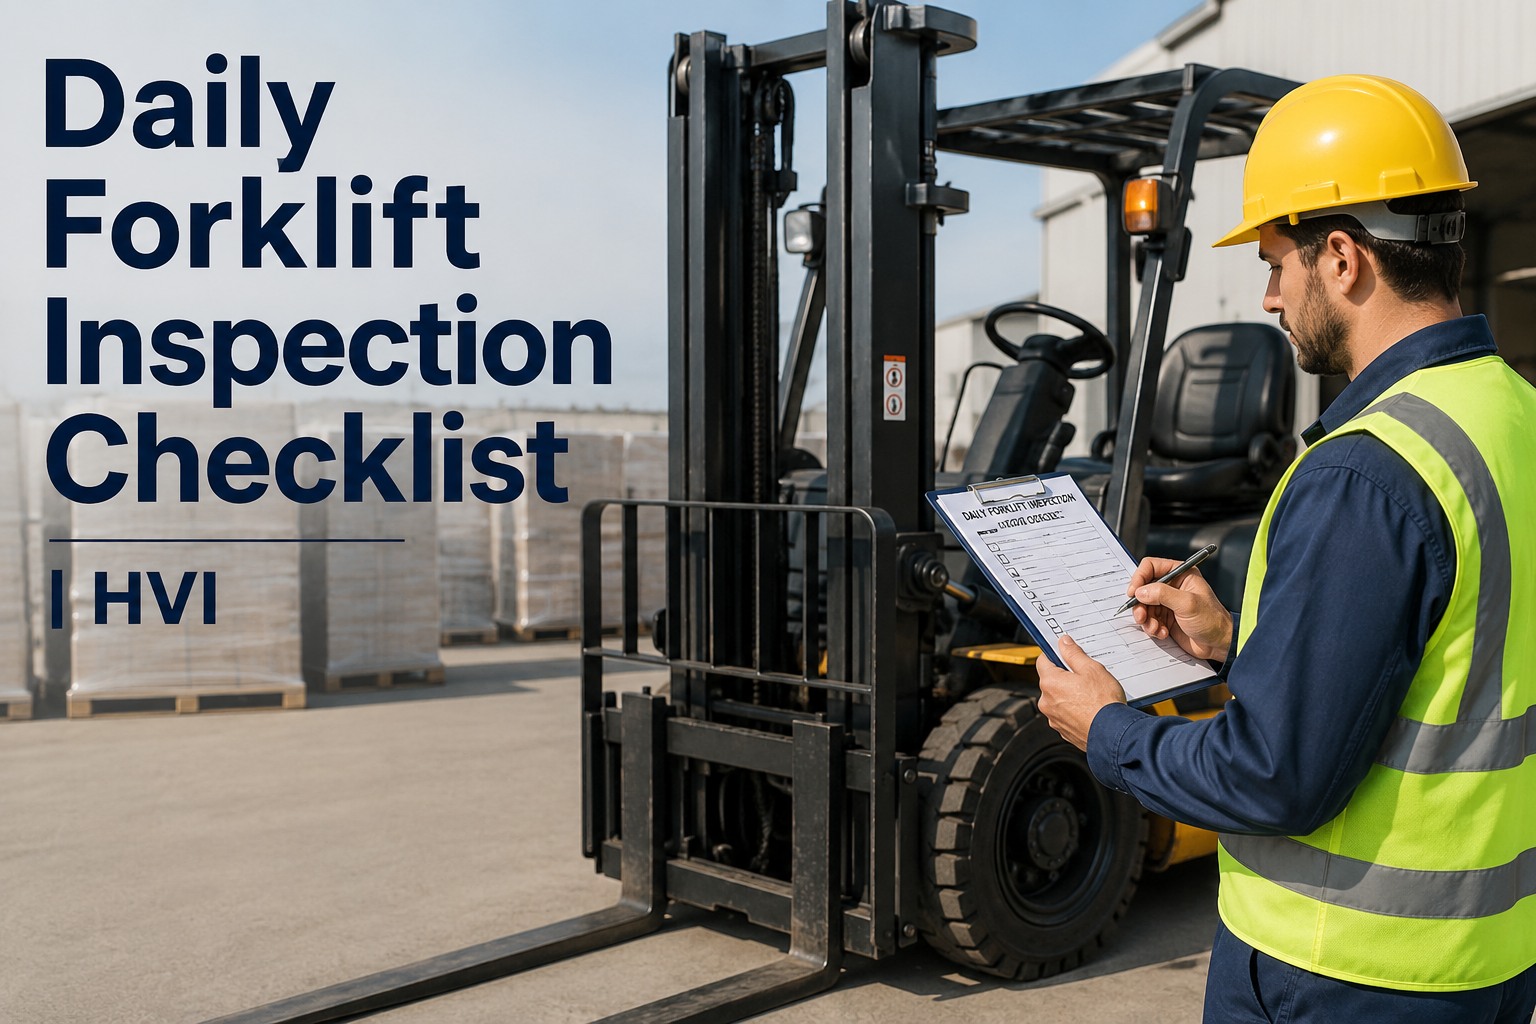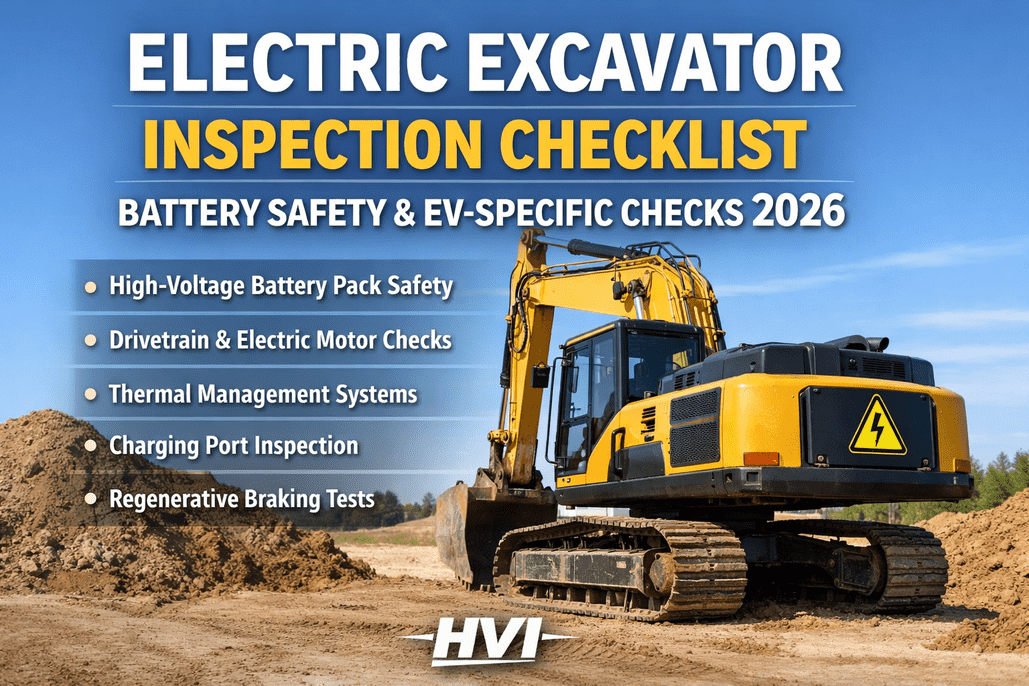
An excavator sitting idle on a jobsite burns money by the hour, but the sting is worse when the downtime comes from a failure you could have caught with a five-minute walkaround. A weeping seal on a stick cylinder, a track chain running slack by an inch, or a worn boom pin that finally lets go — these are the small mechanical slips that stall an entire earthmoving operation. A disciplined excavator inspection routine catches these issues before start-up, keeping the machine digging and the crew productive. This guide breaks down the daily inspection points that actually matter, from hydraulic pressures to undercarriage wear, and shows how digitizing the process with HVI's mobile inspection app eliminates the paperwork bottleneck.
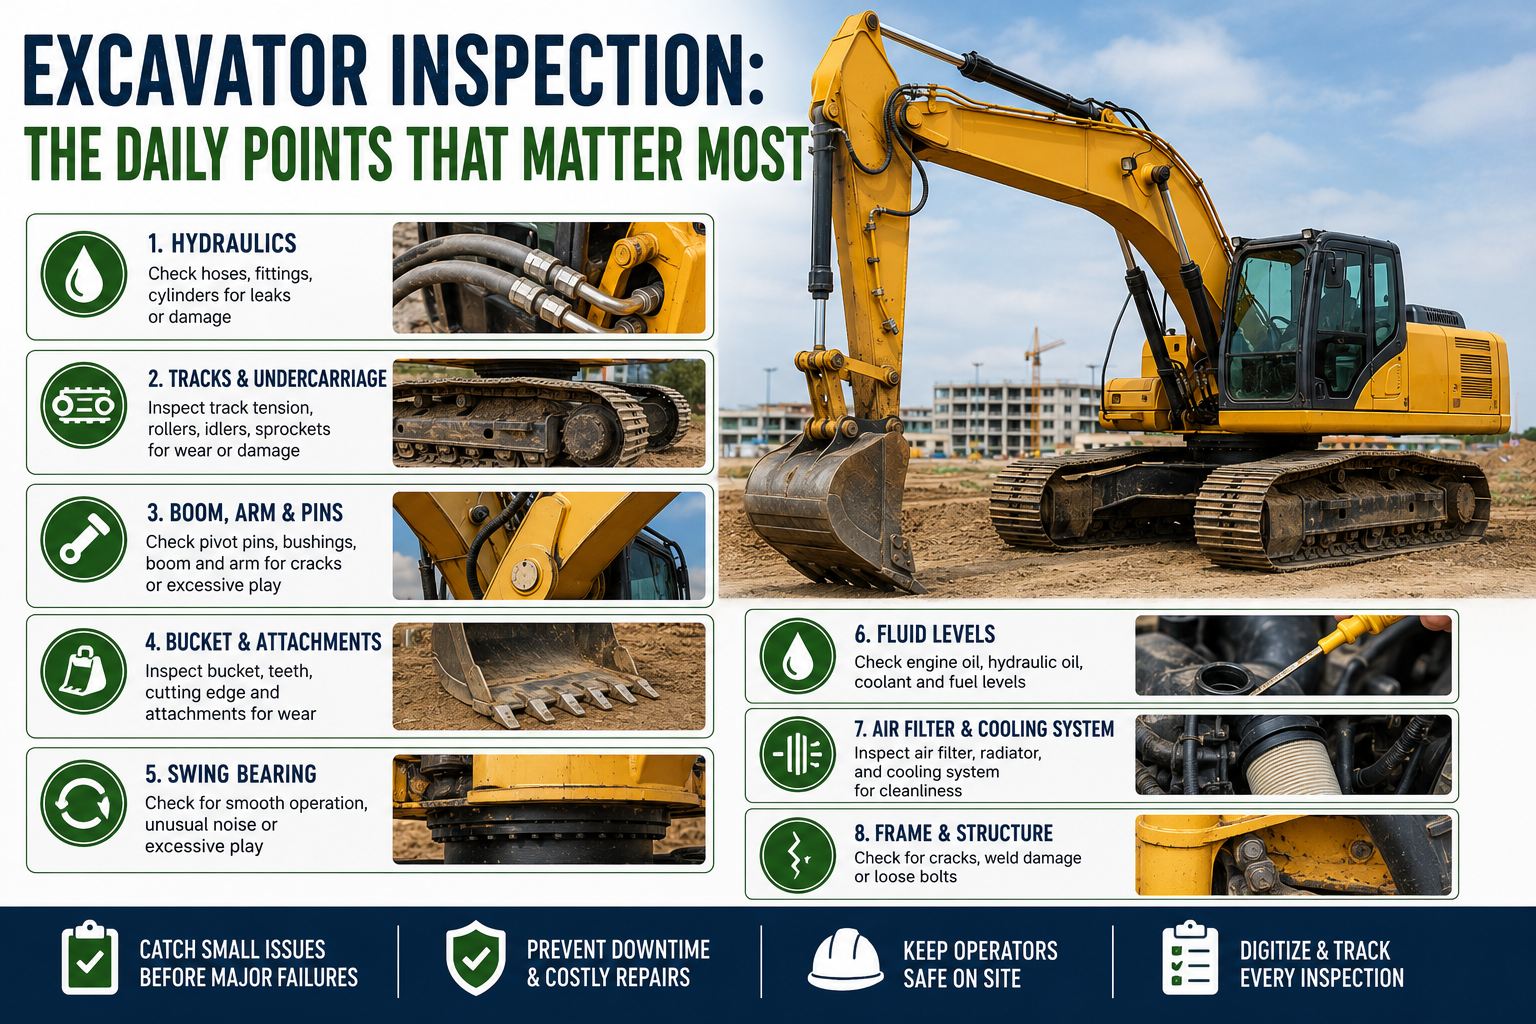
Excavator Inspection: The Daily Points That Matter Most
A complete pre-operational walkaround guide for fleet and maintenance managers. Catch the leaks, play, and wear that cause unplanned jobsite shutdowns before the key ever turns.
- OperatorM. Reyes
- ShiftDay / 06:14
- Points28 / 28 checked
- ResultCleared to Dig
- ~40%
of excavator repair costs trace back to the hydraulic system
Heavy equipment maintenance studies - 50%
of tracked machine owning costs come from undercarriage wear
Association of Equipment Management Professionals - 3 hrs
average jobsite idle time caused by an undetected pre-op failure
Fleet downtime industry averages - 1 in 4
paper DVIRs lost or illegible by the time they reach the shop
Internal fleet compliance audits
The Walkaround Workflow: Before You Turn the Key
A proper excavator daily check follows a specific sequence. You aren't just looking at the machine; you are looking for predictable failure patterns in a specific order. Starting at the ground and working up ensures you never miss a compromised track pad or a hidden frame crack while rushing to check the cab. Walk this sequence the same way every morning. If you want to standardize this across your entire fleet, you can book a demo to see the HVI workflow setup and roll it out to every operator.
Ground and Undercarriage
Start at the tracks. Look for sagging track chains — a deflection of 1 to 2 inches is standard, but anything more strains the motors and burns fuel. Check for cracked track pads, missing bolts, and worn sprockets. A worn sprocket hook will slip under load, killing your drive efficiency.
Boom, Stick, and Pins
Move up to the main structures. Visually inspect the boom and stick for cracks, especially at the high-stress weld points near the heel. Grab the stick and check for lateral play in the pivot pins and bushings. Excess play here means the bucket won't hold a clean trench line.
Hydraulic Lines and Cylinders
Trace every hose from the pump to the cylinder. Look for chafing where hoses rub against the boom, and check the rod seals for a wet sheen. A slow hydraulic leak under 4,000 PSI rarely stays slow. Note any weeping before it becomes a blown line on the pile.
Bucket and Attachment
Inspect the bucket teeth and cutting edge. Worn teeth force the machine to work harder, spiking fuel consumption and slowing cycle times. Check the quick coupler lock pins to ensure they are fully seated — a dropped bucket is a severe jobsite safety hazard.
Fluids, Cab, and Start-up
Pull the dipsticks. Check engine oil, hydraulic fluid, and coolant levels. Inspect the air filter restriction gauge. Finally, climb into the cab, test the horn and all safety interlocks, and listen to the machine during the first start-up for any unusual knock or whine.
Critical Systems: Failure Modes and Pass/Fail Criteria
When operators run through an excavator checklist, they need to know exactly what constitutes a fail. "Looks okay" is not a measurement. Use these specific criteria during your excavator pre op inspection to determine if the machine is safe to work or if it needs to be tagged out for maintenance. You can build these exact tolerances into your digital excavator DVIR setup by booking a quick demo with our team.
Excavator Hydraulics
- Pass: Dry rods, intact hoses, full fluid levels.
- Fail: Active drips, blistery hose covers, or a rod with visible scoring. Scored rods destroy the new seal you just installed.
- Action: Tag out immediately. Do not cycle the boom.
Excavator Tracks
- Pass: Sag within 1.5 inches, no missing track shoe bolts.
- Fail: Excessive sag, cracked pads, or sprockets with hooked teeth causing chain skipping.
- Action: Tension the track; replace pads if cracked.
Excavator Boom & Arm
- Pass: No visible weld cracks, tight pivot pins.
- Fail: Hairline cracks at the boom foot or heel, noticeable side-to-side play in the stick.
- Action: Park and call for NDT (non-destructive testing).
Bucket & Quick Coupler
- Pass: Sharp teeth, fully locked coupler, tight pin retainers.
- Fail: Worn-down teeth, bent side cutters, or a coupler that does not display a positive lock indicator.
- Action: Replace teeth; never operate a suspect coupler.
The Cost of the Paper Checklist
Relying on a clipboard for your excavator safety check is a gamble. Paper gets lost in the cab, smeared with grease, or filled out from the truck window an hour after the machine started digging. By the time the maintenance shop sees a noted defect, the machine has already run another full shift, turning a minor hydraulic weep into a catastrophic seal blowout. Digitizing this process is no longer just an administrative upgrade; it is a direct line to reducing your mean time to repair and keeping your earthmoving fleet online. You can replace your paper DVIRs with a free HVI account to see the difference immediately.
Excavator Maintenance: Moving Beyond the Daily Check
The daily excavator inspection points catch immediate dangers, but true excavator maintenance relies on tracking wear over time. A pin that has a quarter-inch of play today might be fine, but if you aren't logging that measurement weekly, you won't know when it hits the half-inch fail threshold until it shears. Implementing a system that tracks these wear trends allows you to schedule preventive maintenance during off-hours, rather than reacting to a broken track link in the middle of a pour. To build a proactive PM schedule based on your actual inspection data, schedule a walkthrough of the HVI preventive maintenance module.
Pre-Op Walkaround
Grease all pins and bushings, check fluid levels, inspect tracks and hydraulics. Log via mobile app.
Wear Measurements
Measure track sag precisely, check swing bearing play, inspect bucket tooth penetration and edge wear.
Fluid Sampling
Take hydraulic and engine oil samples for analysis. Replace fuel filters and check alternator belt tension.
Major Component Service
Inspect final drives, swing gear oil, and track adjuster seals. Schedule track overhaul if wear limits are nearing.
Expert view from the dirt
"We used to have guys scribble 'looks good' on a paper checklist and stuff it in the door pocket. Half the time, the first sign of a bad track pin was when the chain derailed and shut down the site. Once we forced them to take a photo of the hydraulic rods and measure the track sag on an app, our unplanned downtime dropped by a third. You can't argue with a picture of a blown seal.
-- Tomás M., Heavy Equipment Supervisor, civil earthworks contractor
Frequently asked questions
What is the most critical part of an excavator daily check?
While the entire walkaround matters, the hydraulic system and undercarriage are the most critical and expensive failure points. A blown hydraulic line can shut down the machine instantly and create a safety hazard, while track failures cause massive downtime. Checking fluid levels, hose integrity, and track tension daily prevents the majority of catastrophic failures.
How often should I grease excavator pins and bushings?
Most manufacturers recommend greasing pins and bushings daily, typically every 8 to 10 hours of operation. High-demand applications, such as continuous heavy lifting or demolition, may require more frequent greasing. Always pump grease until you see the old grease push out, ensuring dirt and debris are expelled from the joint.
What is the correct track sag for an excavator?
Track sag varies by machine size and manufacturer, but a general rule of thumb for standard excavators is 1 to 2 inches of sag between the carrier roller and the track roller. Always consult the operator's manual for the exact specification, as running tracks too tight accelerates sprocket and roller wear, while tracks too loose can derail.
Can a digital DVIR integrate with my existing maintenance software?
Yes. Modern digital DVIR systems like HVI are designed to integrate with fleet maintenance software. When an operator logs a defect on their excavator inspection, the system can automatically generate a work order in the CMMS, alert the shop foreman, and track the repair status without manual data entry.
Who is responsible for the daily excavator inspection?
The primary operator assigned to the machine is responsible for performing the daily pre-operational inspection before start-up. However, the fleet maintenance manager or site supervisor is responsible for ensuring the inspections are completed, reviewing flagged defects, and taking the machine out of service if a safety hazard is identified.
Standardize your excavator inspection process today
Stop relying on greasy paper sheets and memory. HVI puts a guided, measurement-driven excavator checklist on every operator's phone, complete with mandatory photos, auto-generated work orders, and cloud-stored compliance records.
No credit card · No hardware · Live on your fleet in under two weeks