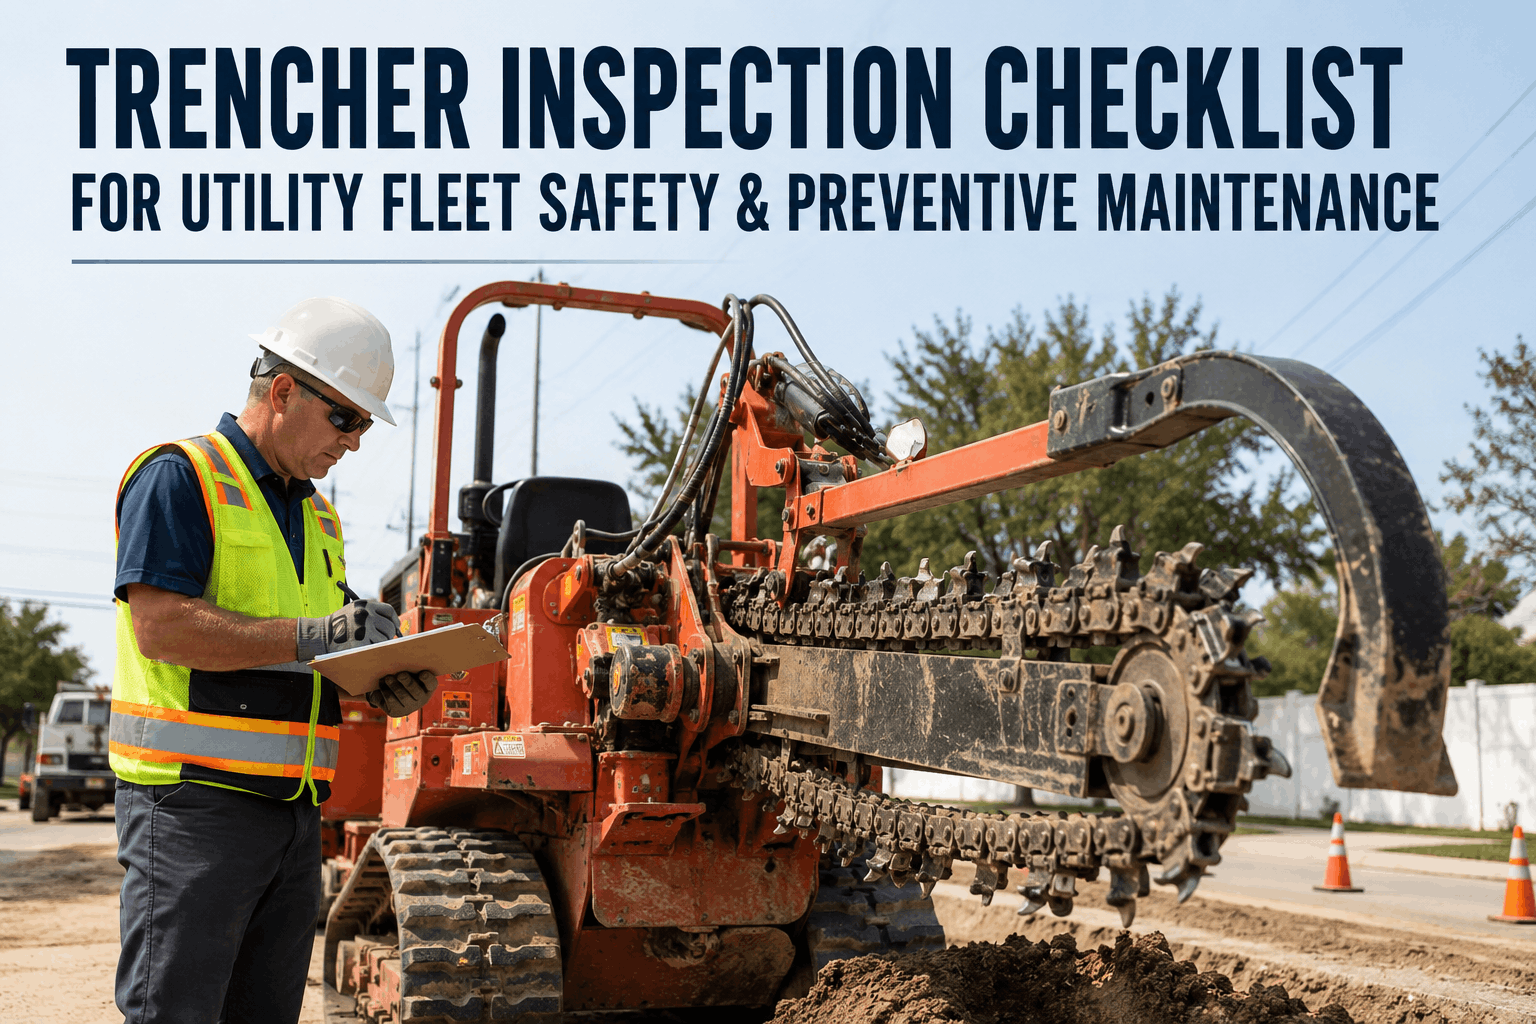
A trencher is one of the few machines on a utility crew that can put a worker in the hospital and knock out power to a neighborhood in the same second. Striking a buried gas line, electrical conduit, or water main during trenching can cause serious injury, death, property damage, and widespread service disruption — which is why OSHA requires the location of every underground utility to be established before an excavation is ever opened. But the hazards don't stop underground. The digging chain, teeth, and sprockets — the "CTS" system that does the actual cutting — wear fast and unevenly, and a worn or wrongly tensioned chain can slip off its sprocket mid-dig, shock-load the driveline, and turn a productive day into a costly breakdown. A disciplined pre-use inspection catches both classes of risk before the chain ever turns. This guide gives you the full trencher inspection checklist for utility operations — pre-dig safety, zone-by-zone equipment checks, and CTS wear limits — and shows how HVI's digital inspection and maintenance software turns it into a logged, trackable routine across your whole fleet. schedule a 30-minute walkthrough with our team to see it set up for your Vermeer and Ditch Witch units.
One missed check can hit a gas line. The right checklist catches it first.
HVI puts your trencher pre-use safety checks, CTS wear inspections, and PM schedules on every operator's phone — with 811 verification, photo-logged findings, and defects that route straight to a work order before the dig starts.
Before the chain turns: the pre-dig safety gate
Utility trenching is among the most dangerous construction operations — cave-ins, struck-by incidents, falls, and utility strikes are all live risks. These non-negotiable checks come before any inspection of the machine itself.
Call 811 — and wait
Verify underground utilities are located and marked before digging. Call 811 or your local one-call center at least 72 hours ahead. Mechanical equipment stays off until the exact utility location is confirmed.
Respect the tolerance zone
Hand-dig or pothole to expose utilities near painted marks and flags. Use extra caution on either side of the marked line, and never assume a mark is exact.
Never bypass guards or safety devices
Operating with bypassed safety features or missing guards is extremely dangerous and violates OSHA rules. Confirm all guards are present and intact before start-up.
Clear the work area
Park on level ground with the digging chain disengaged, clear all personnel and obstructions, and keep spoil piles and equipment at least 2 ft from the trench edge.
OSHA also requires trenches to be inspected at the start of each shift, after any rainstorm or water intrusion, and after any event that could change trench conditions — and atmospheric testing for low oxygen and toxic gases once a trench exceeds 4 ft deep.
The zone-by-zone trencher inspection checklist
Whether you run walk-behind, ride-on, or attachment trenchers, work the machine in zones so nothing gets skipped. In HVI, each zone becomes a checklist section your operator completes from a phone — with a photo required on any flagged item.
Zone A Digging system (CTS)
- Chain tension — two to three fingers should fit between chain and lower boom
- Teeth for wear, chips, or dullness; replace dull teeth immediately
- Sprocket teeth for thinning; rollers for "apple-core" shape or exposed pins
- Chain for side-to-side snaking (a sign of wear)
- Tooth pattern matches soil and ground conditions
Zone B Engine & fluids
- Engine oil and coolant levels (check daily)
- Air and fuel filters — service more often in dusty conditions
- Fuel level and no fuel-system leaks
- Battery secure, terminals clean
- Belts and hoses for cracks or fraying
Zone C Hydraulics
- Hydraulic fluid level and condition (color, clarity)
- Hoses, fittings, and cylinders for leaks or seepage
- Boom raise/lower and chain drive function smoothly
- No unusual noise or sluggish response under load
- Quick-couplers seated and secure
Zone D Mobility & controls
- Tires/tracks for wear, pressure, and tension
- Steering, brakes, and travel controls responsive
- Lights, alarms, and backup beeper working
- Operator presence and emergency-stop systems functional
- Lubricate all service points; clear debris from frame
A skipped CTS check is the most common cause of trencher downtime — and the easiest to catch on a phone. sign up for a free HVI account and build this exact zone checklist for your trencher fleet, or schedule a live demo to see a flagged chain defect route straight to a work order before the crew rolls out.
CTS wear limits: when to replace, not just inspect
The chain, teeth, and sprockets are the workhorse parts — and the wear clues aren't always obvious. Knowing the replace-now signals prevents the cascade failures that wreck engines and transmissions.
| Component | What to look for | Replace when |
|---|---|---|
| Teeth | Dullness, chips, uneven or standstill wear | Dull or broken — replace at once |
| Chain | Side-to-side snaking, stretched links | Snaking or stretched beyond spec |
| Rollers | "Apple-core" shape, visible pins | Cored or pin exposed |
| Sprockets | Thinning or hooked teeth | Teeth thinning — with the chain |
| Chain tension | Too loose (vibration) or too tight (sidebar wear) | Re-tension to 2–3 finger gap |
The cardinal rule: never replace sprockets alone. An old chain on new sprockets causes premature sprocket wear; a new chain on worn sprockets causes excessive chain wear and can lead to chain failure. Change the chain and sprockets together, every time.
Why worn digging components cost more than they look
A dull tooth feels like a small thing. It isn't — worn CTS parts trigger a chain reaction of damage and lost productivity that reaches far beyond the digging system.
Reduced digging efficiency and slower production — it takes more horsepower to run the chain
Stress transfers to the engine and transmission, risking damage to major components
A chain slips off the sprocket mid-dig — unplanned downtime on a live utility job
Every minute of trencher downtime is a heavy burden on a utility job's bottom line. The fix is upstream: routine maintenance lets crews catch a wrong chain tension before they ever leave the yard, instead of a chain slipping off its sprockets on site.
Daily, weekly, monthly: the maintenance rhythm
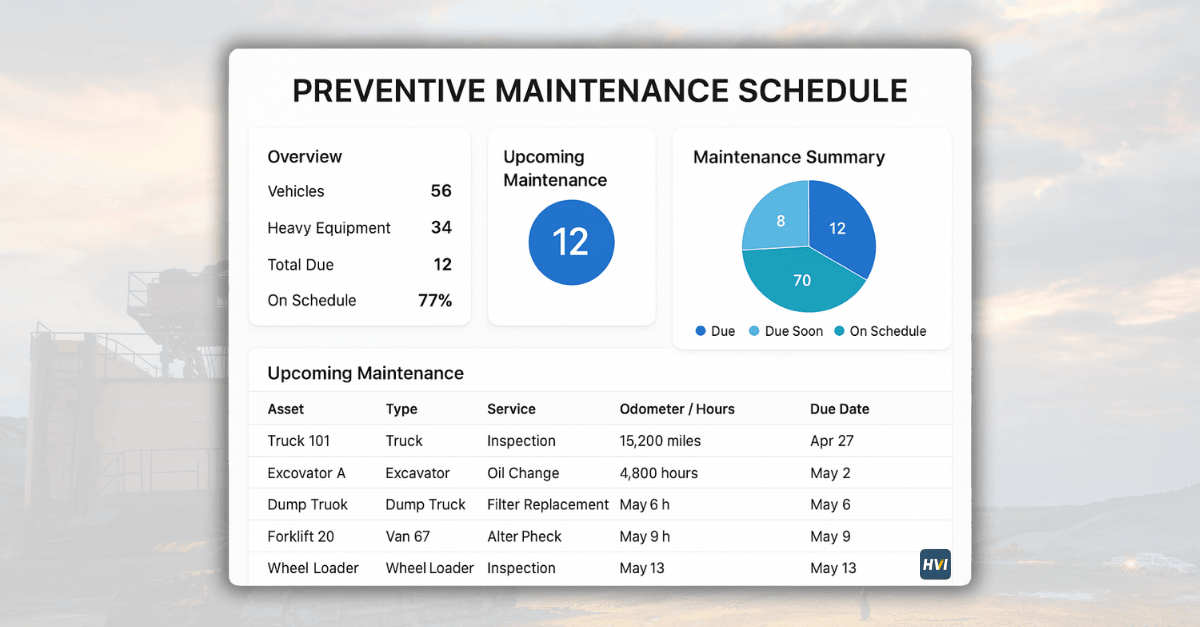
Vermeer and Ditch Witch both publish model-specific intervals in hours and matching calendar units. Use the operator's manual as the source of truth; HVI schedules each interval automatically by engine hours so nothing drifts.
Inspect & lubricate
Check chain tension, teeth, and digging system after each job. Verify engine oil and coolant, scan for leaks, and lubricate all service points. Check teeth any time the trencher acts sluggish.
Wear & filters
Measure CTS wear, inspect rollers and sprockets, and service filters — more often in adverse or dusty soil. Confirm tire pressure or track tension and check hydraulic condition.
Scheduled PM service
Follow the model-specific OEM interval for fluid changes, deeper hydraulic service, and driveline inspection. Log every service against the machine so warranty and audit history stays complete.
From clipboard to one tracked system with HVI
The checklist only works if it's actually done, logged, and acted on — every machine, every shift, across every crew. That's the gap paper leaves open and HVI closes.
Paper checklists
- 811 verification taken on someone's word
- Operator notices a worn tooth — and forgets to report it
- Chain-tension checks unrecorded across crews
- PM hours tracked on a yard whiteboard
- No proof of inspection when an auditor asks
- Defects discovered when the machine is already down
With HVI software
- 811 confirmation logged before the dig can start
- A flagged tooth becomes a photo-backed work order instantly
- Every zone check timestamped per operator and machine
- PM intervals fire automatically by engine hours
- Full inspection history exports for OSHA or warranty in seconds
- Defects caught in the yard, not on a live utility job
HVI links pre-use inspections, CTS wear tracking, PM scheduling, and work orders into one loop — so a worn-tooth note on a Monday walkaround becomes a scheduled fix, not a chain off the sprocket on a gas-line job. sign up free and put your whole trencher fleet on a tracked inspection routine in minutes.
Frequently asked questions
What should a trencher inspection checklist always include?
A complete trencher checklist works in two layers. First, the pre-dig safety gate: confirm 811 utility locating is done and marked, respect the tolerance zone with hand-digging near marks, verify no guards or safety devices are bypassed, and clear the work area with the chain disengaged. Second, a zone-by-zone machine inspection covering the digging system (chain tension, teeth, sprockets, rollers), engine and fluids, hydraulics, and mobility and controls. OSHA also requires inspecting the trench itself at the start of each shift and after rain or any condition change. HVI lets you build all of this as a single phone-based checklist with photos required on flagged items.
How do I check trencher chain tension correctly?
The standard rule of thumb is that two to three fingers should fit between the digging chain and the lower part of the boom. Chains that are too loose vibrate the machine and cause unnecessary wear, while overly tight chains create abnormal wear on the sprocket and sidebars. Larger trenchers use bigger chains that need more sag than smaller machines, so always confirm the correct tension for your specific model in the operator's manual. Checking tension before you leave the yard prevents the chain from slipping off its sprockets mid-dig — a common and avoidable source of downtime.
When should trencher teeth and chains be replaced?
Replace digging teeth as soon as they become dull, chipped, or show uneven wear — worn teeth slow production, waste horsepower, and shock-load the chain. Check teeth at the end of every day or job, and any time the trencher acts sluggish. For the chain, watch for side-to-side snaking and stretched links. The critical rule: never replace sprockets alone. An old chain on new sprockets causes premature sprocket wear, and a new chain on worn sprockets can cause chain failure — so chains and sprockets are always replaced together. Rollers should be replaced when they take on an "apple-core" shape or the pin becomes visible.
Why is 811 utility locating so important before trenching?
Because striking a buried utility can be catastrophic. Hitting a gas line, electrical conduit, water main, or communication line can cause serious injury, electrocution, explosions, property damage, and widespread service disruption. OSHA Standard 1926.651(b) requires the estimated location of underground installations to be determined before opening any excavation. Call 811 at least 72 hours ahead, wait for the locate, respect all markings and flags, and hand-dig within the tolerance zone. Mechanical equipment should not be used until the exact utility location is confirmed. HVI lets you make 811 confirmation a required step that must be logged before the inspection can be marked complete.
How does HVI help with trencher inspections specifically?
HVI digitizes the entire routine. Operators complete the pre-dig safety gate and zone-by-zone checklist from a phone, with photos required on any flagged item and 811 confirmation logged before work can start. A worn tooth, leaking hydraulic fitting, or wrong chain tension becomes a tracked work order on the spot instead of a forgotten note. PM intervals fire automatically by engine hours for each model, and the full inspection and service history exports in seconds for OSHA documentation or warranty claims. It works the same across walk-behind, ride-on, and attachment trenchers, and across mixed Vermeer and Ditch Witch fleets. schedule a demo and we will set it up around your specific trencher models and intervals on the call.
Make every trencher inspection logged, trackable, and audit-ready.
HVI runs your trencher pre-use safety checks, CTS wear inspections, PM schedules, and work orders in one connected workflow built for utility fleets. Catch the worn tooth and the wrong chain tension in the yard — not on a live gas-line job. Sign up free and protect your crew, your equipment, and your uptime.
No credit card required · Live in under two weeks · Safety checks + CTS tracking + PM scheduling + work orders in one platform

.png)