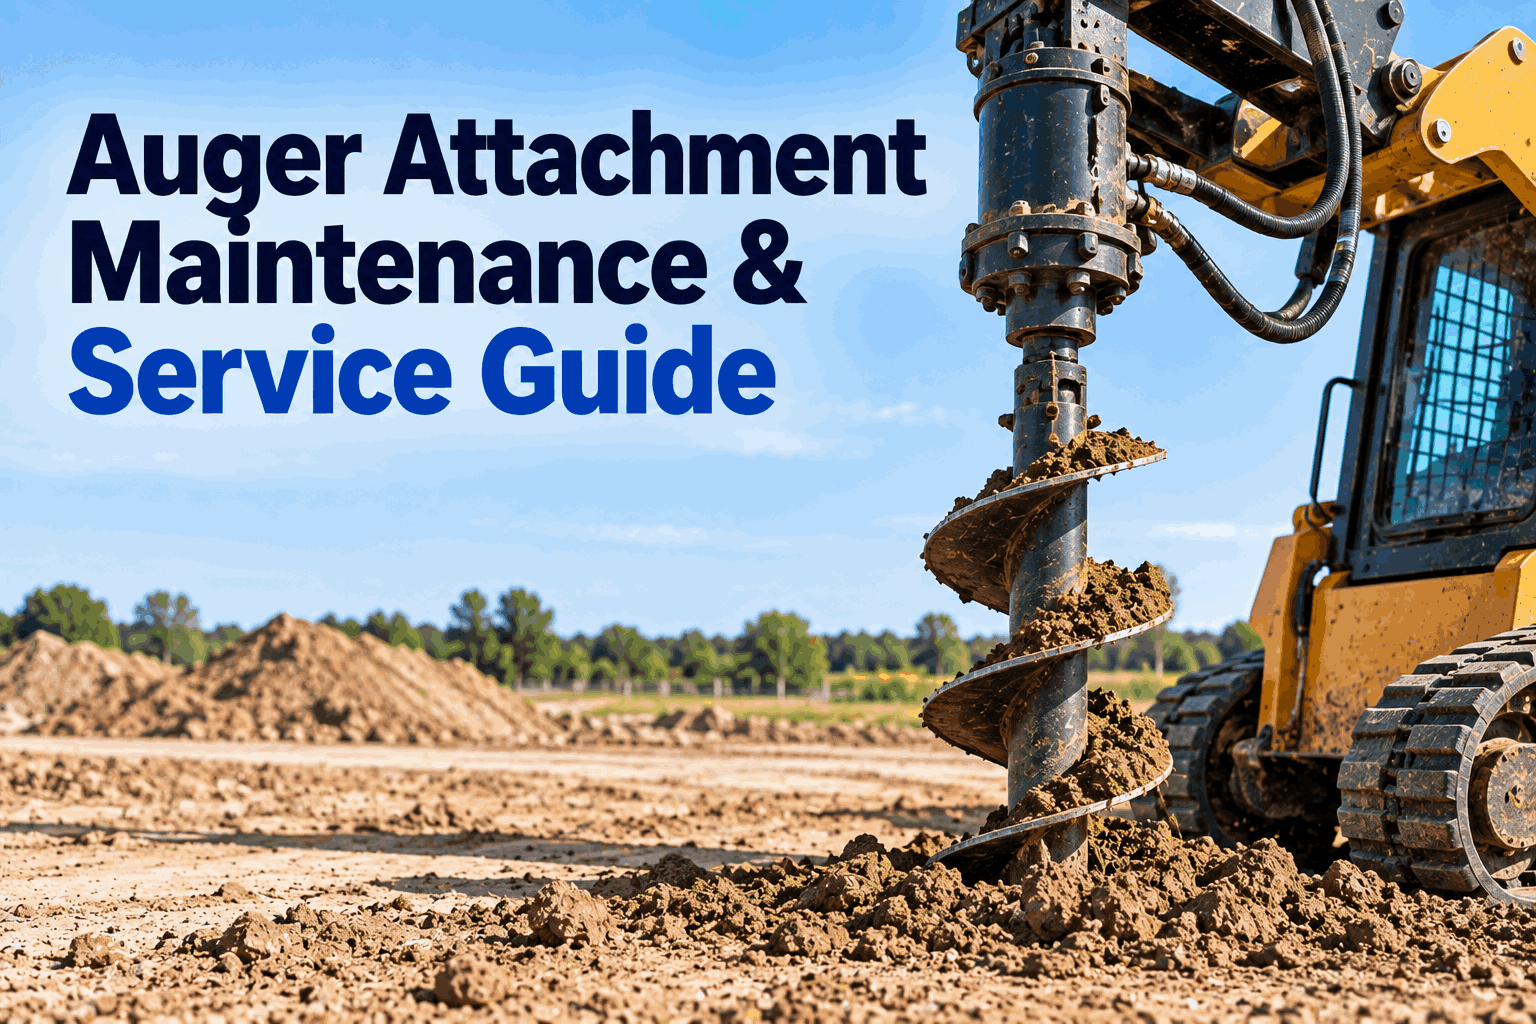
Auger attachment maintenance starts at the cutting end but should not stop there. Teeth and pilots take the obvious abuse, while the drive unit, gearbox, hydraulic hoses, couplers, mounting points and fasteners carry the loads that keep the auger drilling. A repeatable inspection process helps construction teams find wear before an excavator auger attachment or skid steer auger attachment becomes a jobsite repair.
Follow the Auger From the Ground Up
The component touching the soil may show wear first, but an effective auger maintenance program follows the complete power path—from tooth and pilot condition to the drive head and hydraulic connection.
Five inspection zones. One drilling attachment.
Instead of treating the auger as one component, divide the inspection into zones. This gives technicians a consistent route and makes defects easier to classify in the attachment service history.
Teeth, pilot and cutting components
The teeth and pilot work directly in abrasive soil, clay, gravel or other material. Check for worn profiles, missing components, cracks, abnormal wear and secure retention before drilling.
Flighting, shaft and fasteners
Inspect the auger body for cracks, distortion, damaged flighting and loose or missing hardware. Damage here can affect material movement through the hole and should not be hidden behind a simple “teeth checked” inspection item.
Drive head, output and gearbox
Check the drive unit for leakage, damage, abnormal movement and unusual operating behavior. Gearbox lubrication requirements, lubricant type and service intervals vary by attachment design, so use the exact manufacturer documentation for the unit being serviced.
Hoses, fittings and couplers
Hydraulic flow powers the drive motor. Inspect hoses for damage, abrasion or leakage and check fittings and couplers for condition, cleanliness and secure connection before operation.
Pins, frame and carrier connection
Inspect the mounting frame, pivot points, pins, locking arrangement and attachment connection. The attachment also needs to match the carrier's approved mounting and hydraulic requirements.
What the cutting end can tell you
Auger teeth replacement is not only a parts task. The wear pattern can give the maintenance team context about material conditions, component selection and how aggressively the attachment has been working.
Rounded or heavily worn teeth
Compare tooth condition across the cutting head. Replace consumable components according to the attachment manufacturer's wear criteria rather than waiting for complete loss.
One-sided or uneven wear
Record the pattern rather than only replacing the worn part. Repeated uneven wear deserves investigation of component condition, application and attachment setup.
Damaged or missing pilot
The pilot is part of the cutting assembly. Inspect its condition with the teeth instead of treating it as a separate after-failure repair.
Loose or missing hardware
Loose bolts and retaining components should be identified before drilling. A missing consumable is easier to correct in the yard than after the attachment reaches the hole.
Walk the attachment in the same direction every time
Caterpillar's current attachment guidance calls for daily auger checks that include teeth, bits, bolts, cracks and lubrication of the pivot pin at the top of the drive motor head. Your exact inspection should still follow the applicable attachment manual.
A digital auger attachment inspection gives every operator the same route and gives maintenance a record when a defect appears. See how HVI standardizes attachment inspections.
The drill only turns because the hydraulic path works
Bobcat describes hydraulic fluid flowing through high-pressure hoses into the auger's drive motor, where hydraulic power is converted into rotation. That makes hoses, couplers, hydraulic compatibility and the drive unit part of the maintenance system—not just carrier-side concerns.
Inspect hose condition
Look for abrasion, cuts, leakage, damaged protection and routing that could allow hoses to rub or become pinched during attachment movement.
Keep connections clean
Inspect couplers before connection and follow the manufacturer's contamination-control and connection procedures.
Match the carrier
Confirm the attachment's mount and hydraulic requirements are compatible with the host machine rather than assuming all hydraulic augers are interchangeable.
Don't invent one gearbox interval for every auger
Drive-unit designs differ. Lubricant type, oil level checks, service intervals, fill procedures and acceptable leakage criteria should come from the manual for the specific attachment model and serial number.
HVI can provide the common maintenance workflow while each attachment retains its own service requirements and history.
Some inspections should be triggered by the job—not the calendar
Preventive maintenance schedules matter, but attachment condition can change during a single difficult job. A useful program allows operators to trigger an additional inspection when operating conditions justify it.
This is where digital inspections become more useful than a maintenance calendar alone. A technician can see what happened, which component was affected and what corrective work followed. See how HVI connects inspection findings with maintenance activity.
The attachment can be ready while the replacement part is not
Teeth, pilots and other replaceable components are small compared with the host machine, but an unavailable wear part can still delay drilling. Link inspection findings with parts planning so commonly consumed components do not disappear into an untracked shelf.
Build the story of the attachment, one event at a time
Book a demo to see how HVI keeps attachment inspection and maintenance history connected.
Maintenance continues after the auger comes off the machine
Clean & inspect
Remove accumulated material as appropriate and inspect the cutting end, structure and drive unit before storage.
Protect hydraulics
Follow manufacturer procedures for disconnecting, cleaning and protecting hydraulic connections from contamination and damage.
Record unresolved defects
Do not let an attachment enter storage with a known issue that disappears from the maintenance queue.
A stored attachment should have a visible condition and service status—not just a location in the yard.
Auger Attachment Maintenance FAQs
What should be checked during an auger attachment inspection?
When should auger teeth be replaced?
How should an auger gearbox be maintained?
What should be checked on a hydraulic auger?
How can HVI help manage auger maintenance?
Manage the auger as an asset—not just an attachment.
A reliable auger attachment maintenance program connects cutting-tool wear, hydraulic condition, drive-unit service, preventive maintenance and replacement parts to the attachment's history. HVI gives construction teams one place to keep that record as attachments move between machines, crews and jobsites.