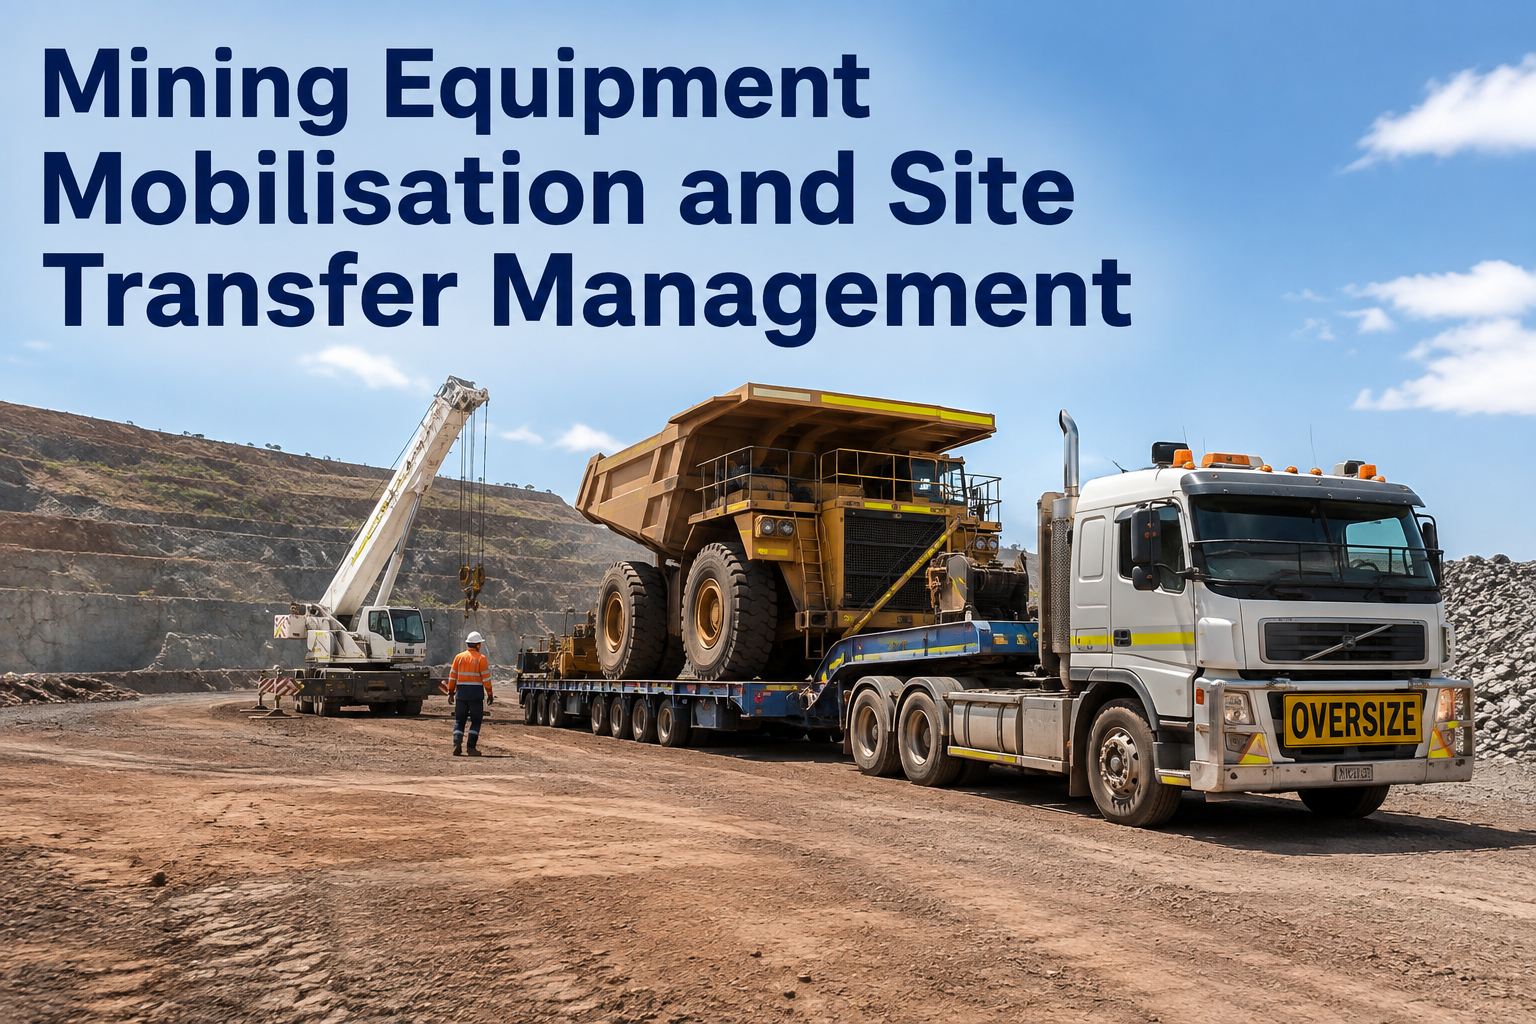
Moving a 240-tonne excavator from one pit to another is not a transport job - it is a full project with a paper trail, and mining equipment mobilisation is where fleets quietly lose weeks of uptime. The machine that left Site A in perfect working order arrives at Site B with a cracked slew ring, a missing hydraulic manifold cap, or a boom that was torqued by memory instead of by spec. Nobody photographed it before the low-loader pulled out, nobody logged the disassembly sequence, and now the maintenance team at the receiving site is staring at a machine that will not commission while the project schedule bleeds. If you have ever stood in a laydown area arguing about whether that damage happened in transit or was already there, you already know why this process needs structure. The good news: a disciplined transfer workflow, backed by digital records, turns a high-risk move into a repeatable routine - and you can walk through exactly how it works on your own fleet in a 30-minute demo.
Is your next pit-to-pit transfer a controlled project - or a coin toss?
Every unmanaged equipment move carries two failure modes: damage in transit and incorrect reassembly. Both are preventable. Both are expensive. And both become unarguable when there is no condition record at either end.
The real price of an unmanaged equipment transfer
These are not abstract risks. Each one maps to a line item your finance team or your client will eventually ask about.
How to plan a mining equipment mobilisation from shutdown to sign-off
Treat every move as a project with six gates. Skip one and the whole timeline shifts. Here is the sequence that keeps the machine, the schedule and the record intact.
Pre-move condition record
Before a single panel comes off, walk the machine with a structured inspection. Photograph every face, every hose run, every wear point. Log hours, fluid levels, existing damage and any open defects. This is the document that settles every later argument about what was already wrong. In HVI, this is a digital checklist with photo capture at each checkpoint - timestamped, GPS-tagged and attached permanently to the asset record.
Disassembly documentation
Machines moved in sections - draglines, large shovels, long-reach excavators - live or die by the quality of the strip-down record. Every bolt removed, every harness disconnected, every shim position needs to be logged in sequence. Reassembly quality is a direct function of disassembly documentation. If the technician doing the rebuild at the far end was not present at the strip, the record is all they have.
Permits, routing and escorts
Oversize loads need permits from every jurisdiction on the route, and lead times vary from days to weeks depending on the state, province or emirate. Route surveys identify bridge limits, overhead clearances and weight restrictions. Escort vehicles need to be booked in advance. Starting this after the machine is already stripped is the single most common cause of mobilisation delays.
Securement and transport
Load restraint on a low-loader or multi-axle float is not the same as a standard freight tie-down. Track chains, articulation points and hydraulic cylinders all need specific restraint methods. Photograph the secured load before departure. If the machine shifts in transit, those photos are the difference between a warranty conversation and a write-off.
Arrival inspection against departure record
The receiving team inspects the machine against the pre-move condition record, item by item. Any new damage is photographed and flagged immediately - not next week, not after reassembly starts. This is where disputes are won or lost, and it only works if the departure record exists in a format the receiving team can actually access on a phone at the laydown area.
Reassembly verification and commissioning
Torque checks on every structural bolt. Hydraulic system pressure tests. Electrical continuity on every reconnected harness. A full function test under load before the machine is released to production. Every check signed off, timestamped and attached to the asset. Only then does the machine go back to work - and only then is the transfer complete.
Transfer condition reports: what to capture at each end
A transfer condition report is not a formality. It is the evidence pack that decides who pays when something goes wrong. Here is what a defensible record looks like at both ends of the move.
Departure: photographic coverage
Minimum 40 photos on a large machine: all four faces, undercarriage, boom and stick pins, cab interior, hour meter, fluid sight glasses, any existing damage with a reference object for scale. Every photo timestamped and GPS-tagged. This is the baseline that every later claim is measured against.
Departure: disassembly log
Sequential record of every component removed: part number, position, orientation, fastener count, torque at removal, condition on removal. Shims, spacers and alignment marks photographed in place before they come off. This log travels with the machine and drives the reassembly sequence at the far end.
Arrival: comparison inspection
Same checklist, same photo angles, same checkpoints as the departure record. Any variance flagged immediately with photos and a written note. If a hydraulic line is chafed or a panel is dented, it is documented before reassembly begins - not discovered after commissioning when the transport insurer has already closed the file.
Arrival: reassembly sign-off
Torque values on every structural fastener, verified against OEM spec and recorded per bolt group. Hydraulic pressure test results. Electrical continuity checks. Function test under load. Each step signed by the technician who performed it, with a second sign-off from the supervisor before the machine is released to the production roster.
If your current process is a paper form in a folder that may or may not arrive with the machine, see how digital transfer records work in a live demo and judge the difference yourself.
Paper-based transfer records vs digital equipment transfer records
Most fleets still run mobilisation on paper checklists, WhatsApp photos and a binder that travels in the escort vehicle. Here is what that looks like side by side with a digital process.
| Transfer step | Paper and phone photos | Digital with HVI |
|---|---|---|
| Pre-move condition | Handwritten checklist, photos on a personal phone, no timestamps | Structured digital checklist with forced photo capture, timestamp and GPS on every item |
| Disassembly log | Notebook or spreadsheet, sequence depends on who wrote it | Step-by-step digital log attached to the asset, accessible to the reassembly crew at the far end |
| Arrival comparison | Receiving team works from memory or a photocopy that may be incomplete | Same checklist re-opened on any phone, side-by-side with departure photos and notes |
| Damage dispute | Unresolvable without timestamps; claim drags on for weeks | Timestamped, GPS-tagged evidence at both ends settles the question in minutes |
| Maintenance history | Stays in the old site's filing cabinet; new site starts from zero | Full per-asset history follows the machine across sites, accessible from any device |
| Reassembly sign-off | Verbal confirmation or a signature on a form nobody can find later | Digital sign-off per step, technician and supervisor, permanently attached to the asset record |
The difference is not marginal. It is the difference between a three-day dispute and a three-minute one. Start logging your first transfer record free and see how it changes the next move.
Your next equipment move is already on the schedule
The question is whether the record trail will protect you when something goes wrong. See HVI running a full transfer workflow on your own assets - 30 minutes, no commitment.
Four HVI capabilities built for equipment relocation and site transfer
HVI is not a generic CMMS bolted onto a mining problem. These are the specific tools that fleet and maintenance managers use to run mobilisation as a controlled project instead of a gamble.
Mobilisation checklists
Build a custom transfer checklist once and reuse it on every move. Forced photo capture at each checkpoint means no step gets skipped, and every photo is timestamped and GPS-tagged automatically. The departure record is complete before the low-loader leaves the gate.
Equipment transfer records
Every inspection, every defect, every work order and every photo stays attached to the asset - not to the site. When a machine moves from Pit 3 to Pit 7, its full maintenance history moves with it. The receiving team sees everything on their phone before the machine arrives.
Photo evidence at both ends
Departure photos and arrival photos sit side by side in the same asset record. Damage disputes that used to take weeks of email chains now resolve in a single conversation, because the evidence is timestamped, location-tagged and impossible to argue with.
Per-asset history across sites
PM schedules, open defects, parts history and cost-per-hour data all persist across site transfers. The machine that arrives at the new site does not start with a blank slate - the maintenance team already knows its last service, its open work orders and its wear trends.
These are not features on a roadmap. They are live in the product today, and you can see them running on a real transfer workflow in a demo before your next move is due.
What to remember before your next mining equipment mobilisation
Every move is a project, not a task. Six stages - condition record, disassembly log, permits, transport, arrival inspection, reassembly verification - and each one has a gate that must close before the next opens.
The pre-move condition record is your insurance policy. Without timestamped, photographic evidence at departure, transit damage claims become unresolvable and recommissioning stalls while lawyers argue.
Reassembly quality depends on disassembly documentation. The technician rebuilding the machine at the far end was probably not at the strip-down. The record is all they have - make it complete.
The machine's history must follow it. A maintenance record that stays behind at the old site forces the receiving team to start from zero. Digital per-asset history eliminates that gap entirely.
Paper does not survive a transfer. Binders get left in escort vehicles, photos stay on personal phones, and spreadsheets live on one person's laptop. A digital transfer record is the only version that arrives intact, every time.
If you are planning a move in the next quarter, now is the time to book a walkthrough of the transfer workflow so the process is in place before the machine goes down.
I track one number on every equipment move: days from arrival to first production hour. Before we digitised the transfer record, that number averaged eleven days across our last four moves - mostly because of damage disputes and missing disassembly notes. After we started running the whole thing through HVI checklists, our last two moves were back in production in four days. The difference is not the machine or the crew. It is the record.
Mining equipment mobilisation: what fleet and maintenance managers ask
What should a transfer condition report include for heavy mining equipment?
How do you handle oversize transport permits for mining equipment moves?
What is reassembly verification and why does it matter after a site transfer?
How do you keep maintenance history intact when equipment moves between sites?
What is the biggest risk in a pit-to-pit equipment transfer?
Run your next equipment transfer like a project, not a gamble
HVI gives you the checklists, the photo evidence, the transfer records and the per-asset history to move any machine between sites with full confidence - and full proof if anything goes wrong.
Free to start - Works on any phone - No card needed