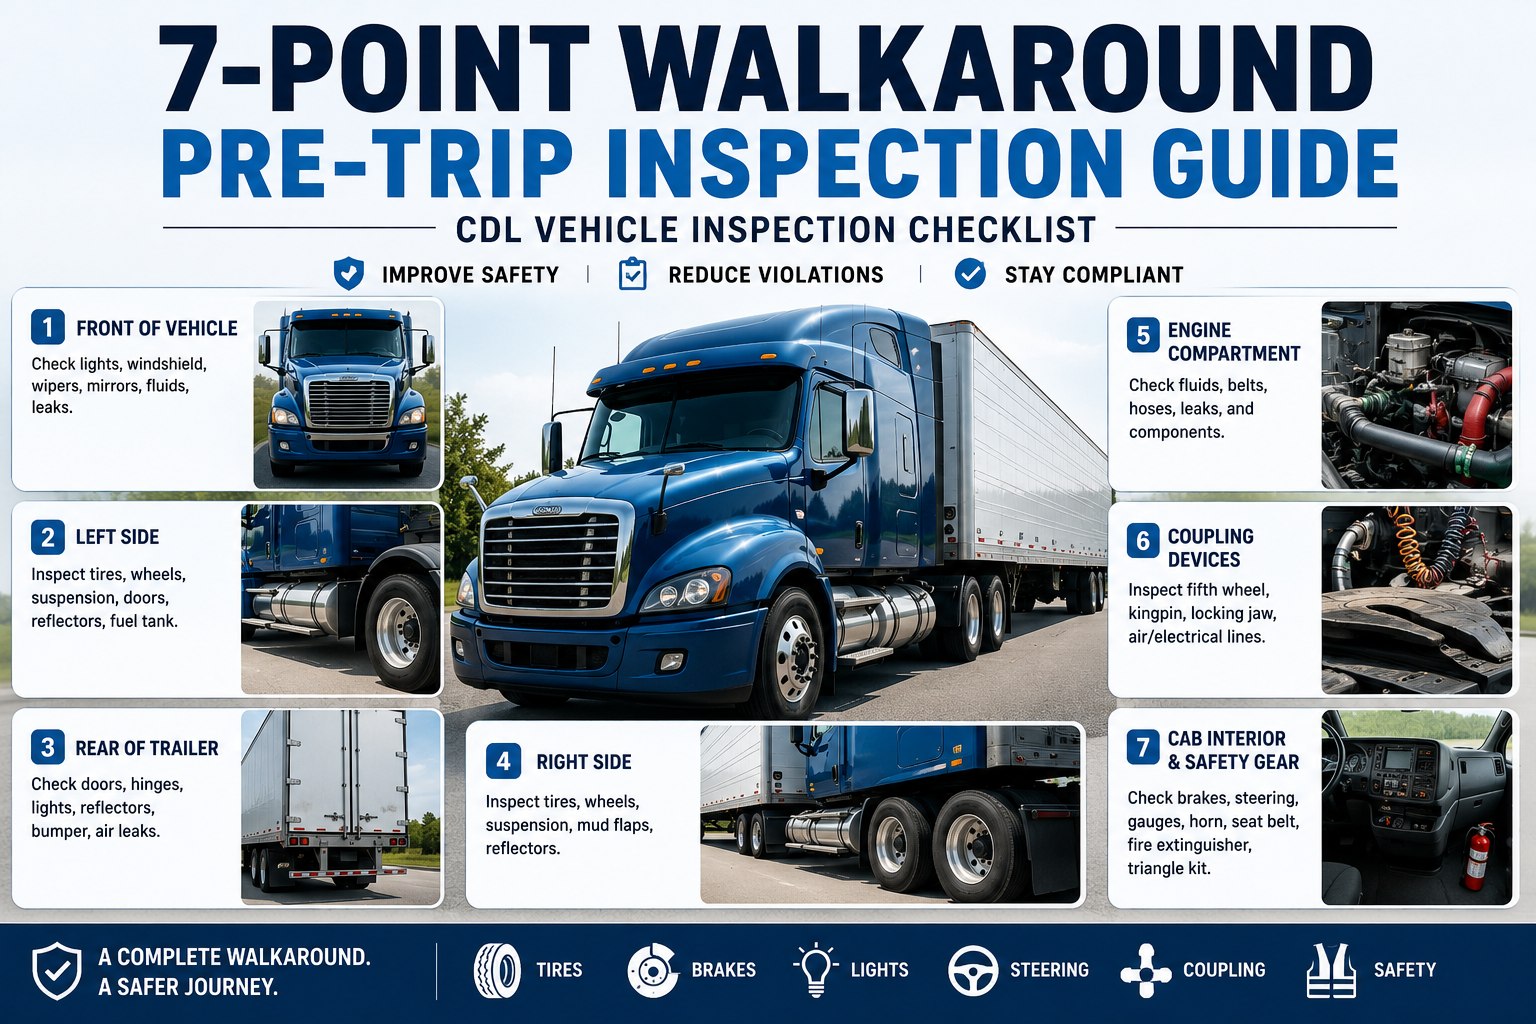
Ask ten drivers to do a pre-trip and you'll get ten different routes — and that's exactly how a cracked marker lamp or a slack adjuster past limit slips through. The fix isn't inspecting harder, it's inspecting the same way every single time. The 7-point walkaround is the pattern FMCSA recommends and CDL schools drill for one reason: when you start in the same spot and move in the same direction, nothing gets skipped. This guide walks all seven points in order — what to check, the defect that pulls a truck out of service, and the reg behind it — so your walkaround catches problems before an inspector does. Book a 30-minute walkthrough to see the 7 points run as a guided check on a phone.
The 7-Point Walkaround Pre-Trip Inspection Guide
The FMCSA-recommended walkaround pattern, point by point — approach, engine, cab, driver side, rear, passenger side, and the brake & light check — with the out-of-service defect and reg cite for each stop.
Class A · Tractor-trailer
- Points
- 7 in sequence
- Checkpoints
- ~45 unit / 15 trailer
- Time
- 10–15 min
- If a defect
- Fix before driving
Same route, every trip
-
~45
checkpoints on the power unit, plus ~15 more for a trailer
FMCSA / CDL standards -
18%
of trucks inspected in 2025 were placed out of service — mostly for walkaround items
CVSA Roadcheck 2025 -
41%
of vehicle OOS orders are brake-related — all catchable pre-trip
CVSA Roadcheck 2025 -
10–15
minutes for a thorough walkaround — half that with a digital checklist
industry inspection data
Why the 7-point method works
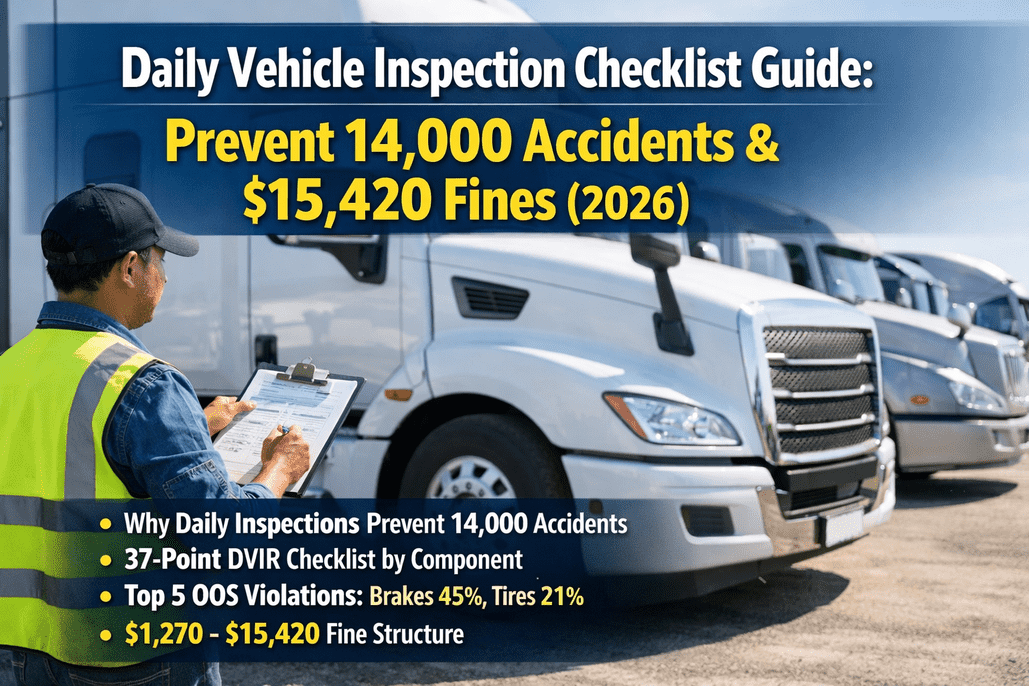
A pre-trip inspection isn't optional — under 49 CFR 392.7 a driver may not operate a commercial vehicle unless satisfied its parts and accessories are in good working order, and under 396.13 the driver must review the last DVIR before driving. But knowing the rule isn't the same as catching the defect. The reason the 7-point walkaround is taught in every CDL program is consistency: a fixed route around the vehicle means you hit brakes, tires, lights, steering, and coupling in the same order every time, so the burned-out clearance lamp or the leaking hub seal doesn't get skipped in a rushed morning. Those are the exact items that ground trucks at roadside — brakes and tires alone drove more than 60% of out-of-service orders in 2025, and every one of them is visible on a proper walkaround. See how HVI turns the 7 points into a guided routine
The walkaround route at a glance
Seven points, one continuous loop — start at the front, work through the engine and cab, then circle the vehicle and finish with the brake and light check. Follow the same direction every time.
- 1Approach & overview
- 2Engine compartment
- 3In-cab & start-up
- 4Driver side
- 5Rear & coupling
- 6Passenger side
- 7Brake & light check
Whichever exact order your state examiner uses, the principle holds: pick one pattern and never change it. Load the 7-point sequence onto every driver's phone
The 7 points, step by step
Here's each point in order — what you're looking at, the defect that pulls the truck out of service, and the standard behind it. The amber points are where most roadside violations cluster.
-
1
Approach & vehicle overview
49 CFR 392.7- Vehicle sits level — no lean that hints at a flat tire or broken spring
- No fresh fluid puddles under the truck; no hissing air leaks
- Body and glass free of obvious damage; last DVIR reviewed and signed off
Stop if: a visible lean, a fuel or hydraulic puddle, or an unresolved defect on the previous DVIR.
-
2
Engine compartment
49 CFR 393- Oil, coolant, power-steering, and washer fluid at proper levels
- Belts and hoses secure, not frayed, cracked, or leaking
- Air compressor, alternator, and water pump mounted and not leaking
- No puddles or wet spots under the engine
Stop if: a fluid below the refill mark, a cracked belt or leaking hose, or a loose-mounted compressor or alternator.
-
3
In-cab & start-up
49 CFR 393.100+- Seat belt mounted, not frayed, latches and retracts
- Gauges, wipers, washers, heater/defroster, and horn all work
- Fire extinguisher charged and mounted; three reflective triangles; spare fuses
- Mirrors clean and adjusted; windshield clear in the driver's view
Stop if: a missing or discharged fire extinguisher, missing warning triangles (an OOS on its own), or an inoperative horn or wiper.
-
4
Driver-side walkaround
49 CFR 393.75- Steer tire tread at least 4/32"; drive tires 2/32"; inflation at least 50% of rated
- No cuts, bulges, or exposed cord (the ABC check); valve stems capped
- Rims free of cracks or unauthorized welds; lug nuts tight, no rust trails
- Slack adjuster pushrod moves no more than 1" when pulled by hand
- Springs, U-bolts, shocks, and airbags intact and not leaking
Stop if: tread below minimum, exposed cord, a flat, a cracked rim, loose lugs, or a slack adjuster past 1" of travel.
-
5
Rear & coupling system
49 CFR 393.70- Fifth wheel locked, kingpin fully engaged in the jaws, release arm in locked position
- Mounting bolts tight, skid plate greased, slider pins fully seated
- Glad hands sealed with no air leaks; service and emergency lines not rubbing or kinked
- Electrical pigtail connected and latched, not dragging
- Landing gear fully raised, crank handle secured; mud flaps and reflective tape intact
Stop if: the kingpin isn't locked, a slider pin is disengaged, or a glad hand leaks — coupling defects are a top OOS trigger on combinations.
-
6
Passenger-side walkaround
49 CFR 393.75- Repeat the tire, wheel, and suspension checks on the passenger side
- Duals not touching each other and matched in size; hub seals not leaking
- Fuel tank secure, cap in place, no leaks; exhaust not leaking under the cab
- Frame and cross-members free of cracks or bends
Stop if: duals in contact, a leaking hub seal or fuel tank, or a cracked frame member.
-
7
Brake & light check
49 CFR 393.9 & 393.40+- Walk the lights: headlights, tail, brake, turn, clearance, marker, plate lamps, flashers
- Reflectors and tape clean and unbroken — red to the rear, amber to the sides
- Complete the air brake test (see below) before the truck moves
- Parking brake holds; service brakes stop the truck straight, no pull
Stop if: any required lamp is inoperative, the air brake test fails, or the parking brake won't hold.
The air brake check, done right
The air brake test is the most failed part of the walkaround — and the most important. Run it in sequence before the truck moves. Drivers remember it as L.A.B.: Leak-down, Alarm, Button.
-
L
Leak-down
Build pressure to governor cut-out (120–140 psi), shut off, release the brakes and time the drop. With brakes applied, it must not fall more than 3 psi in a minute on a single vehicle, or 4 psi on a combination.
-
A
Alarm
Fan the brake pedal down. The low-air warning light and buzzer must activate before pressure drops below 60 psi — your early warning that air is running out.
-
B
Button
Keep fanning. The tractor and trailer protection valves (the buttons) must pop out between 20 and 45 psi, sealing the trailer so it can't run away on lost air.
Then build pressure back up — it should climb from 85 to 100 psi within about 45 seconds — and confirm the governor cuts out in range. Miss any step on a CDL test and it's an automatic fail; miss it in the yard and it's a roadside OOS. Book a demo to see the brake check gated in the app
The memory aids that keep it consistent
CDL instructors teach three quick acronyms so nothing gets missed on any component. They work just as well in daily operations as on test day.
-
ABC
Rubber items
Abrasions, Bulges, Cuts. Run it on every tire, hose, and air line — if you see any of the three, it's a defect.
-
CBB
Metal items
Cracked, Bent, Broken. Apply to rims, frame, mounts, and slack adjusters — any of the three pulls the part out of service.
-
PMS
Mounted items
Properly Mounted and Secure. Use it on the compressor, alternator, fifth wheel, and every bracket — loose is a defect.
Say what you're checking out loud, touch each part, and use three points of contact getting in and out of the cab. Consistency is what turns a walkaround from a formality into a real safety check. Start free and standardize the walkaround across your fleet
Paper walkaround vs. HVI digital walkaround
The 7 points are the same either way. What changes is whether every point actually gets done, whether defects reach the shop, and whether you can prove the inspection happened.
Paper walkaround
- A signature with no proof the 7 points were walked
- Easy to skip a point and still complete the form
- Tread and pushrod judged by eye, never recorded
- No photo of the defect that was found
- DVIR lost before the shop or an auditor sees it
HVI digital walkaround
- The 7 points gated in sequence — none can be skipped
- Measurement fields for tread depth and pushrod stroke
- Mandatory photos on any flagged defect
- Defects auto-route to a work order before dispatch
- A compliant eDVIR generated and retained automatically
Electronic DVIRs help prevent an estimated 14,000 accidents a year through early defect detection — and a digital walkaround is what makes the 7 points repeatable across a whole fleet. Sign up free and digitize the 7-point walkaround
Expert view
Jerome T.
CDL Instructor & Safety Lead
Carrier training program
120 drivers
New drivers think the 7 points are about passing the test. They're not — they're about muscle memory. When you walk the same route a thousand times, your eyes stop at the cracked lamp automatically because that's where they always stop.
The drivers who get violations are the ones who freelance the order — front, then trailer, then back to a wheel they forgot. Pick the seven points, go the same direction every day, and the defects find you. The app just makes sure nobody quietly drops a point when they're running late.
— Jerome T., CDL Instructor & Safety Lead, carrier training program
Frequently asked questions
What are the 7 points of a pre-trip walkaround?
The classic 7-point walkaround, recommended by FMCSA and taught in CDL programs, moves in a fixed loop around the vehicle: (1) approach and vehicle overview, (2) engine compartment, (3) in-cab inspection and start-up, (4) driver-side walkaround, (5) rear and coupling system, (6) passenger-side walkaround, and (7) the brake and light check. The exact order can vary slightly by state examiner, but the principle is always the same — pick one consistent pattern and move in the same direction every time so no component gets skipped. Following a set route is what catches the burned-out lamp, the low tire, or the loose slack adjuster before they become roadside violations.
How long should a pre-trip walkaround take?
A thorough 7-point walkaround takes about 10 to 15 minutes on a power unit, and longer for a combination vehicle because of the additional trailer and coupling checks. With a guided digital checklist that number drops to roughly 5 to 10 minutes while actually improving defect detection, since the app prompts each point and captures measurements. During a CDL skills test the same inspection takes longer — often 20 to 30 minutes — because the driver must point to and verbally explain each item for the examiner. The key is being thorough rather than fast: rushing is exactly how drivers miss the items that cause out-of-service orders.
Is a pre-trip walkaround legally required?
Yes. Under 49 CFR 392.7, a driver may not operate a commercial motor vehicle unless satisfied that its parts and accessories — including brakes, steering, lights, tires, horn, wipers, mirrors, coupling devices, and emergency equipment — are in good working order. Under 49 CFR 396.13, before driving the driver must also review the last driver vehicle inspection report (DVIR) and confirm any noted defects were repaired. The walkaround is the act of checking; the DVIR is the documentation. For property-carrying vehicles a written DVIR is federally required when a defect is found, though many carriers require one for every inspection as a best practice for audit defense.
What is the L.A.B. air brake check?
L.A.B. is the memory aid for the three-part air brake test in the walkaround: Leak-down, Alarm, Button. For leak-down, build pressure to governor cut-out (120–140 psi), shut the engine off, apply the brakes, and confirm the pressure drop doesn't exceed 3 psi per minute on a single vehicle or 4 psi on a combination. For the alarm, fan the brake pedal down and confirm the low-air warning light and buzzer come on before pressure falls below 60 psi. For the button, keep fanning until the tractor and trailer protection valves pop out between 20 and 45 psi. The air brake check is required, not optional — on a CDL test, missing it is an automatic failure, and in daily operation a failed brake system is a roadside out-of-service order.
What defects most often fail a pre-trip inspection?
The most common are the same items that top roadside out-of-service data: brakes and tires. Brake defects — worn linings, air leaks, out-of-adjustment slack adjusters, cracked drums — accounted for roughly 41% of vehicle out-of-service orders in 2025, and tire issues like insufficient tread (below 4/32" on steers, 2/32" elsewhere), exposed cord, or underinflation accounted for about 21%. Lighting failures, coupling defects, and missing emergency equipment such as warning triangles round out the list. Every one of these is visible or measurable during a proper 7-point walkaround, which is why a consistent inspection routine — ideally with measurement fields for tread and pushrod stroke — prevents the majority of roadside violations.
Make the 7-point walkaround the same on every truck
HVI runs the full 7-point pre-trip as a guided pass/fail walkaround — the points in sequence, measurement fields for tread and pushrod, the L.A.B. brake check, mandatory defect photos, and an eDVIR generated automatically. Turn a routine that varies by driver into one that's identical, documented, and audit-ready on every truck in the yard.
No credit card · No hardware · Live on your fleet in under two weeks