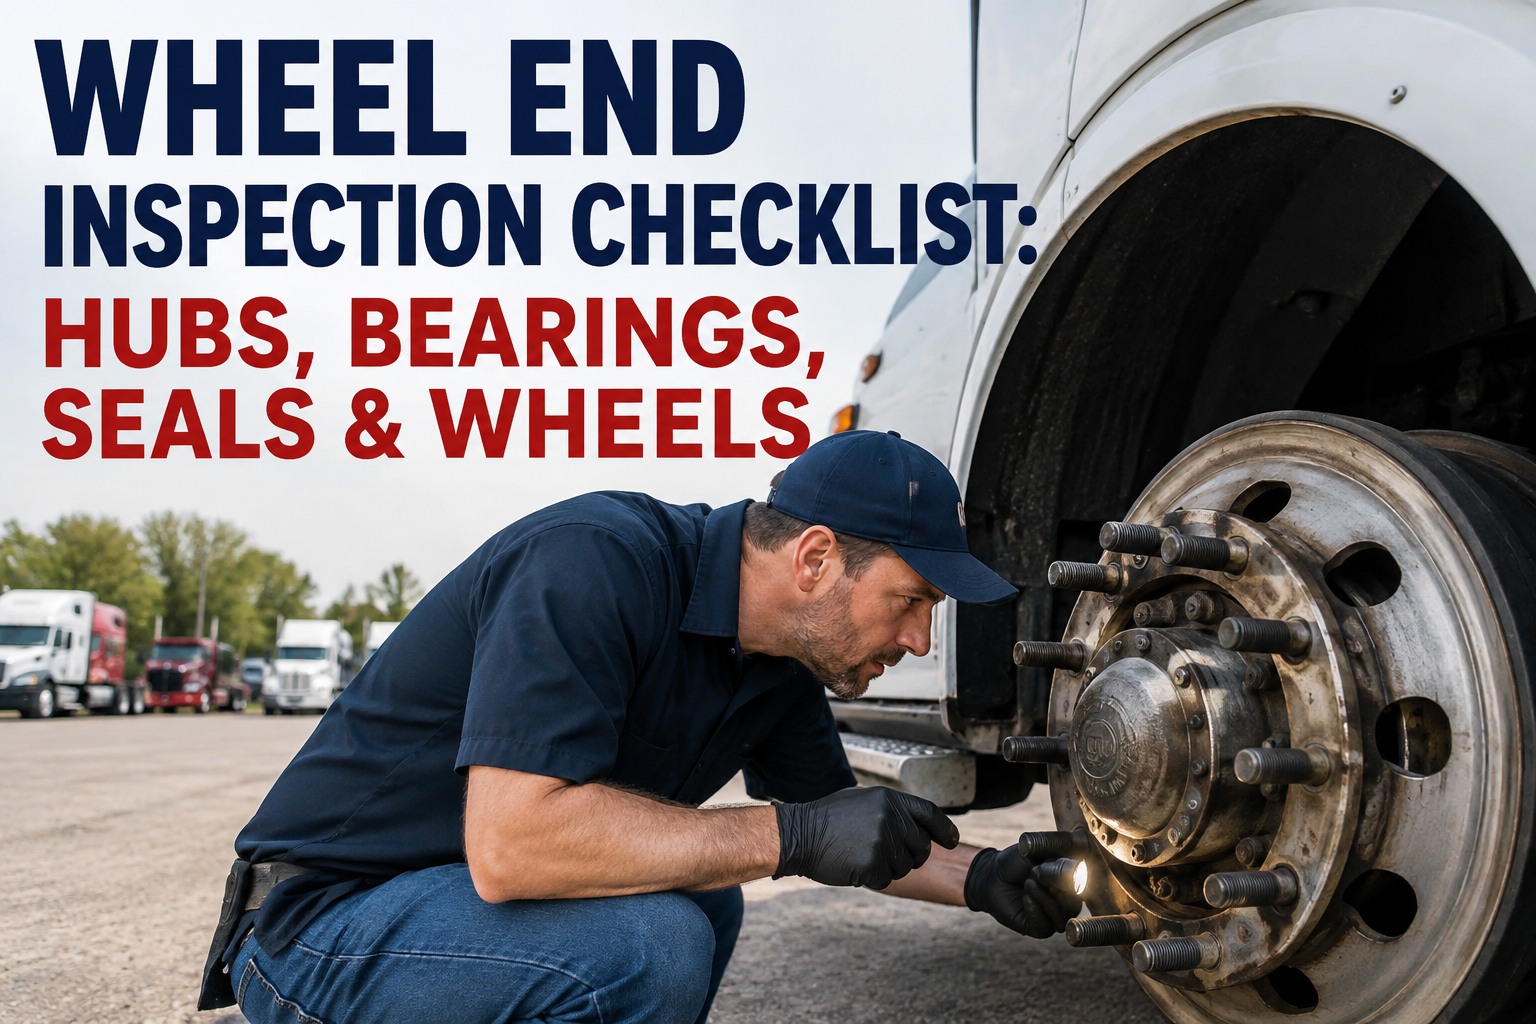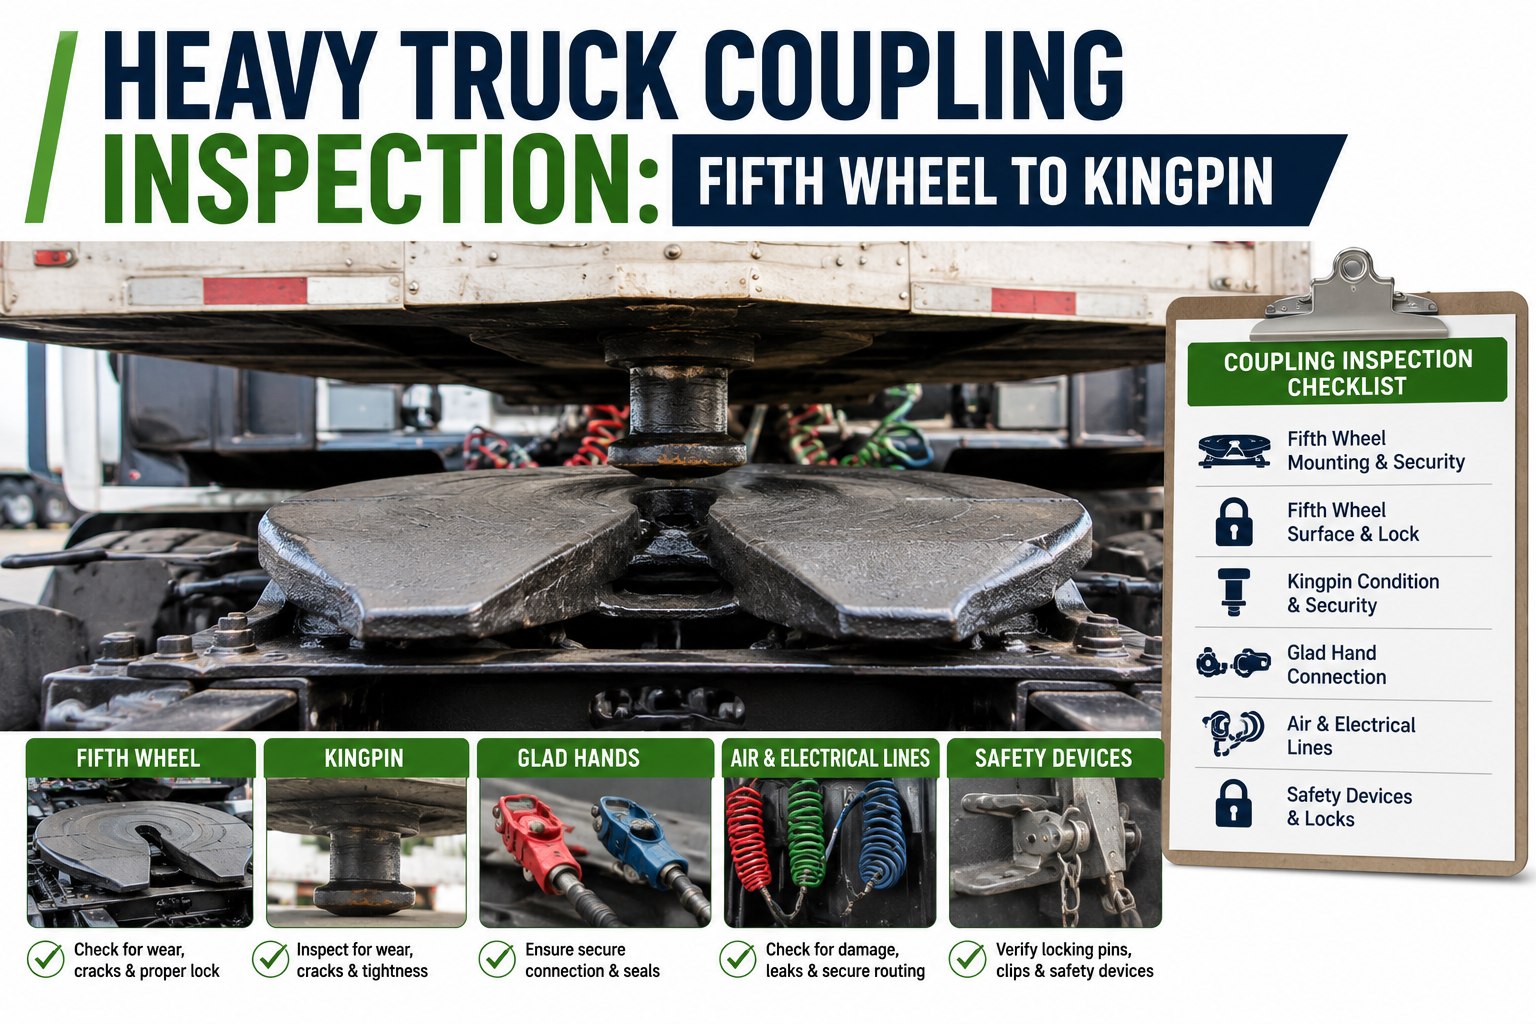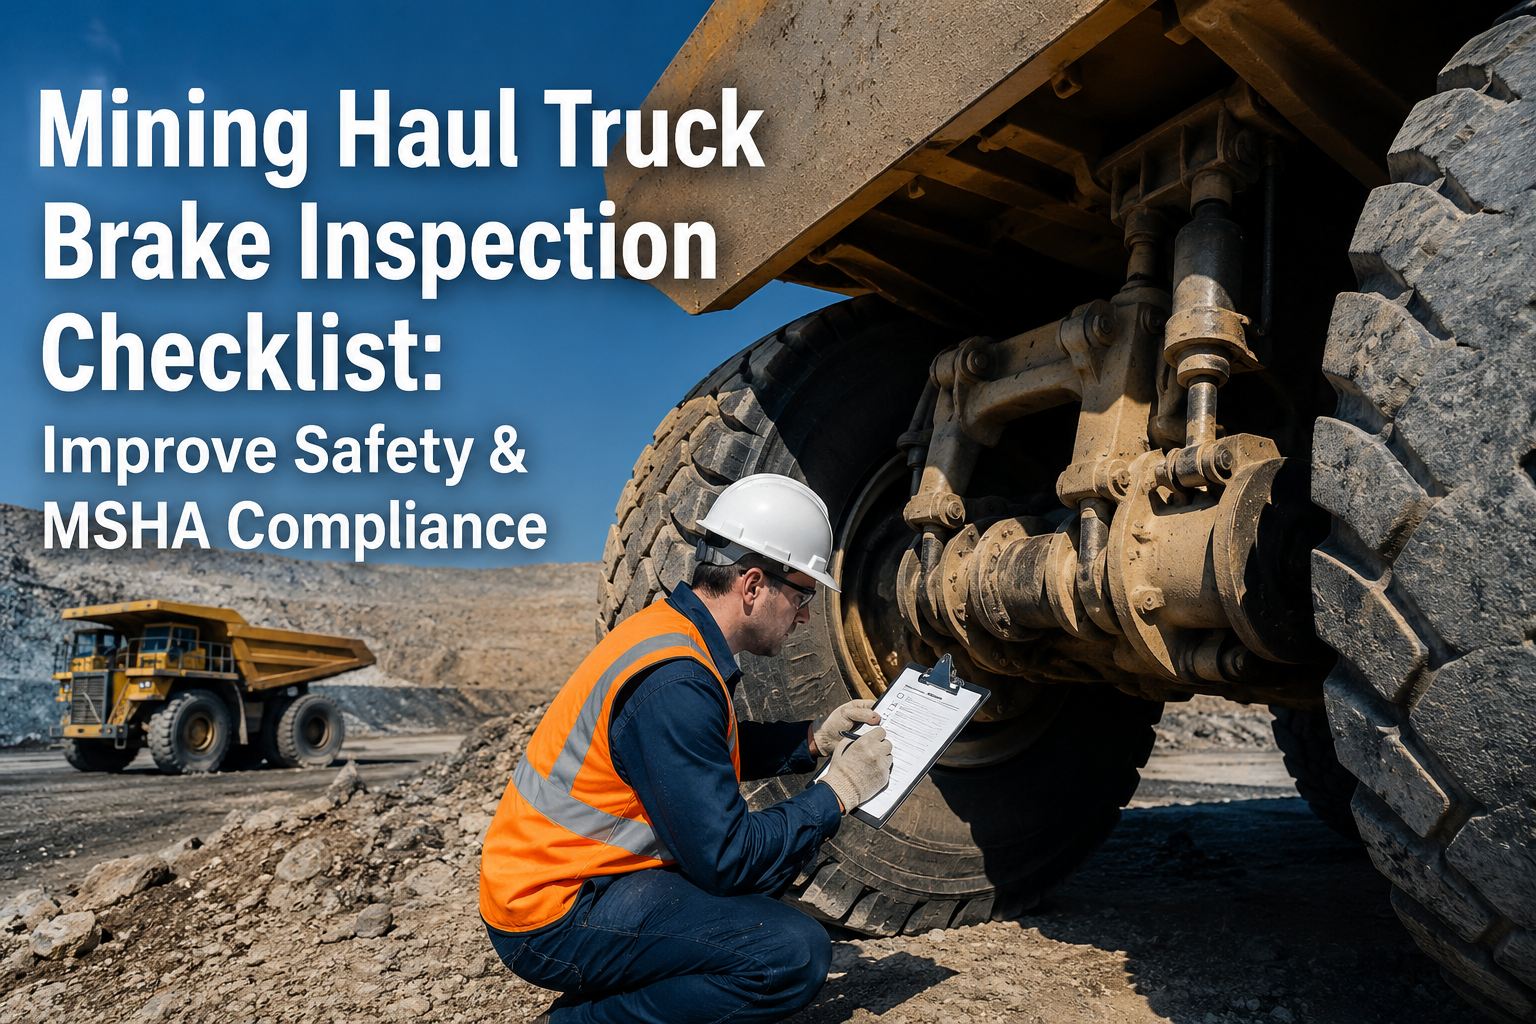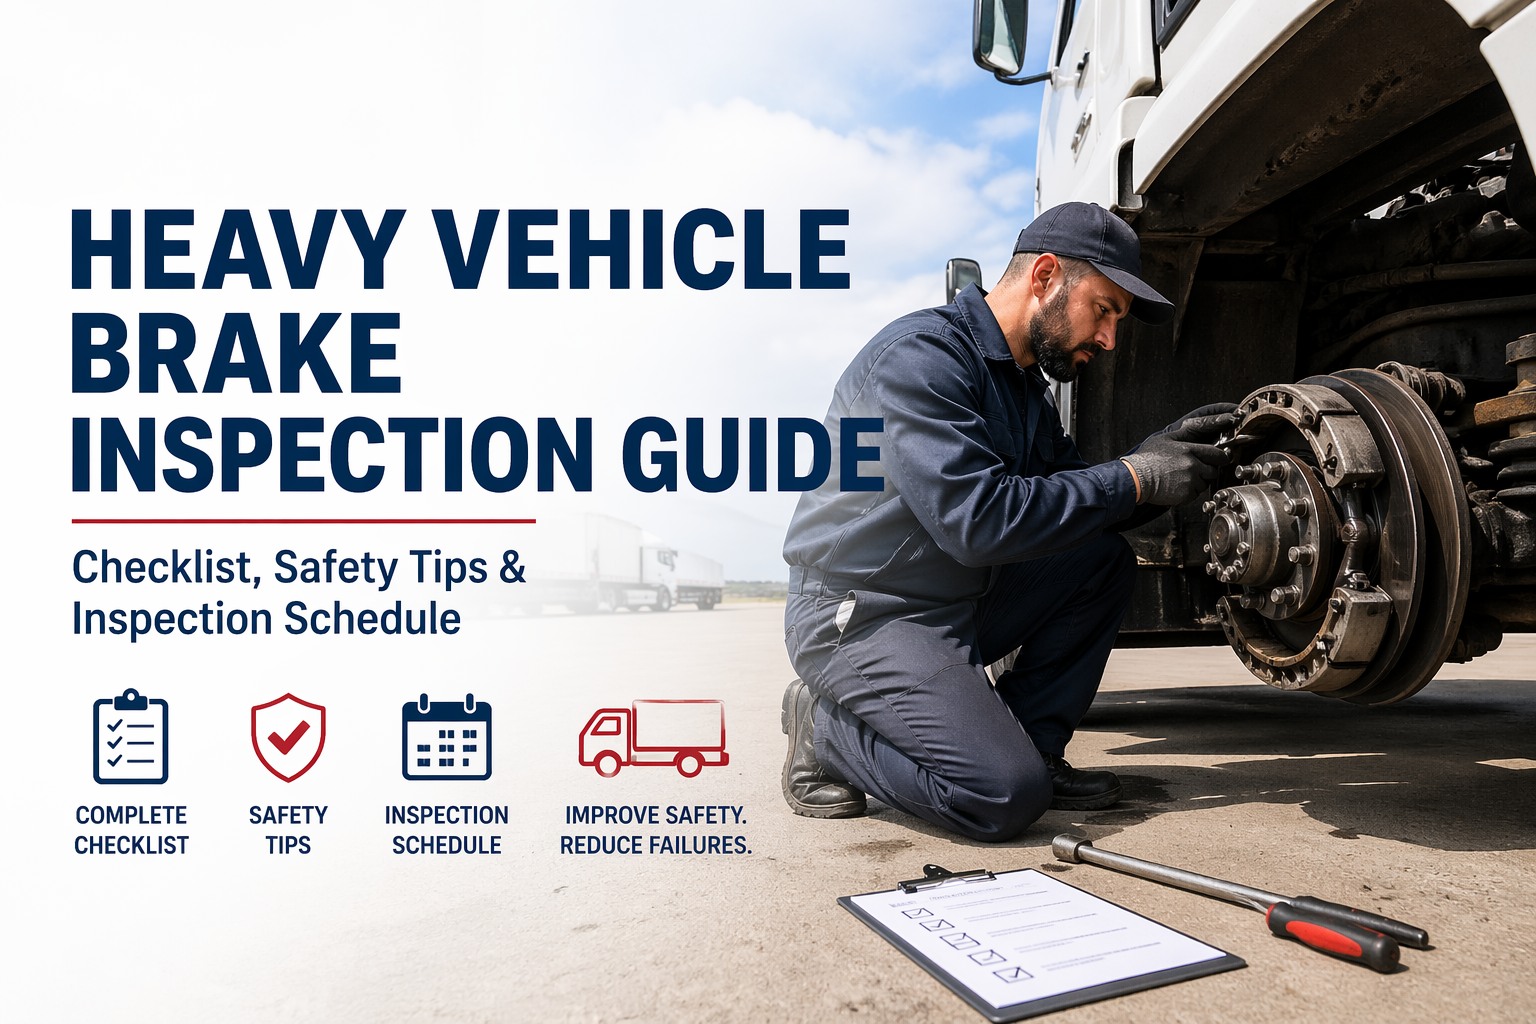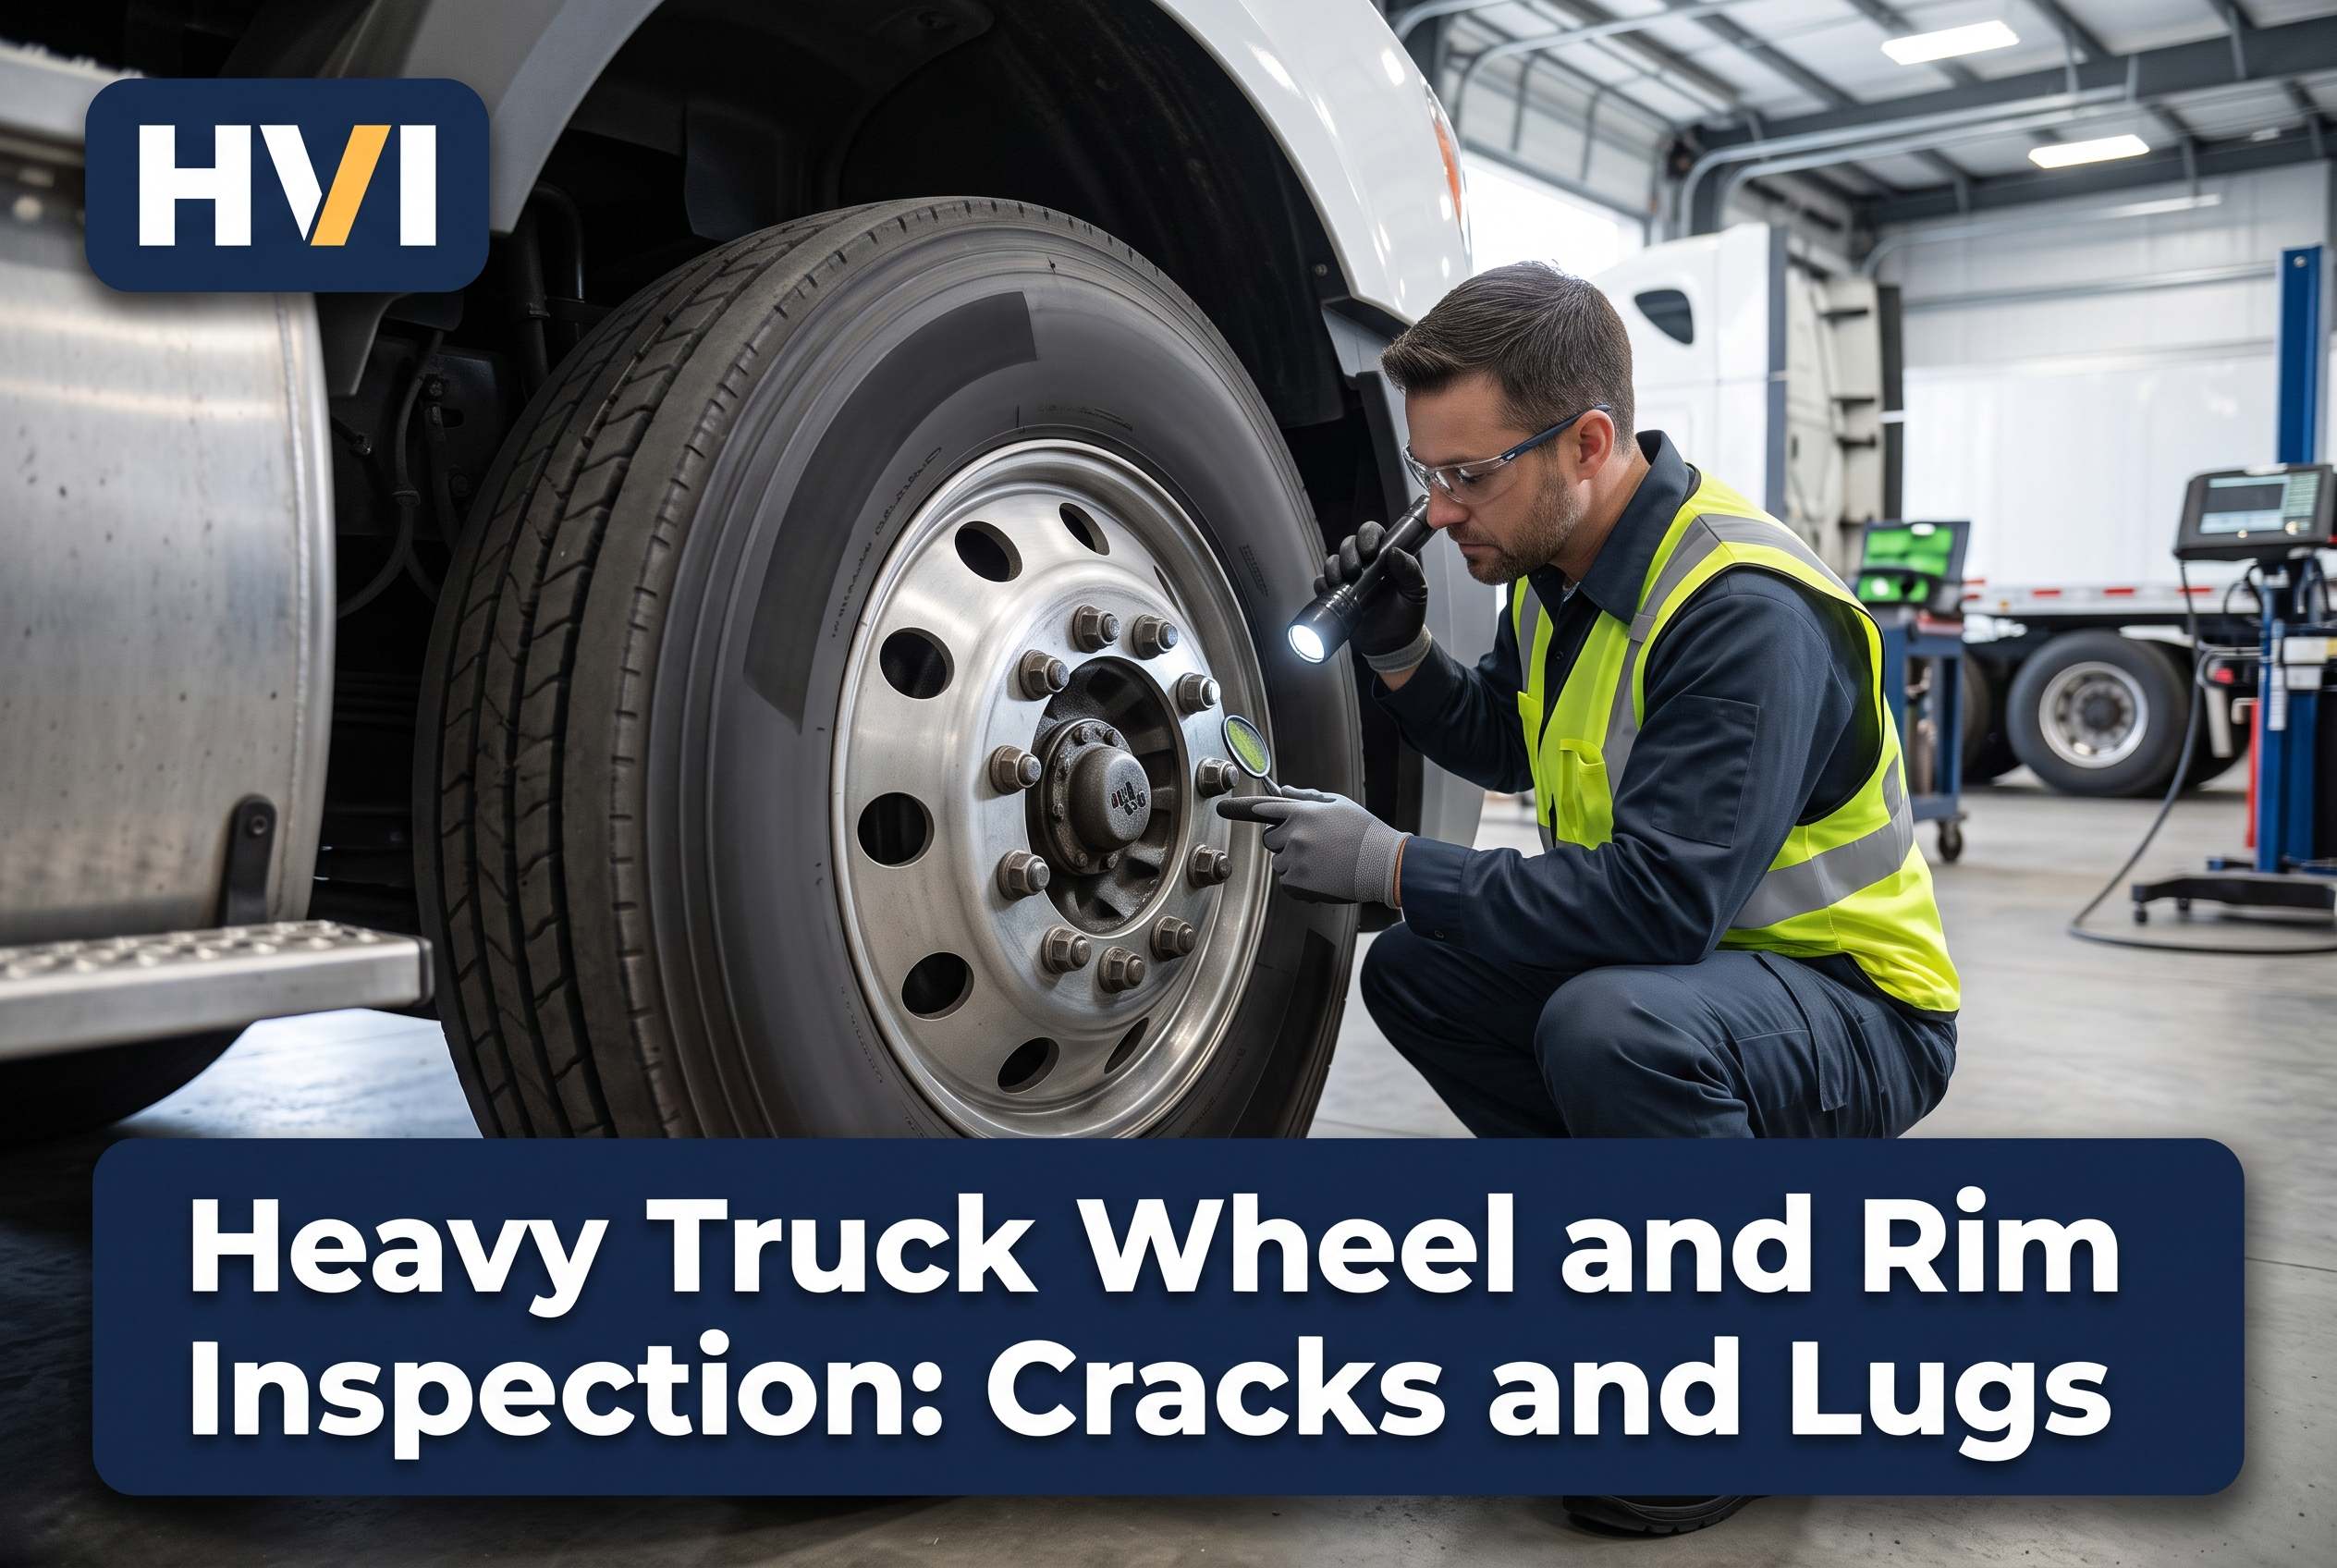
A steer tire goes down at 65 mph on the interstate, and it is almost never the tire's fault. It is the cracked rim nobody caught, the lug nuts that walked loose after a brake job, or the wheel seal that emptied the hub of grease three hundred miles back. Wheel-end failures do not give you a warning light — they give you a catastrophic separation, a roadside inspection failure, or worse, a wheel-off into oncoming traffic. Heavy truck wheel and rim inspection is the single most important visual check your drivers and technicians perform, because every pound of payload, and every pound of braking force, ultimately rides on those bolts, bearings, and beads. This guide breaks down exactly what to look for, where cracks hide, how to sequence a lug nut torque, and how to catch a failing wheel bearing before it welds itself to the spindle. Run your wheel-end checks digitally with HVI to stop missing the defects that put trucks out of service.
Heavy Truck Wheel & Rim Inspection: Cracks, Lugs, and Seals
The exact visual and mechanical checks that prevent wheel-off events, pass CVSA Level I inspections, and keep your bearings alive.
- AxleSteer (Front L/R)
- Rim StatusNo Cracks
- Lug Torque450-500 ft-lbs
- Hub TempNormal
- ~25%
of all out-of-service violations during CVSA blitzes are wheel-end related
CVSA Roadcheck inspection data - 4/32"
minimum tread depth required on steer axle tires
49 CFR 393.75 - 50-100
miles of driving before re-torquing new or serviced lug nuts
TMC Recommended Practice - 5
root causes drive nearly all premature wheel seal failures
American Trucking Associations
Where Cracks Hide: The Anatomy of a Failing Truck Rim
Rim cracks do not usually start on the flat, visible face of the wheel. They start where stress concentrates: around the bolt holes, at the radius between the rim flange and the disc, and along the inner barrel where debris and moisture trap against the hub. When you do a wheel inspection, a visual once-over is not enough. You need the truck rolling forward a few feet so you can inspect the entire circumference of the rim, not just the top third.
Hairline cracks are the killers. They are virtually invisible under shop lighting until they open up under load. Technicians should be trained to look for rust streaks radiating from a bolt hole — that is steel oxidizing inside a crack. If you see a rust trail, the rim is done. Do not clean it and send it out. You can map out a standard heavy truck wheel inspection workflow that forces technicians to check these specific high-stress zones, rather than just ticking a box that says "visual rim check."
Bolt Hole Perimeter
Look for hairline fractures radiating outward from the stud holes. This indicates over-torquing, under-torquing, or a stud seating at an angle. Rust streaks here mean the crack is already deep.
Rim Flange & Hand-Hole
Impact damage from curbs and potholes transfers directly to the flange. Check the inner lip for bending and inspect the hand-holes for stress cracking at the corners.
Inner Barrel & Spider
Road debris and trapped brake dust cause pitting on the inner barrel. Remove debris and look for deep gouges. On spoke (spider) wheels, check the weld joints connecting the spoke to the barrel.
The Lug Nut Sequence: Why "Tight is Tight" Destroys Wheels
If your techs are tightening lug nuts in a circle, they are warping the brake drums and pulling the wheel off-center. Heavy truck wheels demand a star pattern torque sequence. This evenly distributes the clamping force across the hub face. If you crank one side down to 500 ft-lbs before the opposite side is even seated, you are inducing lateral runout that will haunt the wheel bearing later.
But getting the torque right is only half the battle. The re-torque is what most shops forget. When a wheel is removed and reinstalled, the mating surfaces between the rim, hub, and drum are never perfectly clean. Microscopic debris crushes and settles during the first 50 to 100 miles of driving. If you do not bring the truck back in for a re-torque, the lug nuts will loosen, the wheel will wobble, and the studs will shear. Implementing a mandatory post-service lug nut re-torque protocol is the cheapest insurance you can buy against a wheel-off.
Wire brush the hub face, drum face, and the back of the wheel. Never use anti-seize on the stud threads unless the manufacturer explicitly calls for it — it changes the friction coefficient and leads to over-stretching the stud.
Draw the wheel up snug by hand, tightening in a crisscross or star sequence. This ensures the rim centers itself on the pilots or hub pilot before the final clamp load is applied.
Using a calibrated torque wrench, apply the final torque (typically 450-500 ft-lbs for standard 22mm studs, but always check your OEM spec) in the same star pattern. Do not use an impact gun for final torque.
After the truck returns from its first run, check the torque again. If a lug nut moves more than a quarter turn, the wheel was not seated properly, and you need to investigate the hub pilots.
Wheel Bearings & Seals: Catching Heat Before It Welds the Spindle
The wheel seal is not just a grease retainer; it is the canary in the coal mine for bearing health. When a wheel seal fails, grease leaks out, and road grime gets in. The bearing loses its lubricating film, heat spikes exponentially, and the inner race fuses to the spindle. If a driver reports a "burning smell" or a tire that is exceptionally hot to the touch, the wheel bearing is already failing.
There are five root causes that drive almost all premature wheel seal failures. Addressing these during your preventive maintenance wheel inspections will extend hub life dramatically. It is not just about slapping a new seal on when you see grease slinging inside the rim.
Improper Installation
Installing the seal cocked or using the wrong driver tool damages the sealing lip instantly. It will leak from day one.
Incorrect Bearing Adjustment
Too loose, and the bearing hammers the seal. Too tight, and the excessive preload overheats the hub, melting the seal rubber.
Damaged Spindle/Hub
A grooved spindle journal or a rusted hub bore acts like sandpaper against the new seal. Always check the mating surface.
Contamination
Water and dirt ingress from a clogged hub vent or a compromised seal lip destroys the grease and pits the bearing rollers.
Clogged Vent Ports
If the hub vent is plugged with mud or grease, internal pressure builds up and blows the seal out from the inside.
Lubricant Breakdown
Mixing incompatible greases or running a hub with low oil levels causes the lubricant to oxidize and lose its film strength.
Hub Temperature: The Early Warning System
A properly adjusted wheel bearing runs warm, not hot. During your pre-trip or post-trip inspection, have drivers use an infrared thermometer or a simple hand-touch test (carefully) to compare hub temperatures across the axle. If one hub is significantly hotter than the others, it is pulling too much friction. Some fleets are now installing automatic hub temperature sensors that push alerts to the maintenance dashboard before the driver even knows there is a problem.
Pre-Trip vs. Shop: Who Checks What?
Wheel safety is a two-part equation. Drivers catch the dynamic failures on the road; technicians catch the structural failures in the bay. If the handoff between them is a grease-stained piece of paper, things get missed. A standard digital DVIR and wheel compliance workflow ensures the driver's observation of a "hot wheel" instantly triggers a work order for the shop to pull that hub.
| Check Point | Driver (Pre/Post-Trip) | Technician (Shop PM) |
|---|---|---|
| Rim Condition | Visual roll-by for major cracks, bent flanges, or missing chunks. | Detailed inspection of bolt holes, hand-holes, and inner barrel for hairline cracks and rust streaks. |
| Lug Nuts | Check for visibly loose nuts, missing nuts, or indicators (if equipped) that have spun. | Calibrated torque wrench check in star pattern. Verify stud condition and thread engagement. |
| Wheel Seal | Look for fresh grease slinging on the rim, tire, or brake drum area. | Check for grease weeping past the seal lip. Inspect hub vent for blockages. |
| Hub Temp | Hand-touch or IR thermometer comparison across the axle after driving. | Verify proper bearing preload/end-play adjustment with a dial indicator during PM. |
| Tire & Valve | Visual pressure check, valve cap present, tread depth visually adequate. | Measure tread depth (4/32" steer, 2/32" drive/trailer). Inspect valve stem for dry rot and cracks. |
Expert view from the shop floor
"I can teach a guy to torque a lug nut in five minutes. What takes months is teaching him to look at a rust streak on a bolt hole and know that the rim is about to split. We stopped doing paper DVIRs because a driver would just check 'OK' on the wheels. Now that it is digital and they have to take a photo of the hub if it looks greasy, we catch the seals before they grenade the bearings.
-- Marcus S., Maintenance Director, refrigerated carrier
Frequently asked questions
How often should heavy truck lug nuts be re-torqued?
Any time a wheel is removed and reinstalled, the lug nuts must be re-torqued after 50 to 100 miles of driving. This allows the mating surfaces to settle and crush any microscopic debris. Failing to re-torque is a leading cause of loose wheels and subsequent wheel-off events.
What is the most common cause of cracked truck rims?
Aside from severe impact damage from curbs or potholes, the most common cause of cracked rims is improper lug nut torque. Over-torquing stretches the studs and puts immense stress on the bolt hole area, leading to fatigue cracks over time. Under-torquing allows the wheel to fret and wear against the hub pilot.
Can you drive with a leaking wheel seal?
No. A leaking wheel seal indicates that grease is escaping and contaminants are entering the hub. If driven, the wheel bearing will lose lubrication, overheat, and eventually seize or shatter, potentially causing the wheel to detach. The truck must be serviced immediately.
What is the minimum tread depth for steer tires vs. drive tires?
Per FMCSA regulations (49 CFR 393.75), steer axle tires must have a minimum tread depth of 4/32 of an inch in every major groove. Drive and trailer axle tires require a minimum of 2/32 of an inch. Tires with less tread are out of service.
Do I need to use a torque wrench, or is an impact gun fine?
An impact gun should never be used for the final torque. Impact guns do not apply consistent or accurate clamping force, often leading to over-torqued, stretched studs and warped brake drums. Always use a properly calibrated torque wrench to bring the lug nuts to the OEM specification.
Put digital wheel-end inspections on every truck today
HVI guides drivers and technicians through every rim zone, lug sequence, and seal check. Capture mandatory photos, track hub temps, and auto-trigger 50-mile re-torque work orders without a single piece of paper.
No credit card · No hardware · Live on your fleet in under two weeks