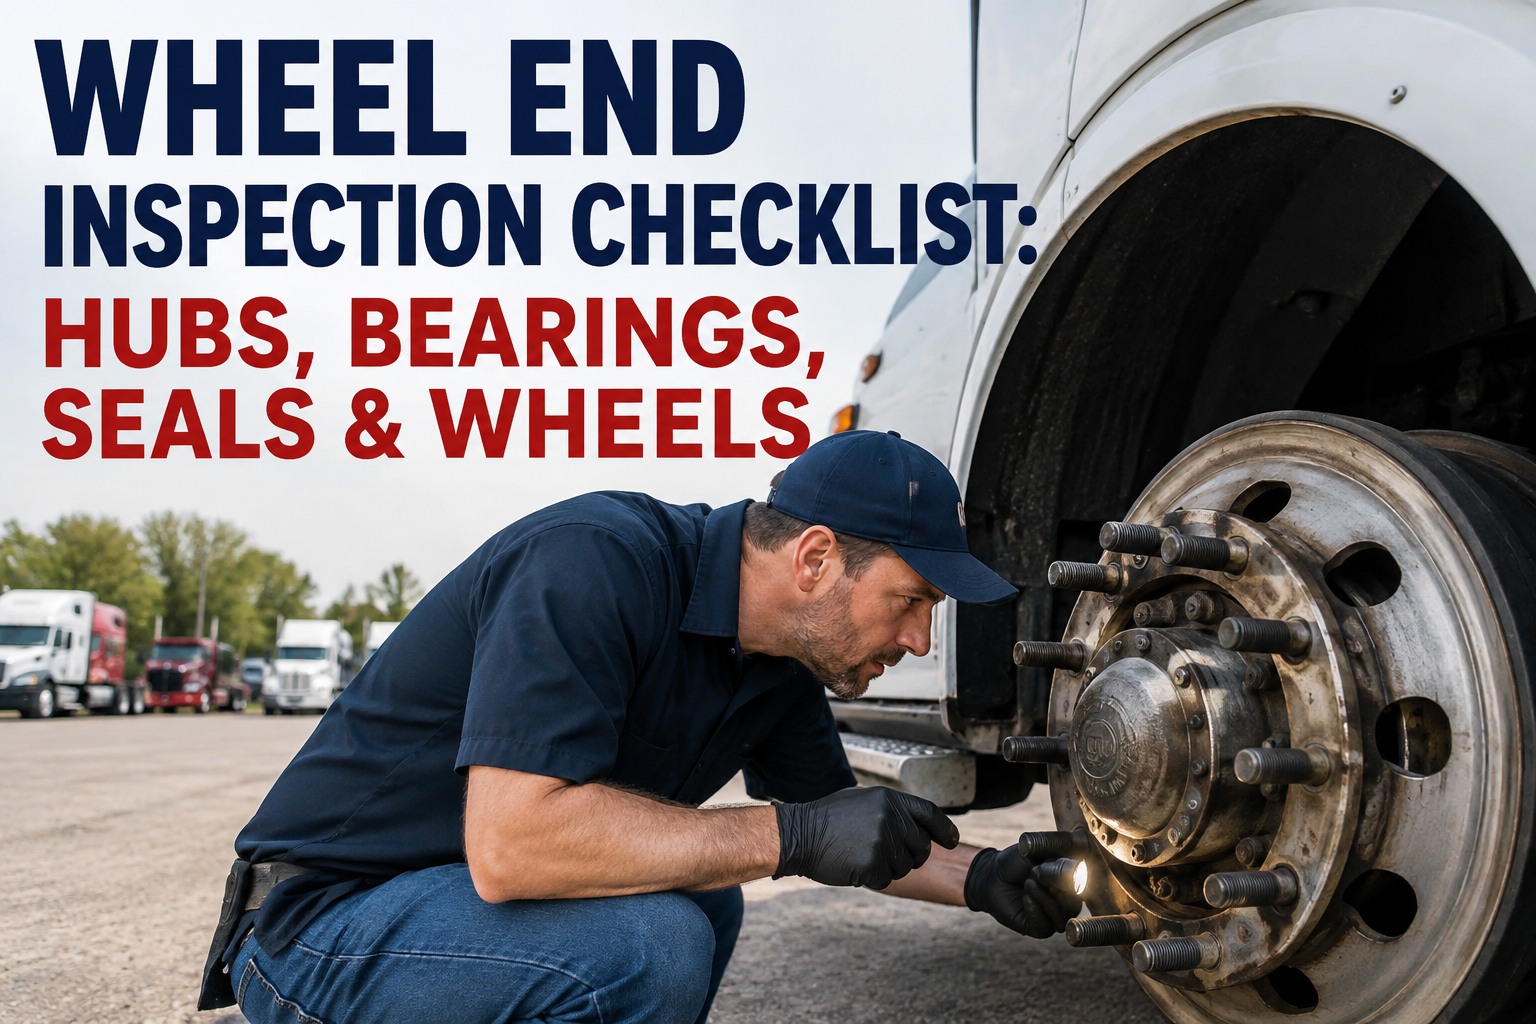
Wheel-end failures don't hand you a dashboard warning. They hand you a rust trail nobody noticed, a hubcap missing since last shift, a bearing that ran 300 miles hotter than its neighbors before welding to the spindle. Every wheel separation started as a small early sign — and catching it comes down to a systematic wheel end inspection that measures instead of glances. This guide walks the signals, the measurements, and the sequence that keeps wheels on trucks — book a demo to digitize wheel-end inspections in HVI.
Every Wheel-Off Started As Something Small
Each of these signals gives you a specific window between "noticed on a walkaround" and "catastrophic separation." Miss the signal and the window closes fast.
Rust trail from lug to rim
Reddish-brown streak running downward from a lug nut. Means that fastener has been moving in service — even slightly.
Hub 50°F+ hotter than its neighbor
Adjacent wheel positions on the same axle should read within a few degrees of each other. A big gap = bearing running dry or brake dragging.
Oil or grease leak from hub
Wet streak on inside sidewall of tire, or pooling on brake components. Seal has failed and the bearing is losing its lubricant.
Missing or damaged hubcap
Hubcap fell off, cracked, or was never reinstalled after service. Bearings are now exposed to road water, salt, and grit.
Wheel wobble or bearing noise
Driver reports steering-wheel shimmy, cyclic thumping under load, or a distinct growl at speed. Bearing races are already spalling.
Every signal above is visible on a proper walkaround or a 30-second IR-temp sweep. The runway numbers assume nothing else is going wrong at the same time. When two signals appear together, the runway collapses.
The rest of this page covers the specific inspection points, the measurements that matter, and the discipline that separates a shop where wheels stay on the truck from one where they don't. Book a 30-minute demo to see digital wheel-end templates with photos, measurements, and defect tracking built in.
The wheel-end system: what actually gets inspected
A commercial wheel end is not one part. It's a stack of seven interdependent components, each with its own failure mode and its own inspection point. Miss one and the whole assembly is exposed.
Spindle
The axle end the hub rotates on. Check for spun bearing cups (indicated by scoring on the spindle surface) — if the cups can be moved by hand, the spindle may need replacement.
Inner & outer bearings
Tapered roller bearings carrying the load. Inspect races for pitting, spalling, rust, or corrosion. Replace as sets — never mix new rollers with old cups.
Wheel seal
Keeps lubricant in, contamination out. Any wet trail on the tire sidewall or brake parts means the seal is compromised. Always replace seals after any bearing service — never reuse.
Hub & hub oil
Level should be at the fill line visible through the sight window on oil-bath hubs. Oil color matters: milky white = water contamination, metallic sparkle = bearing wear, dark opaque = overdue change.
Spindle nut / adjustment
Sets bearing preload. End play spec is typically 0.001–0.005" (per OEM). Excessive play = wheel wobble; insufficient play = overheating. Check for chisel marks or deformation from field "repairs."
Hubcap
Sealed cover keeping contamination out and holding hub-oil vapor in. Cracked, missing, or with damaged gasket = immediate contamination path. Torque replacement bolts to OEM spec (typically 20 Nm on Hendrickson).
Wheel studs & lug nuts
The mechanical connection between hub and wheel. Check for missing, broken, damaged, or elongated stud holes. CVSA out-of-service criteria: 2 or more missing lug nuts on the same wheel puts the truck OOS on the spot.
Each of these seven points needs its own inspection entry with a measurable observation — not a single "wheel end OK" tick box. Pass/fail on the whole assembly is what lets defects hide. Book a demo to see how HVI captures per-component defect entries with photos so a partially failed wheel end doesn't get signed off whole.
Temperature as a diagnostic tool, not a threshold
Every technician has been told a hub over 200°F is "too hot." The truth is more useful and more nuanced: the temperature that matters is the relative difference between adjacent wheel positions, not the absolute number. Both sides of a heavily loaded tandem axle climbing a grade at 90°F ambient will run hot. What signals a problem is when one wheel runs meaningfully hotter than its neighbor doing the same work.
| Position comparison | Delta observed | What it usually means | Next action |
|---|---|---|---|
| Same axle, opposite side | < 20°F | Normal — both wheels doing similar work | Continue in service |
| Same axle, opposite side | 20–50°F | Watch item — possible early brake drag or bearing warm-up | Recheck at next stop; investigate if delta grows |
| Same axle, opposite side | 50–100°F | Suspect — brake dragging, bearing running dry, or seized caliper likely | Investigate before continuing; do not release for next shift |
| Same axle, opposite side | > 100°F | Confirmed fault — brake drag, bearing failure, or wheel-end fire risk | Take out of service immediately; do not drive |
| Hubcap too hot to touch | > 150°F | Bearing has already lost lubricant film — imminent seizure | Stop safely; call for tow rather than drive |
Bendix guidance and industry-standard practice both frame temperature this way: comparative, not absolute. A 30-second IR-gun sweep across all wheel positions during a scheduled stop — measured 15–20 cm from the hub — is one of the highest-return preventive inspections available. The pattern is what matters. When it's flat, the fleet is healthy. When one number jumps, so does the diagnostic priority.
Hub oil: reading the fluid, not just the level
Oil-bath hubs carry a small reservoir with a sight window. Level checks are basic and get done. What often gets skipped is the harder question — what does the oil actually look like? Because the oil is a running record of what's happening inside the bearing.
Clear amber
Healthy. Oil is doing its job. Continue in service.
Milky / cloudy white
Water contamination. Failed seal or damaged hubcap gasket letting moisture in. Drain, service the seal, refill with fresh manufacturer-spec oil.
Metallic sparkle in the oil
Bearing wear in progress. Fine metal particles from race or roller degradation. Do not just change the oil — the bearing needs inspection or replacement.
Dark, opaque, gritty
Overdue. Oxidized oil with contamination. Even without visible metallic sparkle, this level of degradation signals the interval was missed. Refresh and shorten the schedule.
Oil should be inspected against the manufacturer's recommended service interval — typically 50,000 miles or 6 months on the tight end and 100,000 miles or 12 months on the loose end, but always check the applicable OEM guidance for your specific hub and axle combination. When idle for extended periods, the upper half of the seal and bearing lose contact with the lubricant, so seals in stored equipment should be replaced before the vehicle goes back in service — the rubber dries out and loses its sealing ability whether the truck moved or not.
Lug nut torque: the number that doesn't stay put
A properly torqued lug nut acts as a clamping device holding the wheel firmly against the hub. Over-torque stretches the stud past its elastic limit and it loses clamping force over time — a failure that takes months to develop but eventually walks the nut loose in service. Under-torque never produced full clamp in the first place. Both problems show up as rust trails and eventually as wheel separations.
Torque to OEM spec, star pattern
Never guess a torque value from memory. Look up the exact spec for the wheel-and-stud combination on the truck. Torque in a star pattern (opposite sides in sequence), never around the circle — sequential torquing pulls the wheel off-center against the hub pilots.
50–100 mile re-torque after any wheel removal
After the truck returns from its first run following a wheel service, check every lug's torque. If a nut moves more than a quarter turn, the wheel was not properly seated to the hub pilot — investigate before releasing the truck. This step catches most post-service wheel-off events before they happen.
Never use an impact gun for final torque
Impacts are for removal and initial run-down only. Final torque needs a calibrated torque wrench — impact-set lugs vary wildly from spec, both above and below. The nut that looks tight is often 50 ft-lb short of spec, and the reverse can be true on aggressive impact settings.
The visual check for post-service loosening is the rust trail from the lug down the rim. If a driver spots it during a walkaround, the wheel has been moving in service since the last torque check — take it out of service, investigate the mounting and stud, and re-torque per the procedure above. Book a demo to see HVI trigger the 50-mile re-torque reminder automatically after every wheel-service work order.
The 6-step wheel-end inspection sequence
This is the sequence to run at every scheduled PM and any time a wheel-end concern is reported. Each step takes under five minutes; skipping any of them costs hours downstream and creates the paperwork trail that CVSA inspectors will ask for after an incident.
-
1Visual walkaround — look for rust trails, leaks, missing hardware3 min
Walk each wheel position. Photograph any rust trail from lug, wet streak on the sidewall, missing or cracked hubcap, or visible stud damage. Every defect gets a photo, not a note — the photo is the evidence.
-
2IR-temperature sweep, all wheels3 min
After a normal drive cycle (not first thing after startup), measure each hub with an IR gun at 15–20 cm distance. Log the numbers by position. Flag any position running 50°F+ warmer than its neighbor for investigation.
-
3Hub oil check — level and appearance3 min
Level to the sight window fill line. Note oil color, clarity, and any metallic sparkle. Fresh amber = healthy; milky = water; sparkle = bearing wear; dark opaque = overdue. Record the observation, not just a tick.
-
4Lug nut visual + torque verify on flagged wheels5 min
Visual check for missing, cracked, or elongated-hole studs. Any wheel with a rust trail, any wheel serviced within the last 100 miles, and any random spot-check gets an actual torque wrench applied to spec. Do not rely on visual "looks tight."
-
5Bearing play check on units with reported symptoms10 min
Jack the wheel, grip at 12 and 6 o'clock, rock. Excessive play (perceptible movement) means the bearing needs adjustment or replacement. Play spec is typically 0.001–0.005" measured with a dial indicator, but verify against OEM.
-
6Document findings, defects, corrective actions, sign off5 min
Each observation, measurement, and photo attaches to the unit's record. Any defect opens a work order automatically. Technician signs off. Next inspection starts from this record — not from a blank sheet.
The whole sequence takes about 30 minutes per truck when standardized — less on units without defects, more on units with items to investigate. Fleets running this workflow catch the vast majority of wheel-end issues at the signal stage, before they become CVSA violations or wheel-off incidents. Start a free HVI trial to load a wheel-end inspection template with photo capture and measurement fields so every technician runs the same checks in the same order.
The single most missed step after any wheel service
The 50–100 mile re-torque check is not optional
Every wheel that comes off and goes back on needs a torque verification after the first 50–100 miles of return service. This is the industry-standard procedure for a reason: even a properly torqued wheel can seat further into the hub pilots under the vibration and load of the first run, changing the effective clamp force. If a lug moves more than a quarter turn during that re-torque check, the wheel was not seated correctly at installation — investigate the hub pilots for damage or debris, re-mount the wheel, and re-torque per spec. Fleets that skip the re-torque step are the ones producing the wheel-off incidents that make trade-press headlines and destroy insurance renewals. The cost of the check is five minutes of technician time per wheel. The cost of the wheel that separates on the interstate is somewhere between a serious injury claim and a fatal-incident lawsuit. There is no other 5-minute inspection in fleet maintenance with a comparable ratio of prevention value to time cost.
A shop supervisor on the wheel that came back three times
Unit had a driver-reported vibration in the left-front. Previous shop did a wheel balance, then a tire replacement, then a bearing job when the vibration didn't go away. Three separate visits, close to $1,200 in labor and parts, still vibrated.
We put it on a lift, checked bearing play with a dial indicator, and found 0.018" — six times the spec. Not the bearing that was the problem; the spindle nut had been under-torqued at the previous shop's bearing job, and the assembly had loosened progressively. Fifteen minutes of proper adjustment per the OEM procedure, verified end play at 0.003", vibration gone. Now every bearing job on our lift finishes with a dial-indicator reading logged against the work order — no unit leaves until the number is documented.
Frequently asked questions
What should a wheel end inspection check on a commercial truck?
A complete wheel end inspection covers the full assembly, not just the wheel itself: the spindle (checking for spun bearing cups or scoring on the surface), the inner and outer tapered bearings (pitting, spalling, rust or corrosion on the races), the wheel seal (any wet trail on tire sidewall or brake components indicates a compromised seal), the hub oil in oil-bath applications (level to sight window fill line plus color and clarity), the spindle nut and bearing adjustment (end play typically 0.001–0.005" per OEM), the hubcap (cracks, missing, damaged gasket), and the wheel studs and lug nuts (missing, broken, damaged, or with elongated stud holes; rust trails indicating movement). Each of these seven points needs its own inspection entry with a measurable observation — a single "wheel end OK" tick box lets defects hide. Manufacturers typically recommend detailed wheel-end inspection every 50,000 miles or 6 months on the tight end, up to 100,000 miles or 12 months on the loose end, but always verify against the specific OEM guidance for your hub and axle combination.
How do I check if a wheel bearing is bad on a truck?
Several complementary checks. Visual: any wet trail on the tire sidewall or brake components points to a failed seal that has let lubricant out and contamination in, which is often the first stage of bearing failure. Thermal: measure hub temperature with an IR gun at 15–20 cm distance after a normal drive cycle; a hub running 50°F or more hotter than the same axle's opposite side is the diagnostic threshold that warrants investigation, and one running 100°F+ hotter should be taken out of service immediately. Mechanical: jack the wheel, grip at 12 and 6 o'clock, and rock for excessive play — perceptible movement usually means the bearing needs adjustment or replacement. Precise: install a dial indicator and measure end play against the OEM spec (typically 0.001–0.005"). Auditory and vibration: driver reports of shimmy in the steering, cyclic thumping under load, or a distinct growl at speed usually mean bearing races are already spalling — that's an "out of service now" condition, not a scheduled repair. Combining these checks catches most bearing problems well before catastrophic failure.
What temperature is too hot for a truck wheel hub?
The answer is not a single number — it's a comparison. Hub temperature depends on ambient conditions, load, brake usage, and how long the truck has been running, so any absolute threshold is a rough guide at best. What matters diagnostically is the difference between adjacent wheel positions on the same axle. A delta under about 20°F between opposite sides is normal for both wheels doing similar work. 20–50°F warmer is a watch item worth rechecking at the next stop. 50–100°F warmer is a suspect condition — investigate for brake drag or bearing running dry before releasing the truck for the next shift. Over 100°F warmer than the neighbor is a confirmed fault; take the truck out of service. A hubcap that's too hot to touch (typically 150°F+) means the bearing has already lost its lubricant film and is close to seizure — stop safely and call for a tow rather than drive further. Take IR readings 15–20 cm from the hub with a proper thermometer, log the numbers by position, and treat the pattern — not any single reading — as the diagnostic tool.
How often should you re-torque lug nuts after a wheel change?
Industry-standard practice is a torque verification after the first 50–100 miles of service following any wheel removal and reinstallation. This step catches the most common wheel-off scenario: a wheel that was properly torqued at installation but seated further into the hub pilots under the vibration and load of the first run, changing the effective clamping force. During the re-torque check, every lug on the affected wheel gets a calibrated torque wrench applied to OEM spec. If a nut moves more than a quarter turn to reach spec, the wheel was not properly seated to the hub pilots at installation — do not simply re-torque and release. Remove the wheel, inspect the pilots and mounting surfaces for damage or debris, re-mount, torque in the proper star pattern using a calibrated torque wrench (never an impact gun for final torque), and schedule another re-torque check after the next 50–100 miles. Fleets that consistently skip this check are the ones producing the wheel-off incidents that make trade-press headlines. The cost of the check is five minutes per wheel; the cost of a wheel separation is measured in serious-injury claims.
What is the CVSA out-of-service criteria for wheels and lug nuts?
Under the Commercial Vehicle Safety Alliance's North American Standard, several wheel-end conditions place a commercial vehicle out of service immediately: two or more loose, missing, or broken lug nuts on the same wheel is an on-the-spot OOS condition (the wheel is not securely fastened to the hub); a crack in a wheel or rim that extends through to the window area (the mounting-face opening) is OOS; and any tire or wheel condition that could reasonably be expected to cause a wheel separation event or lead to loss of control is grounds for OOS placement. Beyond lug nut and rim criteria: hub oil leaking to the point of contaminating the brake friction surface is a brake OOS issue that flows from the wheel end; visible bearing failure indicators such as smoke, extremely hot hubcaps, or wheel wobble noted during a Level I inspection typically result in immediate OOS placement even if a specific numerical threshold isn't cited. Beyond CVSA, wheel-end violations feed into the FMCSA's CSA Vehicle Maintenance BASIC score, which affects roadside inspection selection frequency and shipper/insurer visibility of the carrier's safety profile.
Digital wheel-end inspections that catch what walkarounds miss
HVI's configurable wheel-end templates force per-component observations, capture IR-temp readings, attach photo evidence to every flagged defect, trigger 50-mile re-torque reminders after wheel work, and flow defects straight into open work orders. When the CVSA inspector arrives, or the wheel needs its next PM, the entire history is one screen away. Live in under two weeks. No hardware. No credit card.
Trusted by fleets across North America · Ready on day one