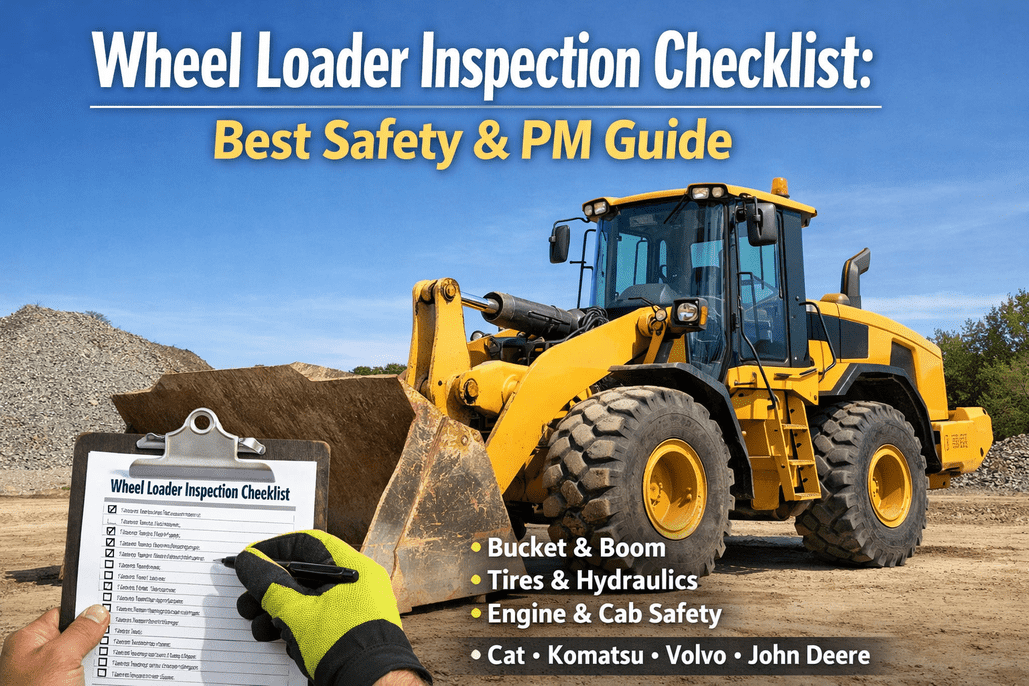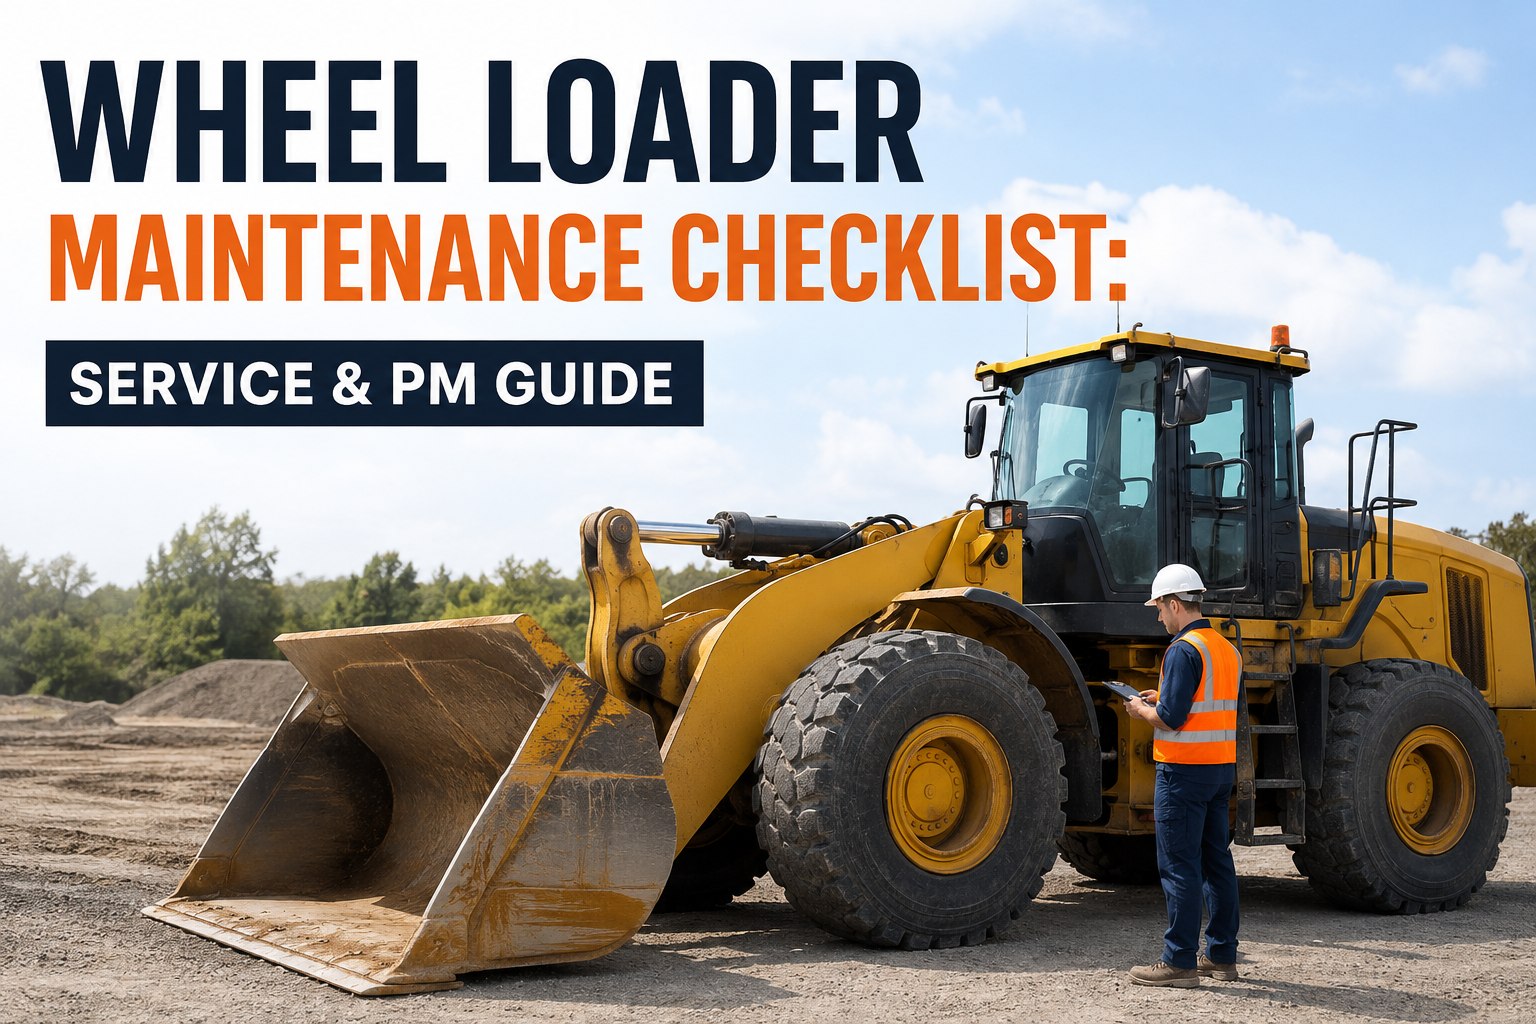
A wheel loader that skips its 250-hour service doesn't fail at 250 hours. It fails at 1,800 hours because the missed 250 turned into a missed 500. Wheel loader maintenance runs on engine-hour tiers — PM1 through PM4 — each compounding on the one below. Get the tier discipline right and a loader delivers 15,000+ trouble-free hours; miss the pattern and it delivers a $28,000 hydraulic pump replacement. This wheel loader maintenance checklist walks the tier system the way Cat, Volvo & Komatsu structure it — book a demo to manage PM in HVI.
The 4 Service Tiers Every Wheel Loader Runs On
Higher tiers include everything the lower tiers do — plus their own additions. Skip a tier and the next one is trying to compensate for two.
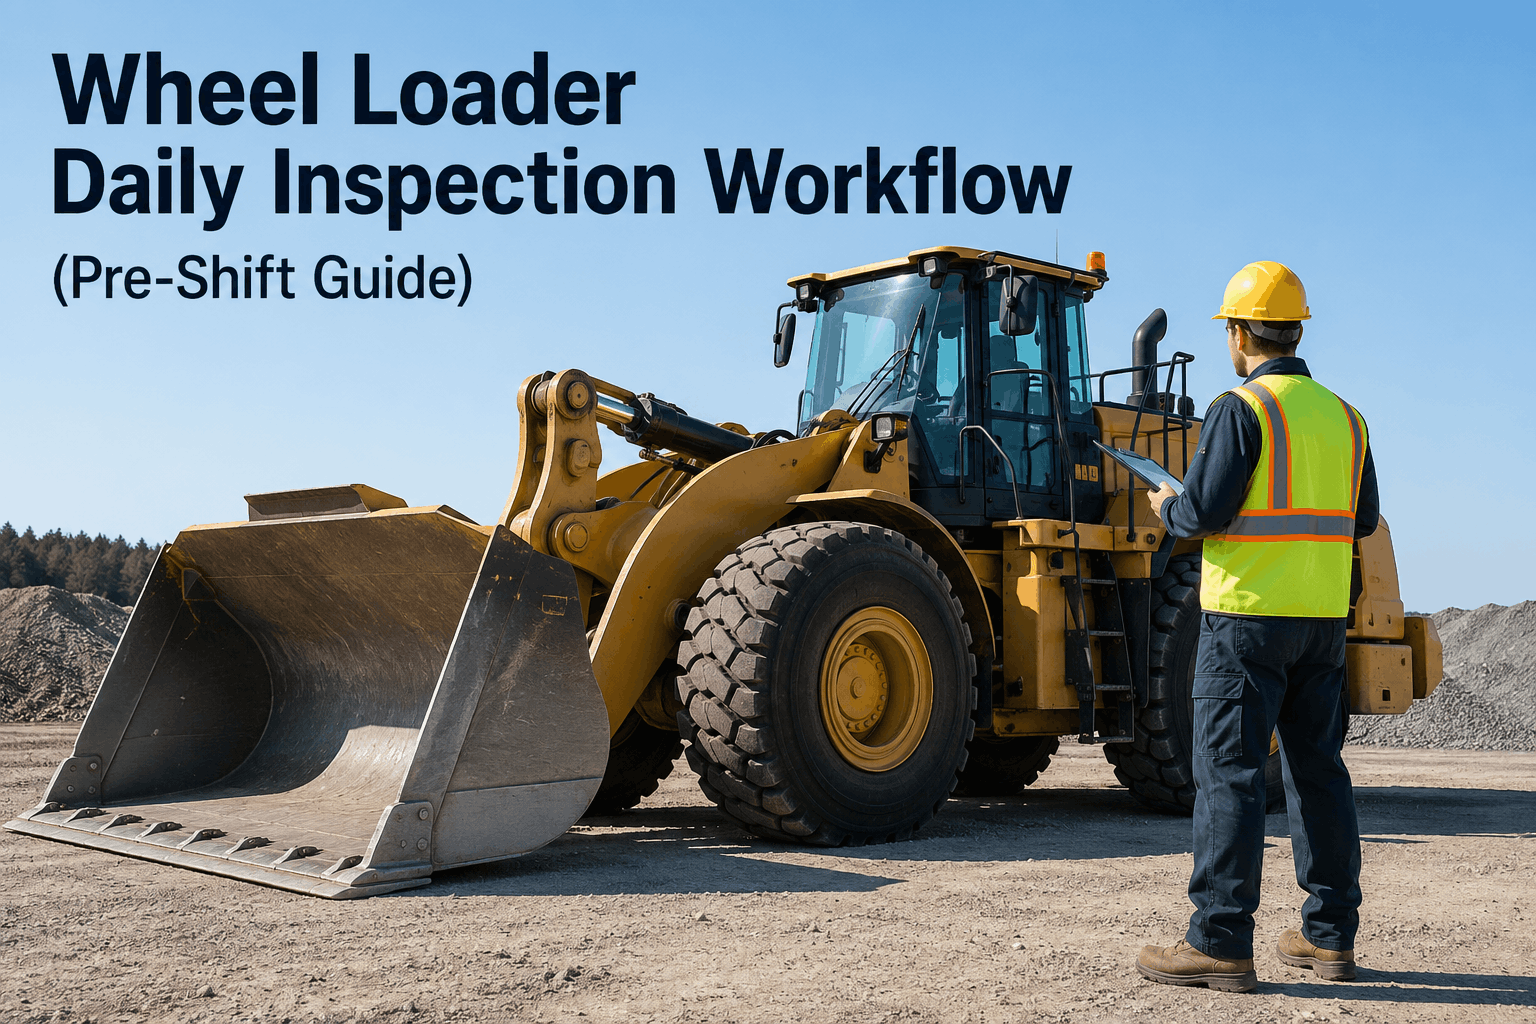
Daily pre-shift
Operator walkaround. Leaks, tyre pressure, glass, lights, coolant & oil levels, cutting-edge condition, articulation area free of debris, control response test.
250-hour minor
+ Engine oil & filter change, fuel/water separator drain, coolant sample, tyre torque verify, grease every pin & pivot, axle oil level check.
500-hour intermediate
+ Fuel filter, hydraulic return filter, outer air element, brake pad inspection, steering linkage, battery load test, hydraulic oil sample.
1,500 & 3,000-hour major
+ Hydraulic oil change, axle & planetary oil, coolant flush, valve lash adjustment, injector inspection, articulation weld inspection.
Duty cycle severity compresses these intervals. Quarries, dusty pit operations, and continuous shift work typically run at 75% of OEM baseline. Verify against the actual service manual for the machine on the pad.
The rest of this page walks the daily inspection points, the wear items that need measurement rather than eyeballing, and the tracking discipline that lets a fleet with a dozen loaders stay ahead of every service tier at once. Book a 30-minute demo to see engine-hour and calendar PM combined per machine.
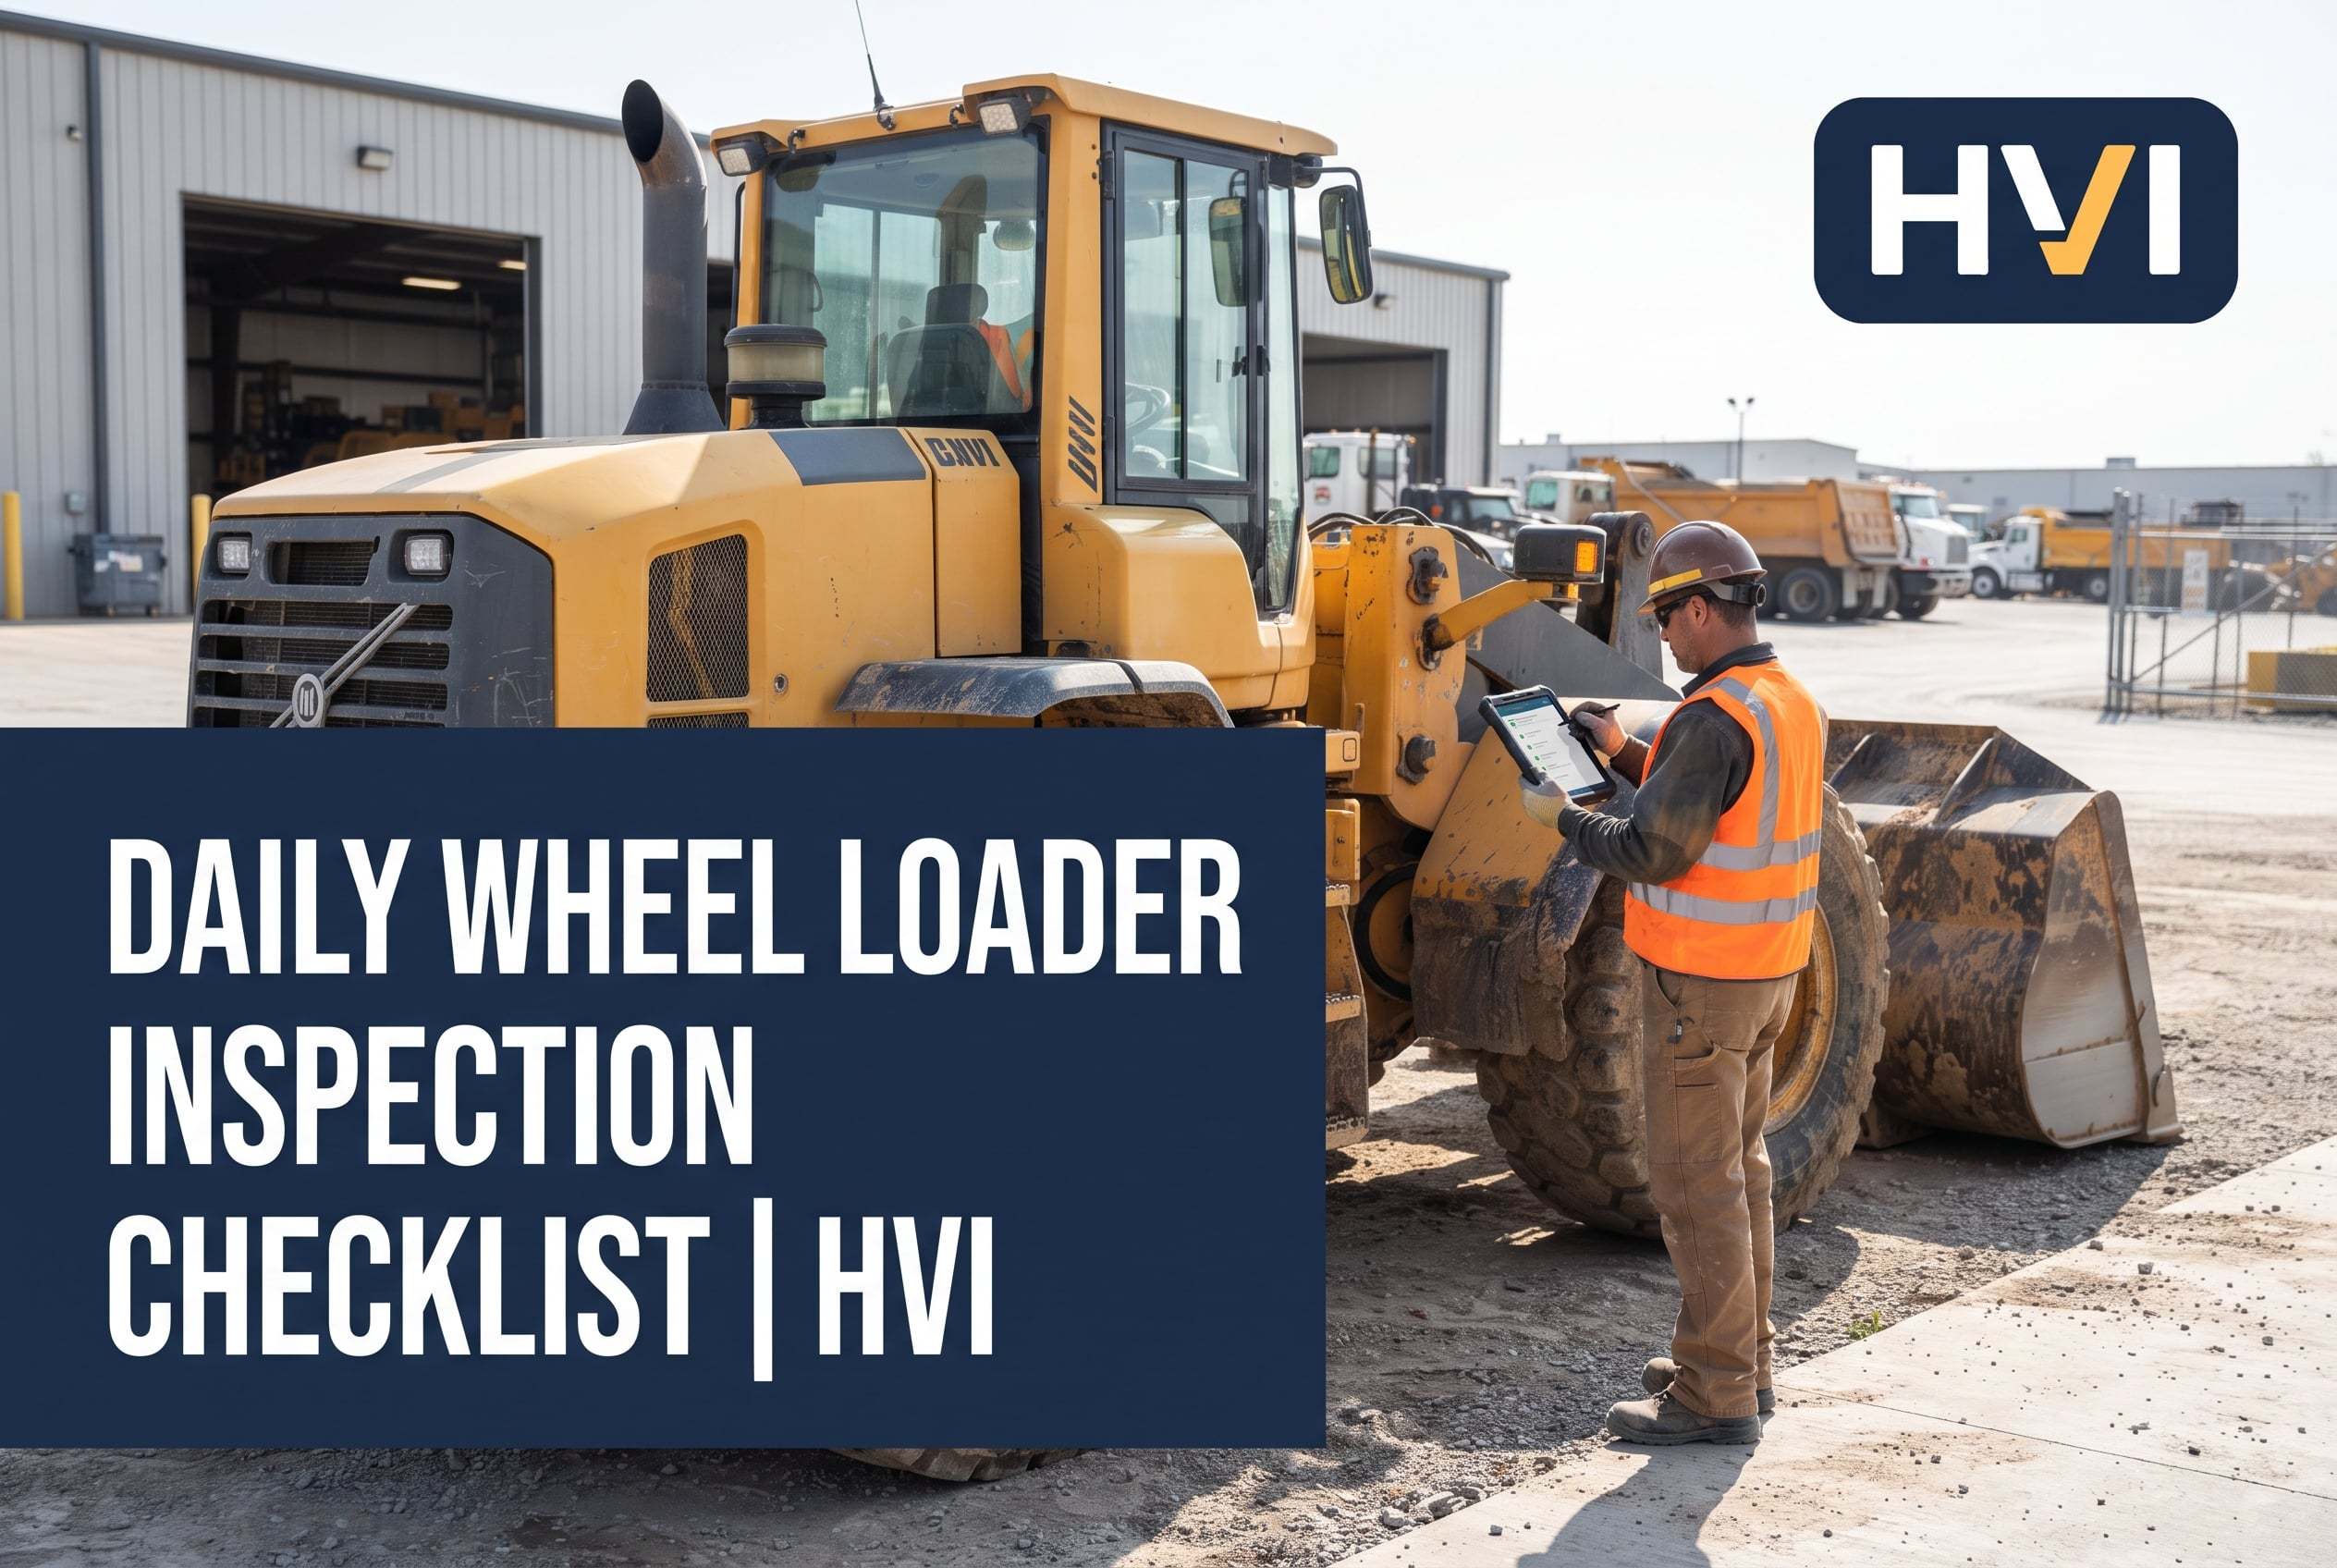
The daily pre-shift inspection — 12 minutes that prevent the rest
OSHA 29 CFR 1926.602 requires pre-shift inspection of earthmoving equipment before use. Beyond compliance, the daily walkaround is the highest-frequency chance to catch a developing problem while it's still cheap. Twelve minutes per shift, every shift, no exceptions.
Fluid levels & leaks
- Engine oil, coolant, hydraulic reservoir — all in operating range
- Fuel level, water separator drain
- Scan pavement under machine for fresh oil or coolant drips
- Check hoses and fittings for wet spots or seepage
Tyres, cutting edge, pins
- Tyre pressure & visible sidewall damage on all 4
- Cutting edge and bucket teeth for wear or missing parts
- Articulation area — visible movement, grease presence, no debris
- Bucket linkage pins — visible play or unusual grease pattern
Safety systems & visibility
- Horn, backup alarm, service & parking brake test
- All lights functional (work, road, beacon, cab)
- Windows clean, mirrors adjusted, seat belt operational
- Fire extinguisher present, gauges reading correctly
Startup response test
- Cold-start response — abnormal smoke, noise, or vibration
- Hydraulic response — boom raise/lower, tilt, bucket function
- Steering response — full lock both directions
- Transmission engagement — forward, reverse, all gears
Any defect gets photo-documented and logged — not verbally reported to the foreman between shifts. The photo is the evidence that catches the pattern before it becomes a failure. Book a demo to see how HVI captures per-item pre-shift observations with photos and defect flow to the shop.
Articulation joint & bucket pins — measure, don't guess
The articulation joint is what makes a wheel loader different from every other piece of equipment on site. It's also the single most safety-critical wear item — excessive articulation-joint play with a fully loaded bucket means loss of steering control. Bucket linkage pins have the same issue on a smaller scale. Both wear silently, and both fail catastrophically when they fail.
| Component | Measurement method | Typical warning threshold | Consequence of failure |
|---|---|---|---|
| Articulation joint (upper & lower pins) | Dial indicator per OEM procedure; measure axial & radial play with cylinders relieved | Any play exceeding OEM spec — typically 0.010–0.030" | Loss of steering precision under load, catastrophic weld failure risk |
| Bucket pivot pin | Cylinder relieved, bucket rocked manually — measure play at pin boss | Visible play > 1/16" or measurable per OEM | Bucket flop, uneven curl, pin/bushing failure |
| Tilt cylinder pin | Cylinder retracted, measure play at pin & bushing interface | Per OEM measurement procedure | Loss of bucket angle control, hydraulic component damage |
| Loader arm pins | Boom lowered, cylinders relieved, visual + tactile check for movement | Detectable movement under manual force | Boom sag, uneven lift, structural stress on frame |
| Steering cylinder anchors | Steering wheel centred, cylinders inspected for anchor-point play | Any play at anchor | Sudden steering failure, loss of control |
The critical operator-level detail: articulation and pin wear should be measured on the OEM's specific method — typically a dial indicator with cylinders relieved — not judged visually. A joint that looks tight can measure well beyond spec, and a joint that shows visible movement may still be within tolerance depending on the machine. The measurement is the diagnostic; visual inspection catches only the obvious cases. Book a demo to see how HVI logs articulation and pin measurements against the asset record with per-service photo evidence.
Greasing schedule — the discipline that prevents pin wear
Most articulation and pin wear failures don't start with a defective part — they start with a missed grease interval that let dirt contaminate the pin boss. The dirt acts as sandpaper between bushing and pin, and premature wear follows within a few hundred hours. The grease schedule is the least glamorous item on the checklist and the highest-ROI one to run consistently.
High-cycle pivot points
- Bucket pivot pins (both sides)
- Tilt cylinder rod & base pins
- Loader arm-to-frame pins
- Articulation joint upper & lower pins
Medium-cycle points
- Steering cylinder rod & base pins
- Lift cylinder rod & base pins
- Drive shaft U-joints & splines
- Any Z-bar or linkage pins
All-points comprehensive
- Full machine grease per OEM chart
- Verify grease exits at each fitting
- Wipe old grease from around fittings before re-greasing
- Note any dry or discolored grease as diagnostic signal
Use the grease specification from the OEM manual — high-temp EP2 lithium is common but not universal, and mixing grease types can accelerate wear rather than prevent it. Verify fresh grease exits at every fitting; if it doesn't, the pin boss isn't purging old grease and dirt properly, and the pin is at risk regardless of how faithfully the schedule is followed. Start a free HVI trial to load the wheel loader grease chart against your assets so every pin gets logged on cadence.
The 5 costliest maintenance mistakes on wheel loaders
The failures that turn a $2,000 service into a $28,000 rebuild
Five patterns account for most preventable major repairs on wheel loaders. First, deferred 250-hour engine oil changes: contaminated oil compounds cylinder and bearing wear silently until compression drops, and by then the engine needs an in-frame or full rebuild rather than an oil change. Second, ignoring the 500-hour hydraulic oil sample: sample analysis catches internal pump and valve wear (metal particulate, water intrusion, viscosity breakdown) before the pump fails and pushes debris through the entire hydraulic circuit. A $50 sample missed for two intervals can turn a $200 filter service into a $12,000–28,000 pump-and-motor replacement. Third, skipped articulation joint measurement: pins wear silently, then fail catastrophically under a loaded bucket, taking the joint bushings and sometimes the frame welds with them. Fourth, missed 3,000-hour cooling system service: coolant degradation drops heat transfer, engine runs hotter than it should for months, gasket and injector damage accumulates, then a summer duty cycle pushes it over into failure. Fifth, running on under-inflated tyres: a wheel loader tyre alone costs $3,000–$8,000, and a set of four exceeds $25,000. Chronic under-inflation cuts tyre life by 25–40% and compounds tread damage on abrasive surfaces — a 5-minute pressure check per shift is the highest-ROI wear-item discipline on the machine.
A quarry equipment manager on the loader that hit 15,000 hours clean
We ran four Volvo L120s on a limestone quarry — 24-hour shifts, dusty as it gets. Our previous fleet had been on informal maintenance and we averaged one major hydraulic repair per machine per year, mostly pump or motor jobs in the $18,000–$25,000 range. Not counting the downtime cost.
We switched to strict PM tiers: 250-hour minor no exceptions, 500-hour intermediate with hydraulic oil sample every time, greased every shift by the operator with sign-off, articulation dial-indicator check at every 500. Two years in, three of the four loaders passed 15,000 hours with no hydraulic pump failures at all. The fourth had a pump replacement at 11,000 hours but the sample analysis had flagged it 300 hours before, so we scheduled the repair instead of losing production. The tier discipline paid for the maintenance software about six times over in the first year.
Frequently asked questions
What is included in a wheel loader maintenance checklist?
A complete wheel loader maintenance checklist runs on four service tiers, each compounding on the ones below it. PM1 (daily pre-shift, 10–15 minutes): operator walkaround covering fluid levels and leaks, tyre pressure and condition, cutting edge and bucket teeth, articulation area, safety systems (horn, backup alarm, brakes, lights), and a full function test at startup. PM2 (250-hour minor, 2–3 hours): engine oil and filter change, fuel/water separator drain, air filter inspection, hydraulic checks, tyre torque verify, grease every pin and pivot, axle oil level check, belt inspection, electrical checks. PM3 (500-hour intermediate, 4–6 hours): everything at PM2 plus fuel filter, outer air element, hydraulic return filter, transmission oil check, brake pad and disc inspection, steering linkage check, battery load test, hydraulic oil sample analysis. PM4 (1,500 and 3,000-hour major, 10–14 hours): everything at PM3 plus hydraulic oil change, axle and planetary oil, coolant flush, valve lash adjustment, injector inspection, articulation weld inspection with magnetic-particle testing under severe duty. Verify exact intervals and procedures against the OEM service manual for the specific machine model.
How often should a wheel loader be serviced?
Service intervals are driven by engine hours rather than calendar time, because hours accumulate wear on hydraulics, engine cycles, and structural components. Baseline OEM intervals across most manufacturers: PM2 (minor) every 250 engine hours, approximately every 4–6 weeks of full-time operation. PM3 (intermediate) every 500 hours, approximately every 8–12 weeks. PM4 (major) at 1,500 and 3,000 hour intervals, typically every 6–18 months depending on utilisation. Daily pre-shift inspection every shift regardless of hour interval. These are baseline norms from Caterpillar, Volvo, John Deere, and Komatsu — specific models publish exact intervals in the service manual. Duty cycle severity compresses these intervals significantly: quarries, dusty pit operations, hot climates, continuous shift work, and heavy load cycles typically require running at 75% of OEM baseline (so PM2 at 190 hours instead of 250, PM3 at 375 instead of 500). Cold starts and idle-heavy operation also accelerate wear disproportionate to engine hours logged. The best approach combines hour-based scheduling with a calendar backstop: whichever comes first triggers the service.
How do I inspect a wheel loader articulation joint?
The articulation joint is the pivot between the front and rear frames that lets the loader steer, and it's the single most safety-critical wear item on the machine because excessive play with a loaded bucket means loss of steering precision. Inspection must use the OEM's specific measurement procedure — typically a dial indicator with cylinders relieved of pressure — not a visual eyeball check. General procedure: position the loader on level ground, lower the bucket, shut down and lock out per OSHA 29 CFR 1910.147, relieve hydraulic pressure at the steering cylinders, mount a dial indicator to measure axial and radial play at both upper and lower articulation pins, and compare readings against the OEM tolerance (typically 0.010–0.030 inch depending on model). Any measurement exceeding the OEM spec is a service requirement, not a "watch it" item — articulation joint failures under load can cause loss of steering control. The measurement should be logged against the asset at every PM3 (500-hour) service, with photos of the dial reading attached to the record. Frame weld inspection with magnetic-particle testing is recommended at PM4 intervals under severe duty.
What lubrication does a wheel loader need?
Wheel loader lubrication runs on three cadences. Daily / every shift: high-cycle pivot points including bucket pivot pins (both sides), tilt cylinder rod and base pins, loader arm-to-frame pins, and articulation joint upper and lower pins. Weekly or approximately every 50 hours: medium-cycle points including steering cylinder rod and base pins, lift cylinder pins, drive shaft U-joints and splines, and any Z-bar or linkage pins. Every 250 hours (PM2): full machine grease per the OEM lubrication chart, verifying fresh grease exits at every fitting to confirm the pin boss is purging old grease and dirt. Use the specific grease grade the OEM specifies — typically a high-temperature EP2 (extreme pressure) lithium-based grease, but not universal, and mixing grease types can accelerate wear. Wipe old grease from around fittings before adding new to prevent contamination. Dry or discolored grease coming out of a fitting is a diagnostic signal that dirt has been ingressing at that pin, warranting closer inspection at the next service. Most articulation and pin wear failures don't start with defective parts — they start with a missed grease interval that let dirt contaminate the pin boss.
Does OSHA require daily wheel loader inspection?
Yes. OSHA 29 CFR 1926.602 requires a pre-shift inspection of earthmoving equipment before use, and the broader 29 CFR 1926.20 sets the general safety and health program requirements for construction operations. Pre-shift inspection is documented practice, not optional — the inspection record demonstrates the operator confirmed the machine was safe to operate at the start of the shift. Common OSHA findings on wheel loader operations include missing or inadequate pre-shift inspection records, inoperative safety devices (backup alarm, horn, seat belt), and continued operation of machines with documented defects that weren't corrected. Penalties for serious violations are up to $16,550 per violation and up to $165,514 for willful or repeated violations. Beyond OSHA, mining operations under MSHA have additional pre-shift inspection requirements under 30 CFR 56/57, and construction sites operating under state OSHA plans may have supplementary requirements. Digital pre-shift inspection with photo capture, operator sign-off, and defect-to-work-order flow produces the compliance record OSHA inspectors specifically look for, and turns the daily walkaround from a compliance box into an active wear-detection process.
Every loader, every tier, every hour — on one dashboard
HVI holds each wheel loader's engine hours, calendar intervals, PM tier templates, articulation and pin measurements, hydraulic oil sample results, and complete work-order history in one asset record. When the tier is due, the template opens on the technician's phone; when a measurement crosses spec, the defect flows to a work order; when the auditor asks for the maintenance file, it's one screen. Live in under two weeks. No hardware. No credit card.
Trusted by quarry, construction & industrial fleets across North America · Ready on day one