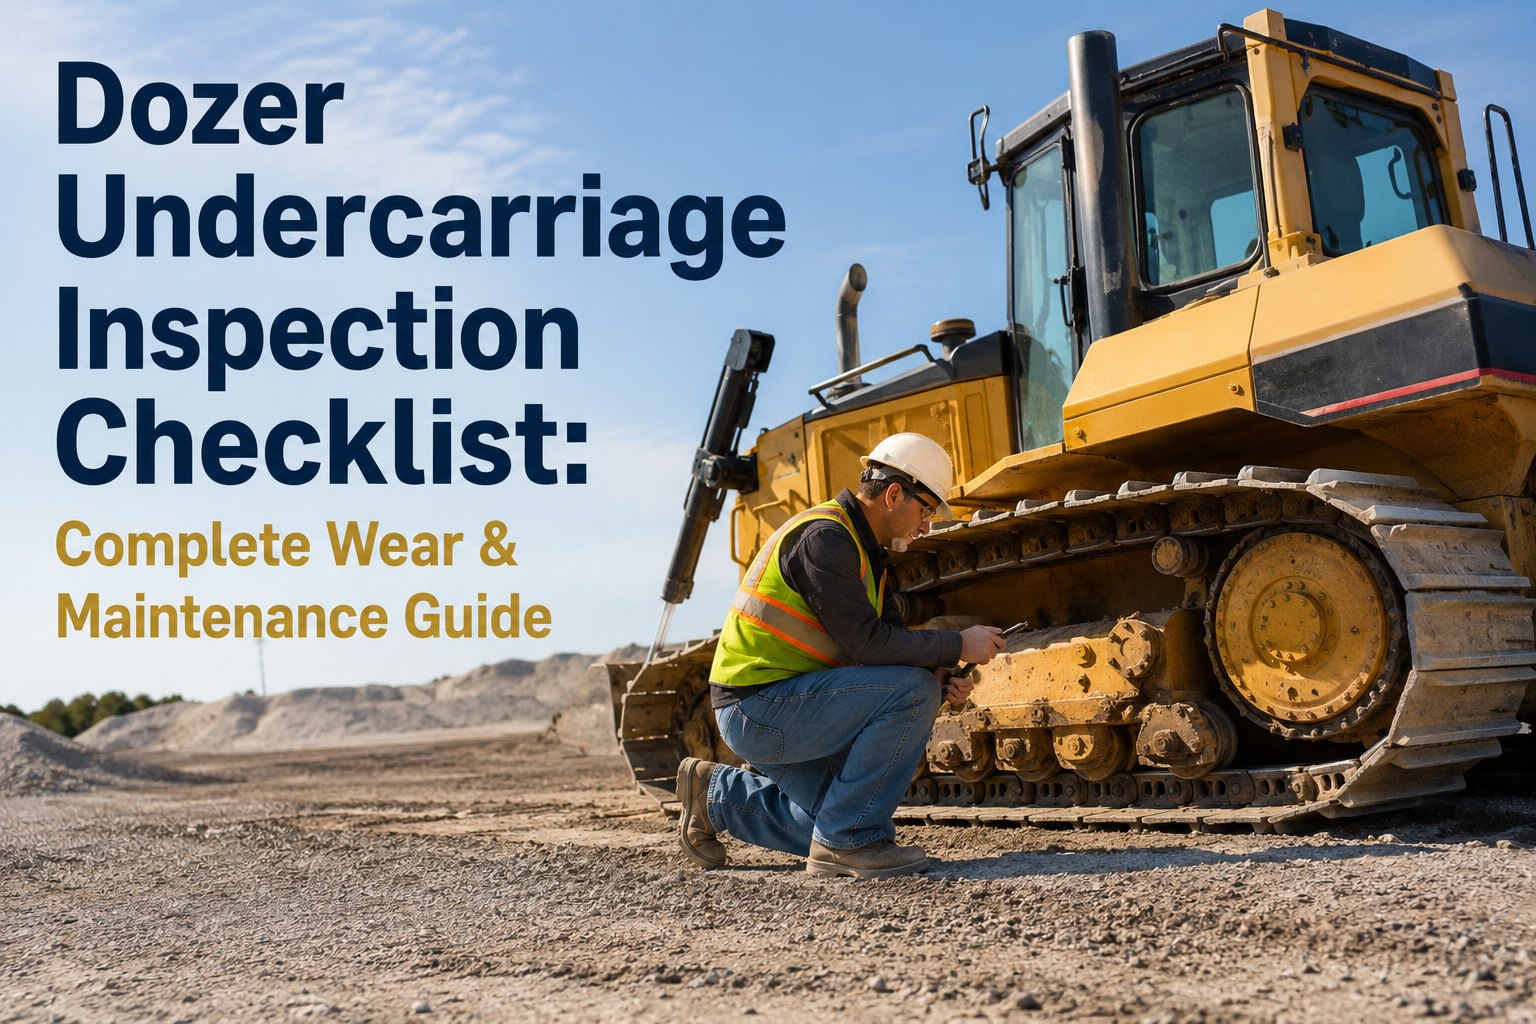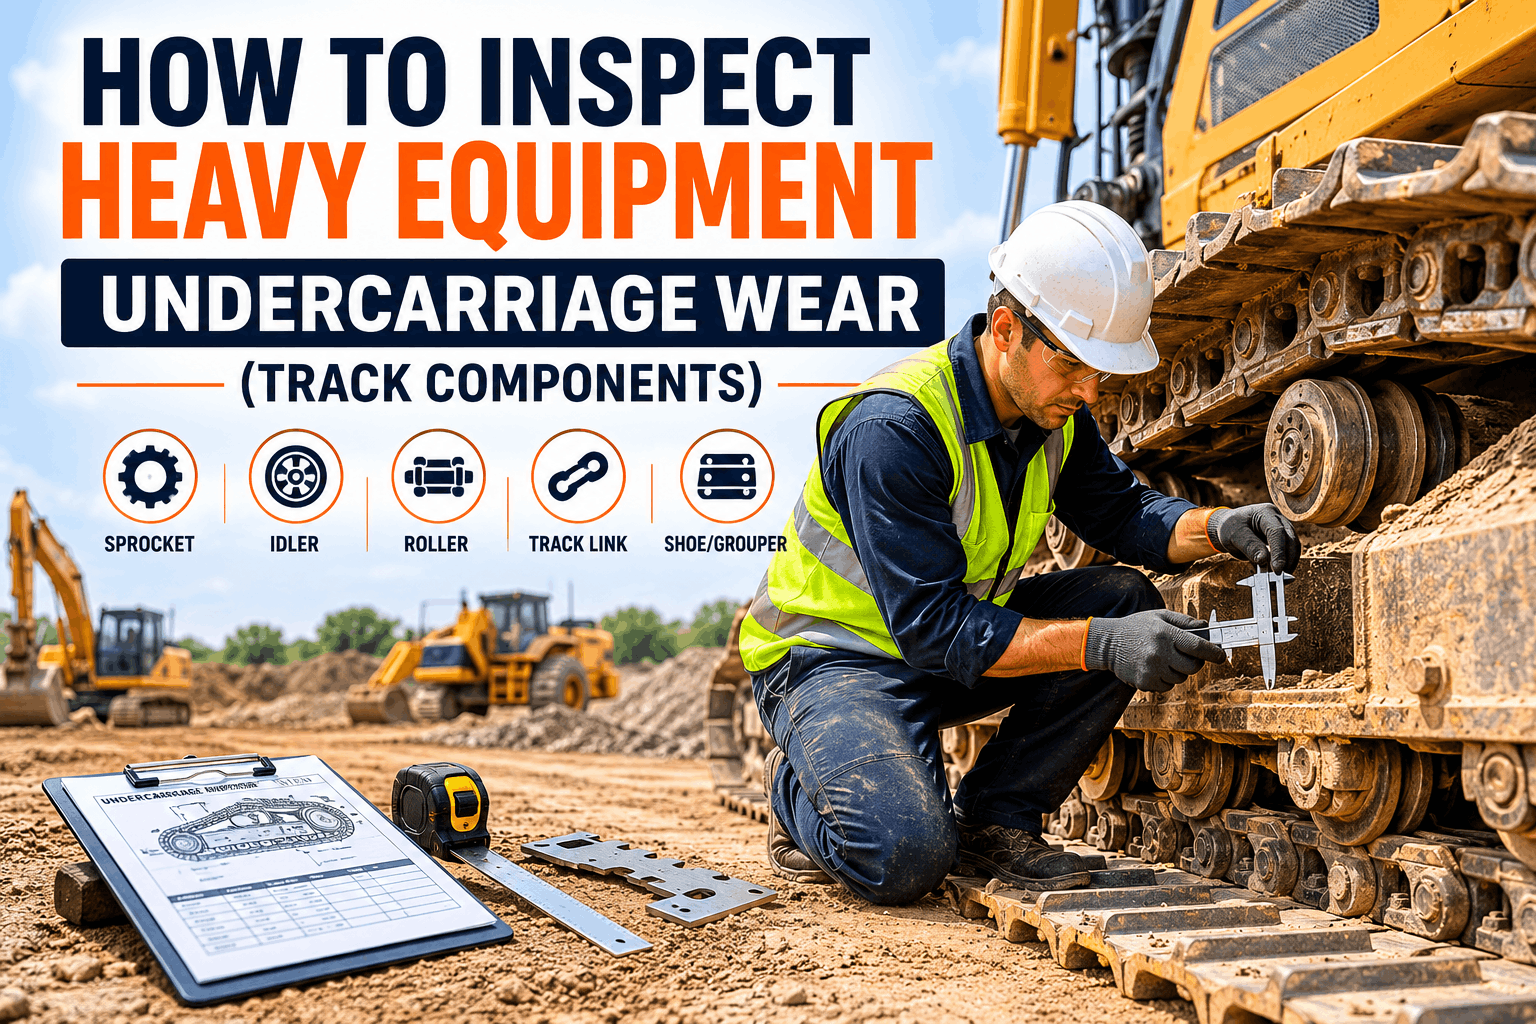
The undercarriage is the single most expensive maintenance system on a tracked machine — accounting for up to 50% of a dozer or excavator's lifetime owning-and-operating cost. And the difference between getting full life out of it and burning through it early comes down to one discipline: measuring wear accurately and replacing components at the right threshold, not too early (wasting service life) and not too late (cascading damage into adjacent parts). This how-to guide walks equipment owners and dealers through inspecting and measuring all five undercarriage wear systems — sprocket, idler, rollers, track link/pitch, and shoe/grouser — with the measurement methods, the percentage-wear calculation, and the OEM replacement-decision thresholds that tell you exactly when to act. For fleets tracking undercarriage wear across multiple machines, Start your free HVI trial to log wear measurements per machine and trend them over time, or book a demo to see how HVI schedules undercarriage inspections on engine hours.
The tools you need before you start
Accurate undercarriage measurement requires the right tools. Eyeballing it leads to either premature replacement (wasted money) or catastrophic cascade wear (much more wasted money). Here's the measurement kit.
The dealer-standard kit (~$250). Measures grouser height, rail height, link height, roller and idler tread diameter, and bushing diameter. The single most useful tool for a complete inspection.
For precise diameter and thickness measurements on rollers, idlers, and shoe base. Compares against OEM new and end-of-life specs.
For grouser height and tread-depth-from-center measurements. Reads how much wear material is left vs. the original profile.
For pitch elongation — measuring across a 4-pin span. The most accurate field method for detecting pin and bushing wear in the track chain.
For track tension (sag) measurement — stretched from sprocket to idler over the grouser tips. Tension is the most controllable wear factor.
Clean packed dirt from rollers, sprockets, idlers before measuring. Have the machine's wear-limit chart on hand to convert measurements to percentage wear.
Component 1 — Sprocket teeth
What to look for: Sprocket teeth wear on the drive face. As they wear, the tooth profile changes from a rounded, symmetrical shape to a sharp, hooked point. A pointed or hooked tooth is the classic visual sign of a worn sprocket.
- Clean packed material from between the teeth with a track spade.
- Use a sprocket wear gauge (often part of the track measuring group) laid against the tooth profile.
- Compare the tooth shape to the OEM profile template — wear shows as a gap between the gauge and the worn drive face.
- Inspect for sharp or hooked tips — the unmistakable sign of replacement-level wear.
Component 2 — Idler
What to look for: Radial tread wear is the most important idler factor. The idler tread (the surface the track links ride on) wears down over time. Flange sidewear — wear on the raised guiding edges — is a secondary concern caused by abrasive soil, hillside operation, or excessive turning.
- Clean the idler thoroughly — packed material distorts readings.
- Measure the depth of the tread from the center of the idler using a depth gauge.
- Confirm the center rim hasn't been changed from original diameter by abnormal wear.
- Check the flanges for excessive sidewear, especially if the machine works hillsides or abrasive soil.
Component 3 — Track rollers (top & bottom)
What to look for: Rollers wear on the tread surface where the track links ride. Measure the tread diameter at the most worn area. Look for flat spots (a sign of a seized roller), oil leaks (failed seals), and worn flanges (causes track misalignment). The condition of the upper/carrier rollers indicates how the lower rollers are holding up.
- Clean each roller and inspect for wetness or oil leaking — a failed seal means the roller is on its way out.
- Measure the tread diameter at the most worn point with a caliper or wear gauge.
- Compare to the OEM new and end-of-life diameter specs.
- Rotate the roller by hand (where safe) to check for seizing — a seized roller is an emergency.
Component 4 — Track link & pitch (pins & bushings)
What to look for: As pins and bushings wear internally, each track segment lengthens — this is "pitch elongation," the single most important measurement for determining internal chain wear. The track also develops slack that gets taken up by moving the idler forward; when no further adjustment is possible, the chain is worn out.
- Measure the distance between the centers of track pin holes across a 4-pin span (the most accurate method — a tape measure works best over this distance).
- Measure from the same reference point (middle of pin or edge) at both ends.
- Compare total span to the OEM new pitch × 4 — the difference is your elongation.
- Check bushing wear: if the top half of the bushing is worn, the pins and bushings have already been turned once.
Component 5 — Track shoe & grouser
What to look for: The grouser is the raised bar on the track shoe that bites into the ground for traction. As it wears down, traction drops and the machine slips, which itself accelerates wear elsewhere. Also check the shoe base thickness and look for bent shoes (sign of side-loading or hard-surface operation).
- Measure grouser height from the top of the grouser bar to the shoe base with a depth gauge or caliper.
- Compare to the OEM original grouser-height specification.
- Measure shoe base thickness to confirm structural material remains.
- Inspect for bent shoes, cracks, and uneven wear across the grouser (indicates side-loading or misalignment).
The percentage-wear method — how to turn measurements into decisions
A raw measurement means nothing without context. The professional method is to calculate percentage of wear life consumed, using the OEM's new and end-of-life dimensions. This tells you exactly how much service life remains in each component.
Replacement-decision threshold chart
Here's the consolidated decision matrix. Actual OEM limits vary by make and model — always confirm against the specific machine's wear chart — but these are the standard thresholds and the wear signatures that drive the replace decision.
| Component | What you measure | Replace / act when | Wear signature |
|---|---|---|---|
| Sprocket | Tooth profile vs gauge | Sharp / hooked teeth; 100% profile wear | Pointed tips, scalloped drive face |
| Idler | Tread depth from center | Tread at OEM limit; flange sidewear severe | Flat tread, worn guide flanges |
| Rollers | Tread diameter at worn point | Diameter at end-of-life spec; any seizing | Flat spots, oil leaks, worn flanges |
| Track chain | Pitch over 4-pin span | Bushing turned + worn again; no adjustment left | Pitch elongation, idler maxed forward |
| Shoe / grouser | Grouser height | At OEM minimum height; traction loss | Worn-flat grousers, bent shoes |
| Pins & bushings | Bushing OD & wear position | Top half worn = turn once; both worn = replace | Internal wear, chain looseness |
The cascade effect — why one bad component matters
Undercarriage components don't wear in isolation. A single neglected component accelerates wear on everything it touches. Understanding the cascade is what separates owners who get full undercarriage life from those who replace it twice as often.
A failed seal lets a bottom roller seize. It no longer rotates — it just drags along the track chain as the machine moves.
The dragging chain wears a flat area on the seized roller, and the abrasion reflects back onto the chain link surface.
Increased friction across the damaged surfaces raises the load on every connected component in the track system.
Pins, bushings, sprockets, and idlers all wear faster. One $400 roller failure can take years off the entire undercarriage.
Track tension — the most controllable wear factor
Beyond measuring wear, the single most controllable factor in undercarriage life is track tension. Too tight accelerates wear on rollers and idlers; too loose causes bounce, vibration, and chain snaking. Getting it right extends the life of every component.
- Roll the machine forward slowly and let it coast to a stop (don't brake).
- Center a track pin over the carrier roller.
- Lay a straightedge or stretch a string over the grouser tips from sprocket to idler — whichever span sags most.
- Measure from the line down to the grouser tips at the lowest point of sag.
- ~2 in (50mm) sag is correct for many conventional crawlers — confirm the exact spec for your model.
- Too tight = accelerated roller and idler wear, wasted horsepower.
- Too loose = bounce, vibration, chain snaking, poor grading.
- Minimize reverse operation — it triples the pins and bushings under steel-on-steel load.
- Wear is proportional to speed and distance — plan jobsite travel to minimize unnecessary tracking.
Inspection frequency & recordkeeping
Undercarriage wear is gradual and predictable — which means trending measurements over time is far more valuable than a single snapshot. A consistent inspection cadence with logged measurements lets you forecast replacement and budget for it instead of being surprised.
Walk-around for bent shoes, oil leaks at rollers/idler, packed material. Clean dirt from rollers, sprockets, idlers with a track spade.
Measure and adjust track sag to spec. Catch tension drift before it accelerates roller and idler wear.
Complete wear measurement of all five systems with the track measuring group. Log every measurement against the machine.
Abrasive soil, rocky terrain, hillside work, and high-hour operation compress all intervals. Inspect proportionally more often.
How HVI tracks undercarriage wear across your fleet
The value of undercarriage measurement compounds when you trend it over time per machine. HVI's inspection platform lets you log wear measurements on each inspection, schedule the 500–1,000 hour measurement on actual engine hours, and forecast replacement before a component fails and cascades.
Build the five-system measurement workflow into a guided inspection — sprocket, idler, rollers, chain pitch, grouser height — with measurement fields and photo capture per component.
Log measurements over time against each VIN. Wear curves become visible — so you forecast replacement at the right hour instead of discovering it at failure.
The 500–1,000 hour full measurement fires automatically on actual engine hours. Daily visual checks and 250-hour tension checks scheduled too — no missed intervals.
A seized roller or cracked idler flagged in inspection auto-creates a work order with photo evidence — catching the cascade trigger before it damages adjacent components.
Tracking undercarriage wear on paper means each measurement is a disconnected snapshot. HVI turns them into a trend line you can forecast against. Start your free HVI trial and build your five-system undercarriage inspection in under an hour.
Frequently asked questions
Undercarriage is half your machine's lifetime cost. Measure it right, trend it over time, and replace at the threshold — not at failure.
HVI builds the five-system undercarriage inspection into a guided workflow, logs wear measurements per machine, schedules the measurement on engine hours, and routes seized-component defects before they cascade. No paper snapshots — a forecastable wear trend.
No credit card required · Custom undercarriage checklists · Wear trending per machine from day one