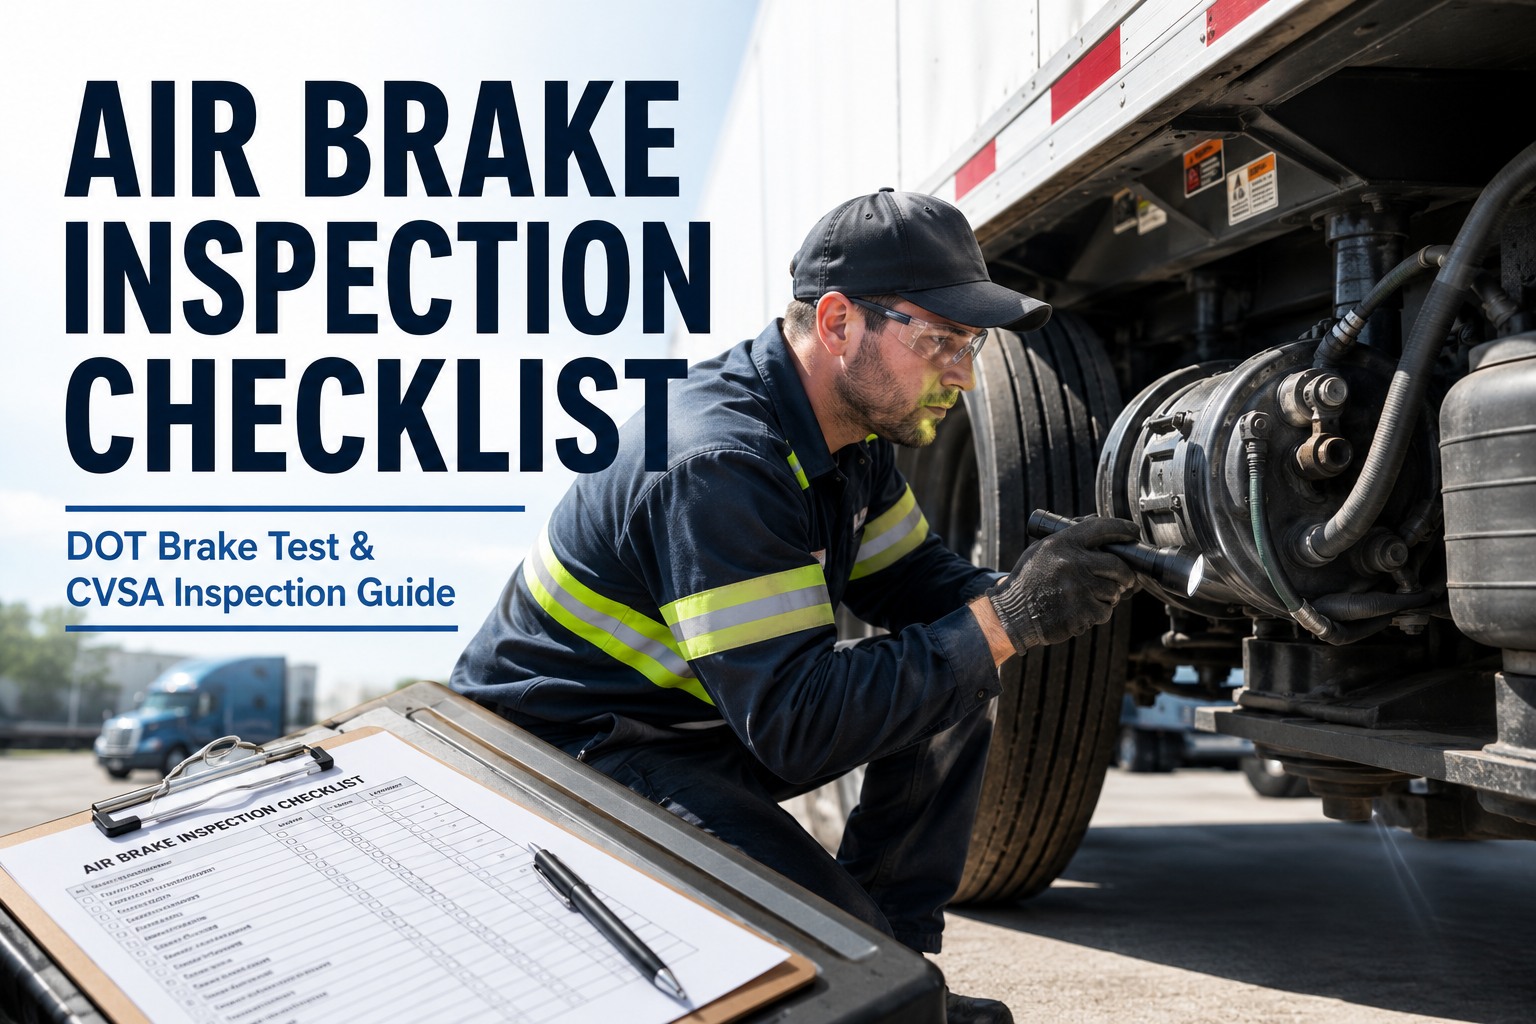
Brakes are the number-one reason trucks get pulled out of service at the roadside — nearly a quarter-million flagged every year, most for problems a proper inspection would have caught in the yard. This air brake inspection checklist walks the two things that actually matter: the ordered test sequence a driver or technician runs to prove the system holds air and warns on time, and the component checks — slack adjusters, brake chambers, pushrod travel, hoses, linings — with the exact measurements that decide pass or fail. Get one number wrong and a truck that feels fine becomes an out-of-service order. Run it in the right order, with the right thresholds, and you catch the problem first. Book a demo to see the whole sequence as a guided digital inspection.
The Air Brake Inspection Checklist & DOT Test Sequence
The ordered air-brake test — build-up, governor, leak-down, low-air warning, spring-brake pop-out — plus the component checks and the exact measurements that trigger a CVSA out-of-service order. Built to 49 CFR 393.47 and the CVSA standard.
- 0–45 psi spring brakes apply
- ~55 psi low-air warning trips
- 90–125 psi normal operating band
~250k trucks a year fail on these numbers
Air brakes are unforgiving in one specific way: the system passes or fails on numbers, not on how it feels. A pushrod a quarter-inch too long, air leaking three psi a minute too fast, a warning light that trips at 50 psi instead of 55 — each is invisible from the driver's seat and each is an out-of-service order at a scale house. So the checklist below is built around those numbers, in the order you actually check them: first the in-cab test sequence, then the components, then the measurement limits that decide it.
The air brake test sequence, in order
This is the in-cab test every CDL driver must run before the workday under 49 CFR 392.7 — and the backbone of a roadside inspection. Run it in this order: each step depends on the pressure state the one before it leaves you in.
-
1
Air pressure build-up
85→100 psi in ≤45 secWith the engine at governed RPM, time how long the system takes to build from 85 to 100 psi. Longer than 45 seconds points to a worn compressor, slipping belt, or a leak somewhere in the system.
-
2
Governor cut-out & cut-in
out 120–125 · in ~100 psiKeep building. The governor should stop the compressor (cut out) at 120–125 psi, then restart it (cut in) around 100 psi as you fan the brakes down. No cut-out means an over-pressure risk.
-
3
Static leak-down
engine off, brakes releasedShut the engine off and watch the gauges with the brakes released. The system should hold air — a fast drop means a leak you'll confirm in the applied test below.
-
4
Applied leakage
≤3 psi single · ≤4 psi combo /minFully apply the service brake and hold. Air loss over about 3 psi per minute on a single vehicle, or 4 psi on a combination, exceeds the limit — and an audible leak at a chamber is an automatic out-of-service.
-
5
Low-air warning
must trip by ~55 psiKeep fanning the brakes to bleed pressure down. The low-air warning — light, buzzer, or wig-wag — must activate by around 55 psi. A warning that never comes on, or comes on too late, is a violation.
-
6
Spring-brake pop-out
applies at 20–45 psiKeep bleeding. The spring (parking) brakes should apply automatically as pressure falls into the 20–45 psi range. This is the fail-safe that stops the truck if the air system ever fails on the road.
Six steps, one continuous drawdown of pressure — which is why order matters. Miss the sequence and you can't read the thresholds cleanly. See the sequence as guided steps drivers can't skip
The component walk-around checklist
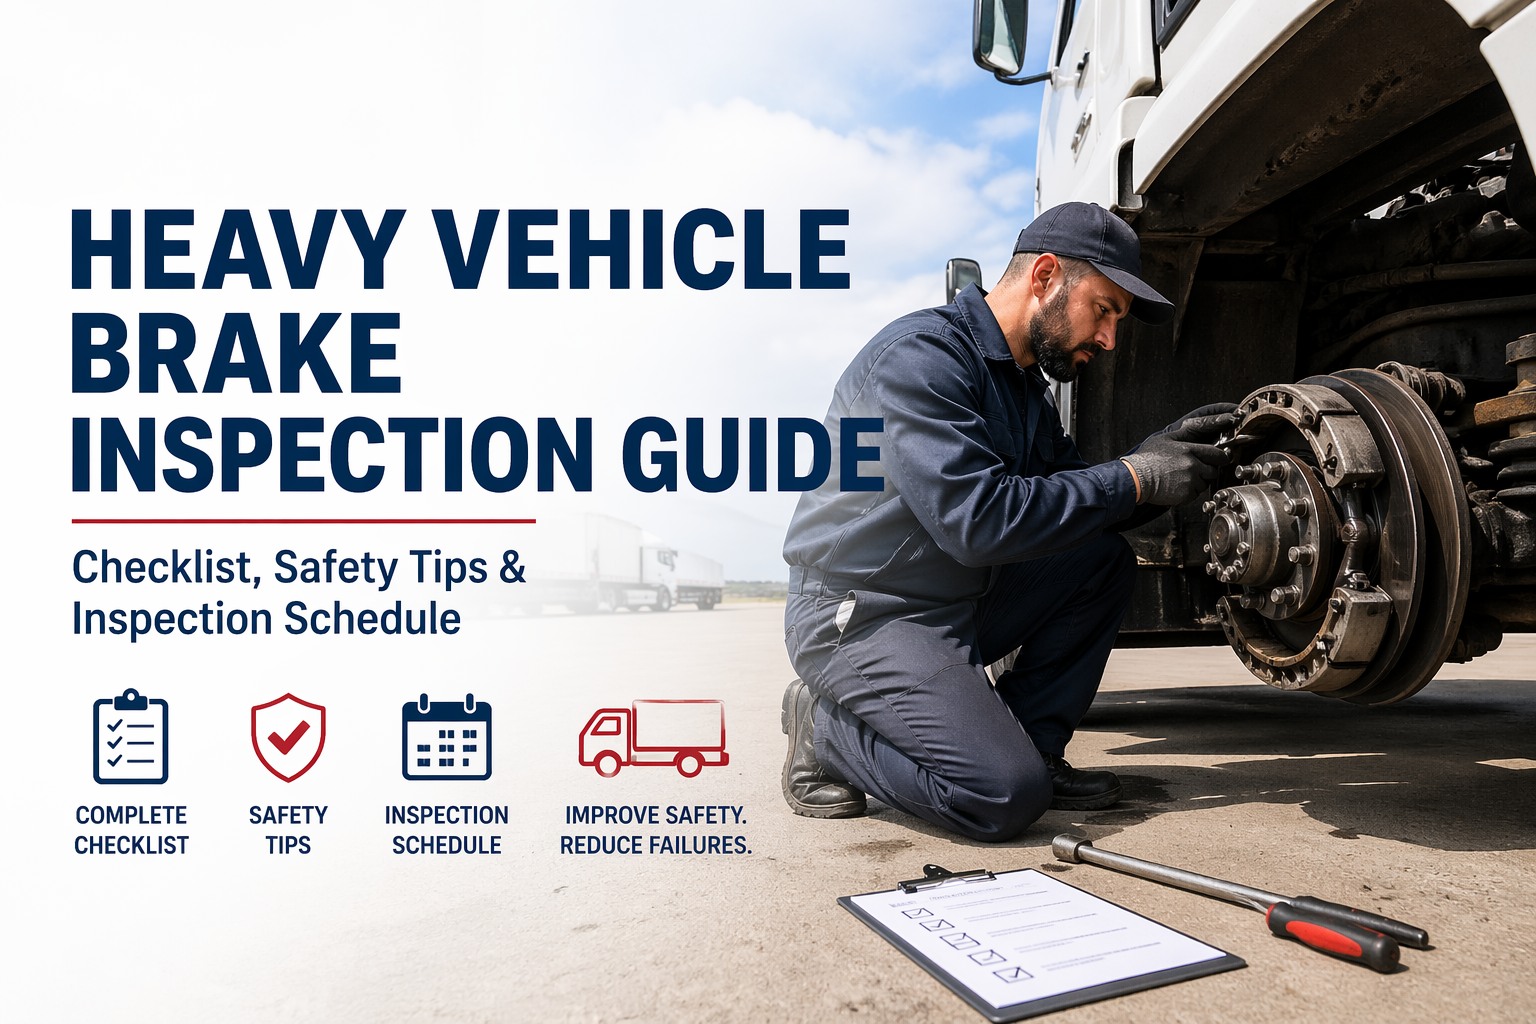
The test sequence proves the system holds air; the walk-around proves the hardware is sound. These are the foundation-brake components an inspector puts hands and eyes on — and the ones that fail most.
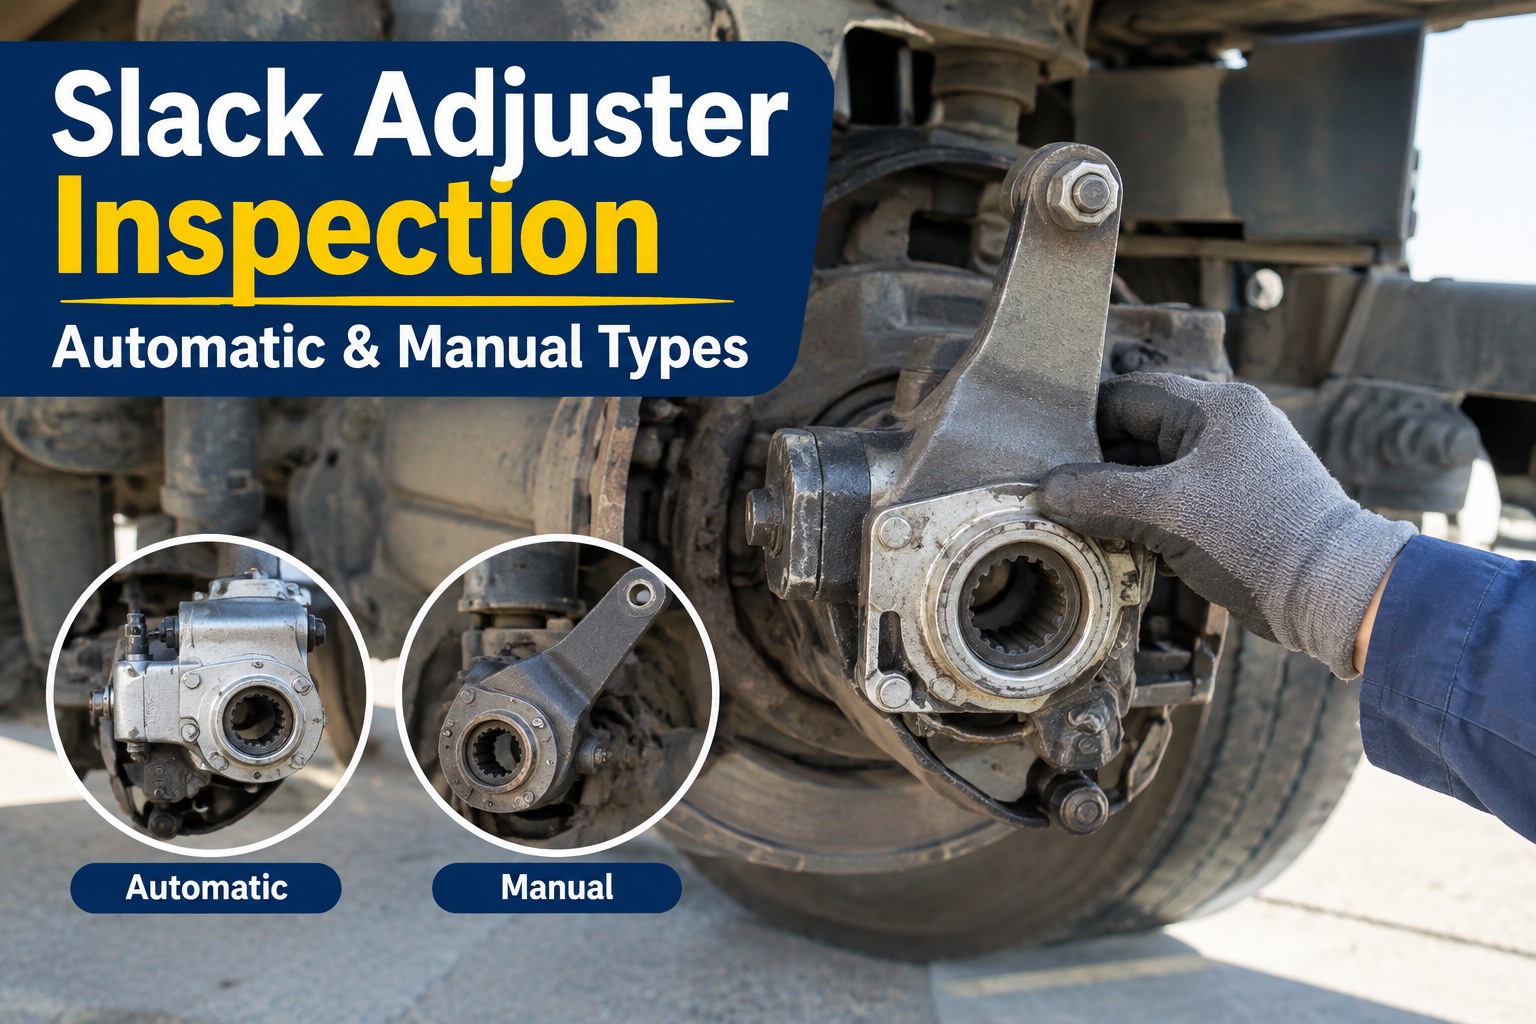
Parking brake released, gloves on, pull hard. More than about an inch of movement where the pushrod attaches means it needs adjustment — and never manually adjust an automatic slack adjuster to hide it.
Check for cracks, clogged vent holes, bent pushrods, loose mountings, and damaged clamps. Both wheel ends of an axle must have matching chambers and linings.
The single most common roadside brake violation. Measured with the system at 90–100 psi and the brake fully applied — the applied stroke must stay within the chamber's limit.
Look for cuts, abrasion, and rubbing where hoses meet chambers, plus kinks or bulging under pressure. Listen at every fitting and glad hand — a faint hiss becomes a major leak at operating pressure.
Linings at least a quarter-inch thick at center, not loose, cracked, or oil-soaked. Drums free of cracks longer than half the friction-area width, and no heat-checking or scoring.
The ABS malfunction lamp must light and then go out with power applied. A lamp that never lights, or stays on, is a violation on any vehicle required to have ABS.
Every one of these is a hands-on check that a paper form reduces to a single tick with no proof behind it. Start free and capture each component with a photo and measurement
The measurement limits that decide pass or fail
These are the numbers an inspector measures rather than judges by eye — and the ones worth taping to the shop wall. The highlighted rows are where most out-of-service orders come from.
- Pushrod stroke — Type 30 clamp chambermax ~2"
- Pushrod stroke — manual slack adjustermax ~1¾"
- Measurement pressure for stroke90–100 psi
- Applied air loss — single vehicle>3 psi/min = OOS
- Applied air loss — combination>4 psi/min = OOS
- Build-up time 85→100 psi≤45 sec
- Low-air warning activationby ~55 psi
- Brake lining thickness at center≥1/4"
- Defective brakes on vehicle (20% rule)≥20% = whole-vehicle OOS
The 20% rule is the one that surprises people: it doesn't matter that nine wheels are perfect — if two of ten brakes are out, the whole truck is grounded. That's why every wheel position gets measured, not spot-checked. Book a demo to record a reading at every wheel end
Why pushrod stroke fails more trucks than anything
Out-of-adjustment brakes top the roadside violation list year after year, and pushrod stroke is the reason. It's worth understanding because it's both the most common fail and the most misunderstood.
Measured at 90–100 psi with the brake fully applied, the pushrod's applied stroke must stay within the chamber's limit — about 2 inches for the common Type 30 clamp chamber. Cross it and that brake is out of adjustment.
Stroke changes roughly a tenth of an inch per 10 psi. Measure at the wrong pressure and a good brake reads bad, or a bad one reads fine — which is why the 90–100 psi window is non-negotiable.
Manually adjusting an automatic slack adjuster to pull a long stroke back into spec hides the real problem — a failing adjuster or foundation brake — and leaves the truck just as unsafe. It's masking, not fixing.
The honest version: pushrod stroke is a number you either recorded at the right pressure or you didn't. Written down at every wheel, it's a defensible inspection; eyeballed, it's the violation waiting to happen. Start free and log stroke per wheel at the right pressure
From the inspection lane
People think brake violations are dramatic — smoke, grinding, a pedal to the floor. They're not. It's a stroke that's an eighth over on two wheels, or a chamber hissing just loud enough to hear. Nothing you'd feel driving.
That's the whole problem with paper: the tech "checked brakes" and ticked a box, but there's no number behind it. When every wheel end has a recorded stroke at the right pressure, two things happen — the out-of-adjustment brake gets caught here, and if we ever get questioned, the proof is right there. Measure it, write it down. That's the job.
Frequently asked questions
What is the correct air brake test sequence?
The in-cab air brake test, required before each workday under 49 CFR 392.7, runs as an ordered sequence because each step depends on the pressure state left by the one before it. First, build-up: with the engine at governed RPM, air pressure should rise from 85 to 100 psi in 45 seconds or less. Second, governor: the compressor should cut out at 120–125 psi and cut back in around 100 psi. Third, static leak-down: with the engine off and brakes released, the system should hold air. Fourth, applied leakage: fully apply the service brake and hold — loss over about 3 psi per minute on a single vehicle or 4 psi on a combination exceeds the limit. Fifth, low-air warning: as you fan pressure down, the warning device must activate by around 55 psi. Sixth, spring-brake pop-out: the parking brakes should apply automatically as pressure falls into the 20–45 psi range. Running these out of order makes the thresholds impossible to read cleanly.
What is the maximum pushrod travel on an air brake?
For the most common Type 30 clamp-type brake chamber with automatic slack adjusters, the maximum allowable applied pushrod stroke is about 2 inches; for the rarer manual slack adjusters, the limit is around 1¾ inches. The measurement must be taken with the air system between 90 and 100 psi, the spring brakes released, the engine off, and the service brake fully applied, in accordance with the 49 CFR 393.47 inspection procedure. Pressure matters enormously: stroke changes roughly a tenth of an inch for every 10 psi, so measuring 20 psi too low or too high can produce nearly a quarter-inch of error and a wrong pass-or-fail call. Exceeding the stroke limit is an out-of-adjustment brake and one of the most common roadside violations. Manually adjusting an automatic slack adjuster to bring a long stroke back into spec masks the underlying mechanical problem rather than fixing it, and is not permitted as a real repair.
How much air loss is allowed during a brake test?
During the applied leakage test — engine off, service brake fully applied and held — the air pressure should not drop more than about 3 psi in one minute on a single vehicle, or more than about 4 psi per minute on a combination vehicle. Exceeding those rates is an out-of-service condition under the CVSA North American Standard criteria. Separately, any air leak audible to an inspector standing near the vehicle at a brake chamber, hose, or fitting is an automatic out-of-service violation regardless of the measured rate, because a faint hiss at low pressure becomes a serious leak at full operating pressure. Air leaks are the single most common cause of air brake failure, typically at fittings, hoses, chambers, and valve seals, which is why the leak-down and applied-leakage steps are central to both the daily test and a roadside inspection.
At what pressure must the low-air warning and spring brakes activate?
The low-air pressure warning device — a light, buzzer, or mechanical wig-wag — must activate before system pressure falls too low, generally by around 55 psi (regulations reference a range of roughly 55 to 75 psi depending on the vehicle). A warning that never comes on, or that activates too late, is a violation. As pressure continues to drop, the spring (parking) brakes should apply automatically once pressure falls into roughly the 20–45 psi range; this is the mechanical fail-safe that brings the vehicle to a stop if the air system loses pressure on the road. During the daily test, drivers verify both by fanning the brakes to bleed pressure down and confirming the warning trips and then the spring brakes set at the expected points. Both are checked in sequence at the low-pressure end of the test.
What is the 20% rule for brake out-of-service?
Under the CVSA North American Standard Out-of-Service Criteria, if 20 percent or more of the service brakes on a commercial vehicle are defective or out of adjustment, the entire vehicle is placed out of service — regardless of how good any individual brake reads. On a ten-brake vehicle, that means two defective brakes ground the whole truck. This is why a complete air brake inspection measures every wheel position rather than spot-checking a few: a single missed out-of-adjustment brake can be the one that tips a vehicle over the 20 percent threshold. Common triggers that count toward the total include pushrod travel exceeding the chamber limit, audible air leaks, cracked drums, and thin or contaminated linings. The rule makes systematic, per-wheel measurement essential, and it's a strong argument for recording every reading digitally so nothing is skipped and the full picture is defensible during an inspection.
Run the full air-brake inspection on every truck, every time
HVI turns this checklist into a guided digital inspection — the test sequence as pass/fail steps, a measurement field for every pushrod and lining position, mandatory defect photos, automatic out-of-service flagging, instant work orders, and audit-ready records at every wheel end. Stop letting a quarter-inch of stroke turn a good truck into an out-of-service order.
No credit card · No hardware · Live on your fleet in under two weeks