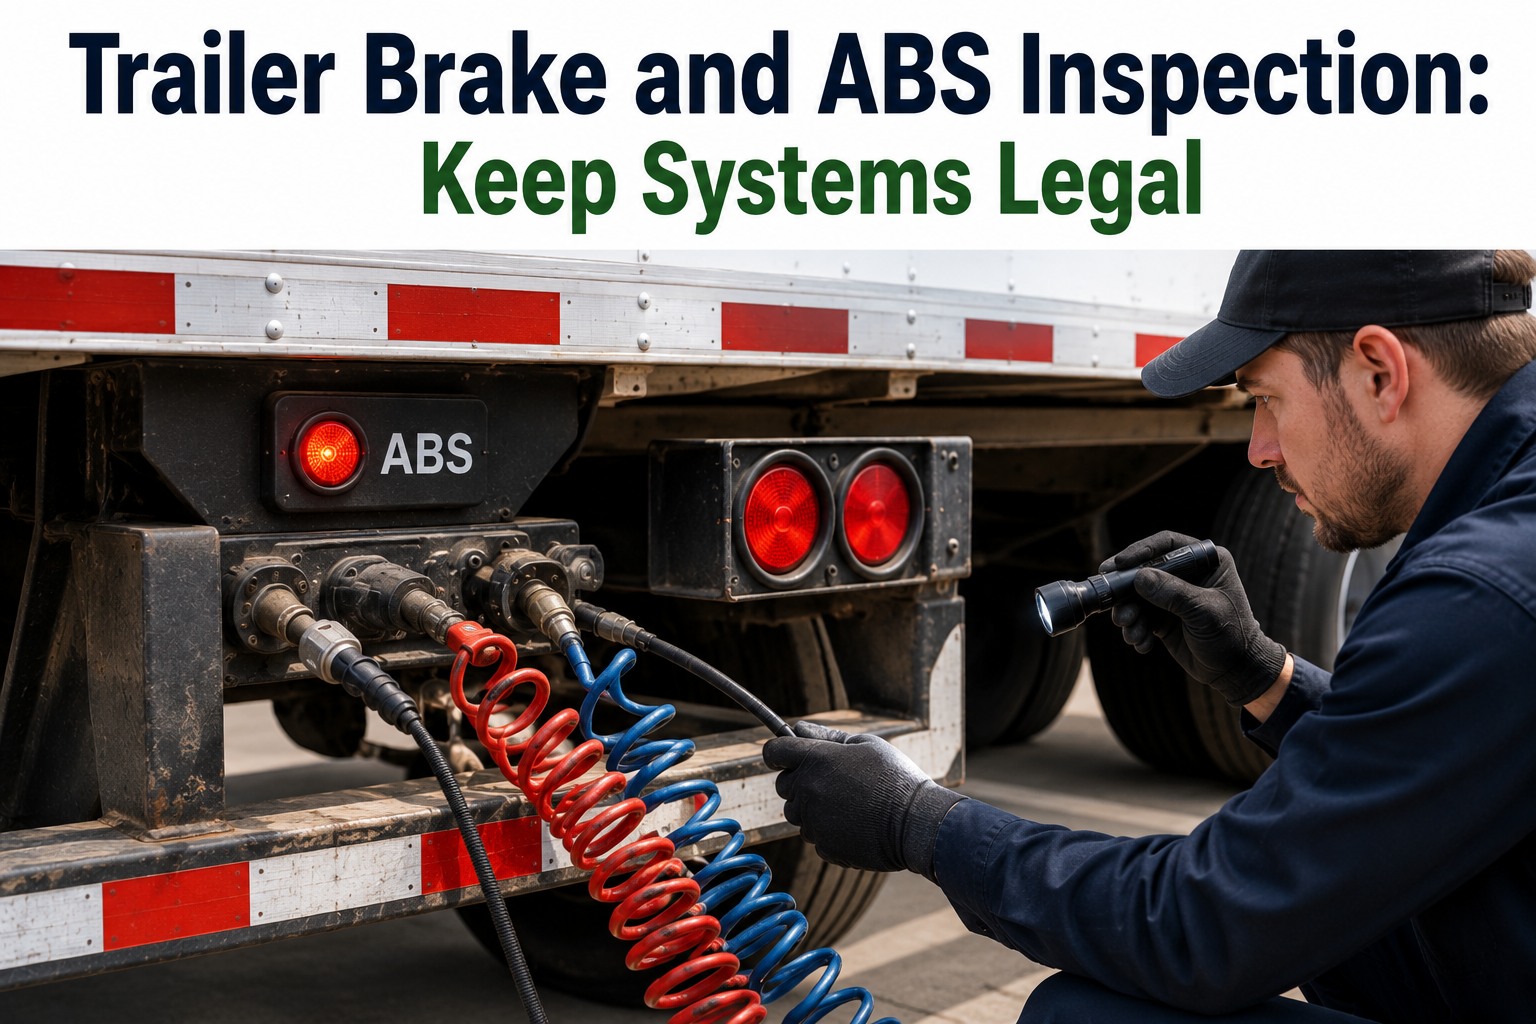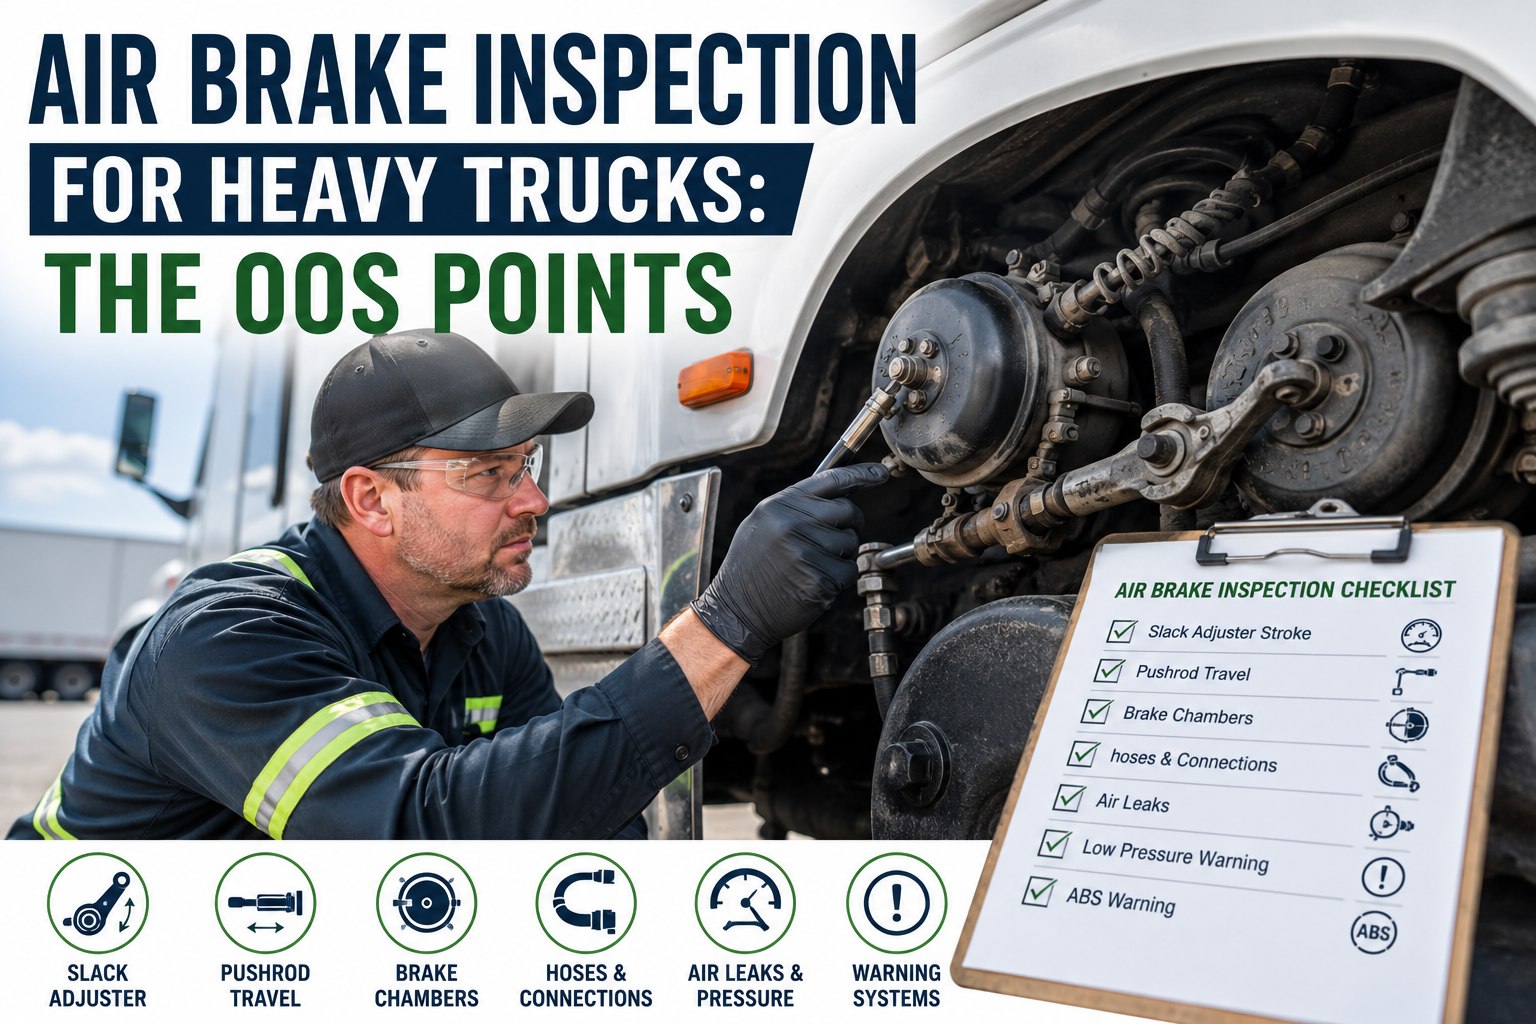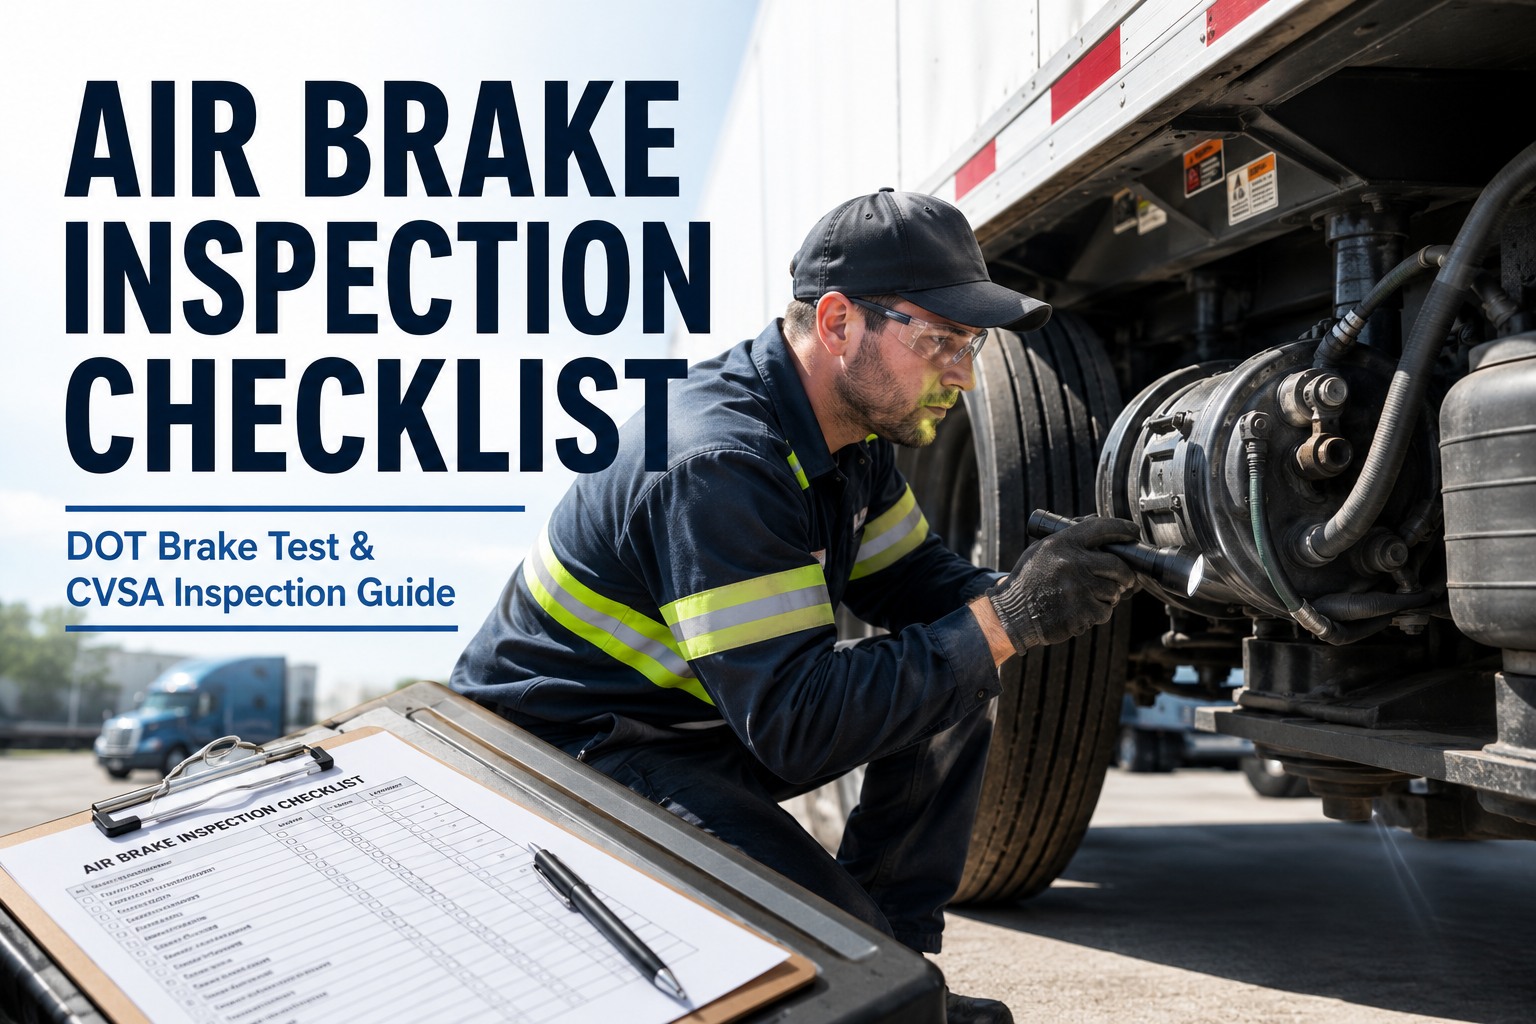
Picture the wheel-end that keeps coming back. Same corner, same long stroke, every few weeks — and every time, someone turns the automatic slack adjuster back to spec and calls it fixed. It isn't. On a slack adjuster inspection, turning the screw to correct an out-of-adjustment automatic isn't the repair — it's what hides the repair you actually needed. The fix is reading the adjuster instead of just resetting it. See stroke measured and the cause diagnosed
Verify it. Diagnose it. Then — and only then — act.
That sequence is the whole point, because the slack adjuster is the part that gets blamed for problems it didn't cause. Below is how the two adjuster types differ, why an out-of-adjustment automatic is a warning light and not a to-do, what actually causes overstroke, and the measurements that decide it.
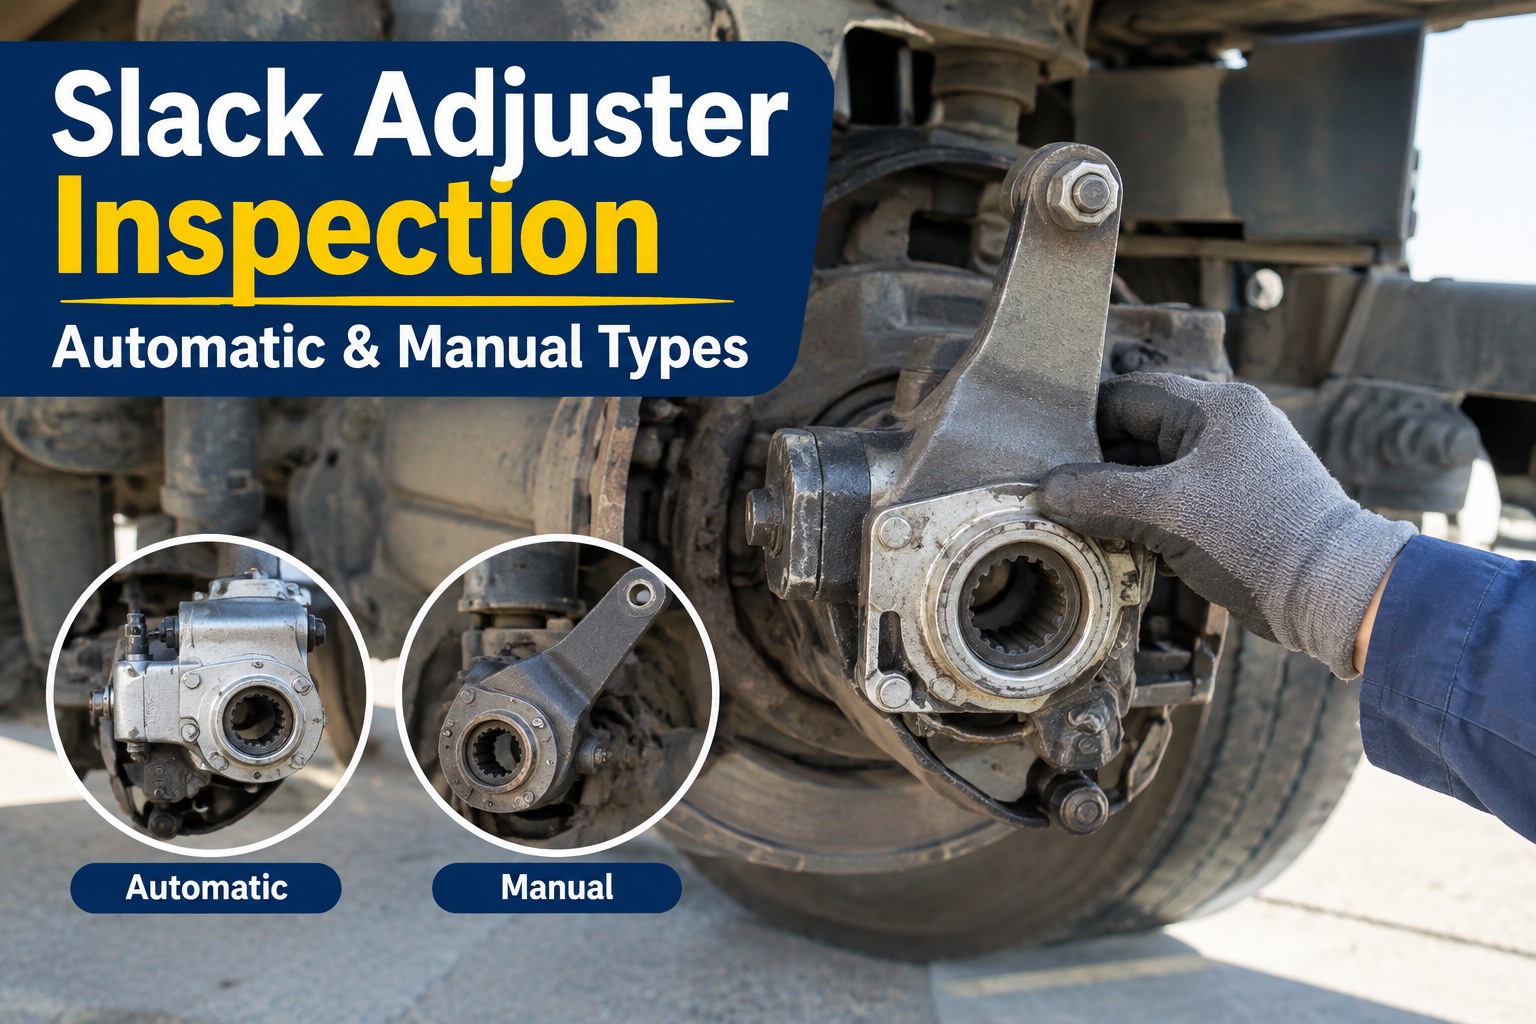
Automatic vs manual slack adjusters at a glance
The slack adjuster turns the air chamber's pushrod force into the twist that rotates the S-cam and pushes the shoes into the drum. As linings wear, the gap grows and something has to take up that slack — and how each type does that is exactly why you inspect and service them differently. Swipe the table on mobile to see every column.
| Aspect | Automatic (ASA) | Manual |
|---|---|---|
| Takes up slack | Continuously, on its own, via an internal clutch | Only when a technician turns the adjustment screw |
| Routine adjustment | None — it self-adjusts by design | Required periodically as linings wear |
| Out of adjustment means | Something is wrong — diagnose it | It's due for its scheduled adjustment |
| Turning the screw to fix overstroke | Wrong — masks the fault, harms the clutch | Correct — that's how it's maintained |
| Found on | Modern trucks (standard for decades) | Older equipment |
| Still needs | Lubrication and function testing | Lubrication, wear checks, and adjustment |
The line that trips people up is the fourth row. On a manual adjuster, turning the screw is the maintenance. On an automatic, turning it to correct overstroke is a red flag that hides the fault and can void warranty — so identifying the adjuster type per wheel position is genuinely step one. Book a demo to record adjuster type by wheel position
Why an out-of-adjustment automatic means stop, not adjust
An automatic slack adjuster's entire job is to keep the brake in adjustment without help. So when one shows excessive stroke, the honest reading isn't "it needs turning" — it's "something defeated it." Manufacturers including Bendix and Meritor, backed by an NTSB directive, are unusually blunt about this: do not manually adjust an ASA to correct overstroke. Here's the damage that shortcut does.
It fights the clutch
Manually turning an ASA works against its internal back-off clutch. That mechanical fight can damage the adjuster and shorten its service life — you're wearing out the part while pretending to fix it.
It masks the fault
The stroke reads correct for a day, so the truck ships with a worn S-cam, bad bushing, or dragging brake still in place — now hidden behind a measurement that looks fine.
It comes right back
Nothing was corrected, so the overstroke returns. A wheel-end cycling in and out of adjustment is exactly what a roadside inspector — and your own maintenance history — will flag.
So the guidance reduces to a discipline: confirm the brake is out with a proper stroke test, find the cause, and treat the adjuster as the last suspect rather than the first fix. Book a demo to see recurring out-of-adjustment wheel-ends
What actually causes an out-of-adjustment brake
Before you conclude anything about the adjuster, know its competition. These are the foundation-brake culprits that push a wheel-end out of adjustment — and most of them get misdiagnosed as an adjuster problem. Work down this list first.
As the bushings wear, the camshaft gains excessive radial and axial play and starts to wander. That added travel pushes the brake out of adjustment even when the adjuster is working — and can drag the lower shoe, building heat and lengthening stopping distance.
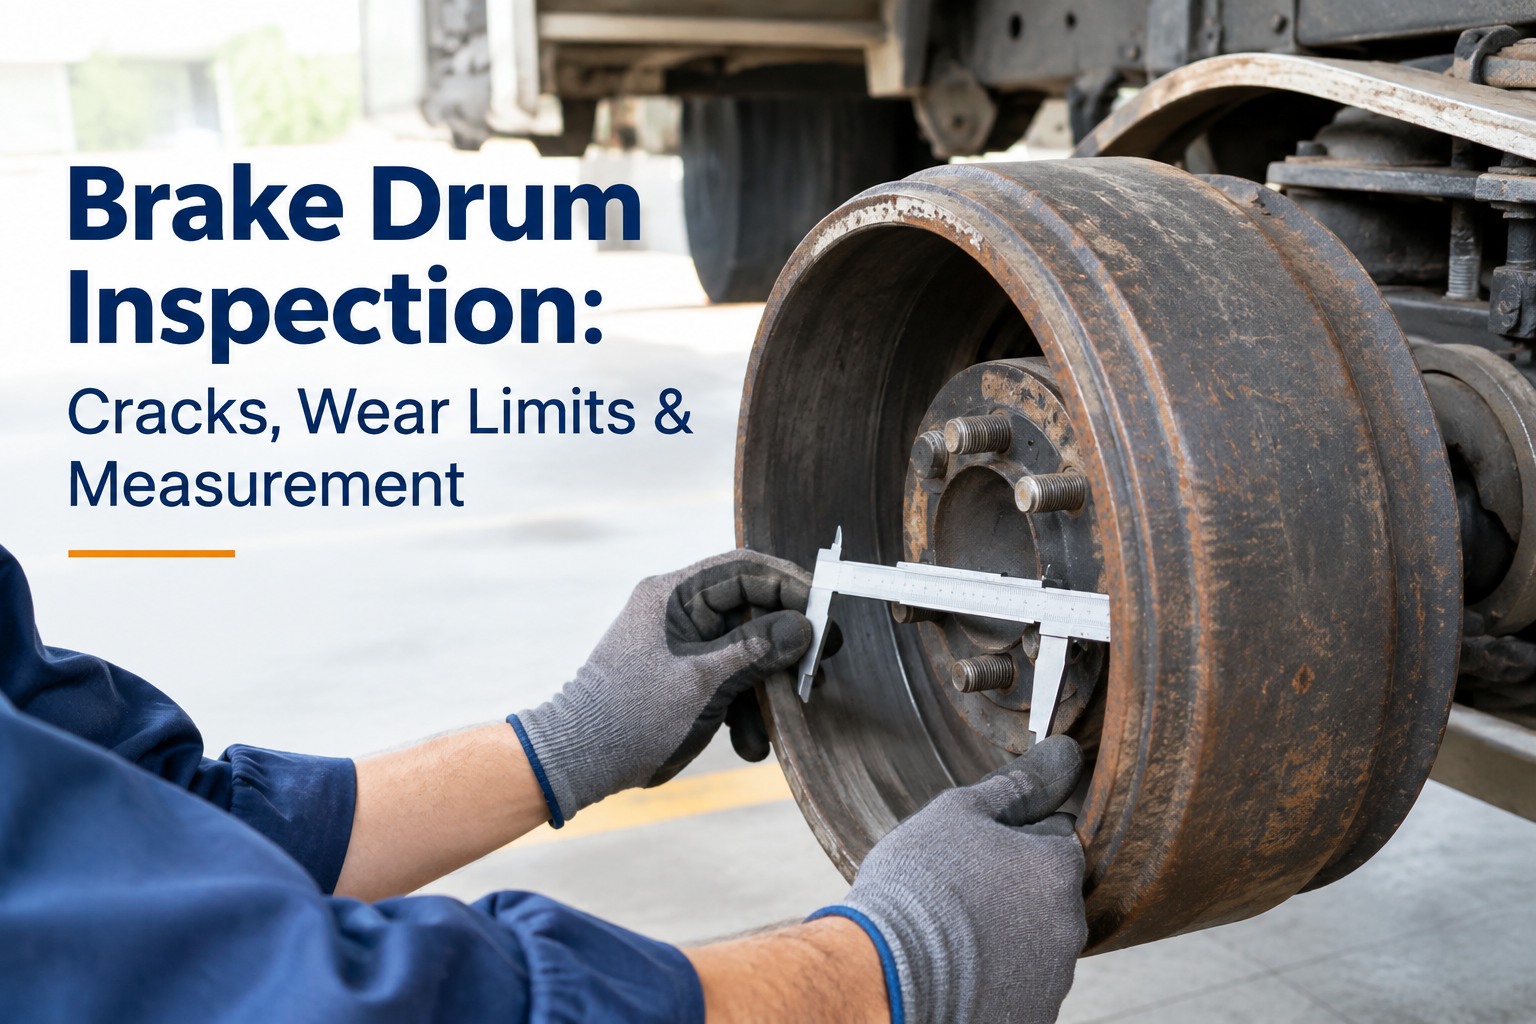
Worn shoes and linings, out-of-spec drums, and weak return springs that don't pull the brake back to a true zero-stroke position all show up as excessive travel that isn't the adjuster's doing.
Elongated pin holes, seized clevis pins, a loose anchor bracket, or a misaligned adjuster mounting all add slop to the linkage — travel the adjuster can't compensate for.
Only after the above check out is the ASA the likely fault. Confirm it by function testing — and if it fails, replace it with OEM-equivalent equipment rather than cranking it back into spec.
Notice the adjuster is at the bottom, not the top. Most "adjuster problems" are solved before you reach it — which is precisely why reaching for the wrench first is the wrong instinct. Book a demo to capture each finding against the wheel-end
The measurements that decide it
Feel doesn't diagnose a brake — numbers do. A handful of measurements and wear checks tell you whether the brake is in adjustment and whether the parts that keep it there are sound. Always apply your manufacturer's and the applicable regulatory limits for the specific equipment.
Move the adjuster with a small pry bar and watch how far the center of the large clevis pin travels before the shoes touch the drum. A common reference is 3/8 to 5/8 inch — outside that, inspect the brake components rather than just resetting it.
Measure pushrod travel at the center of the large clevis pin — released, then fully applied. The difference is the stroke, checked against the CVSA maximum for that chamber size and type. Beyond the limit, the wheel-end is out of adjustment.
Clevis pins should turn freely, be free of elongation and pin-hole wear, and be lubricated. Check the anchor bracket and adjuster mounting for looseness, damage, and correct alignment with the clevis.
Excessive camshaft or bushing play adds to brake travel and mimics an adjuster fault. Check radial and axial play to the maker's spec — worn bushings let the cam wander, drag the lower shoe, and heat the wheel-end.
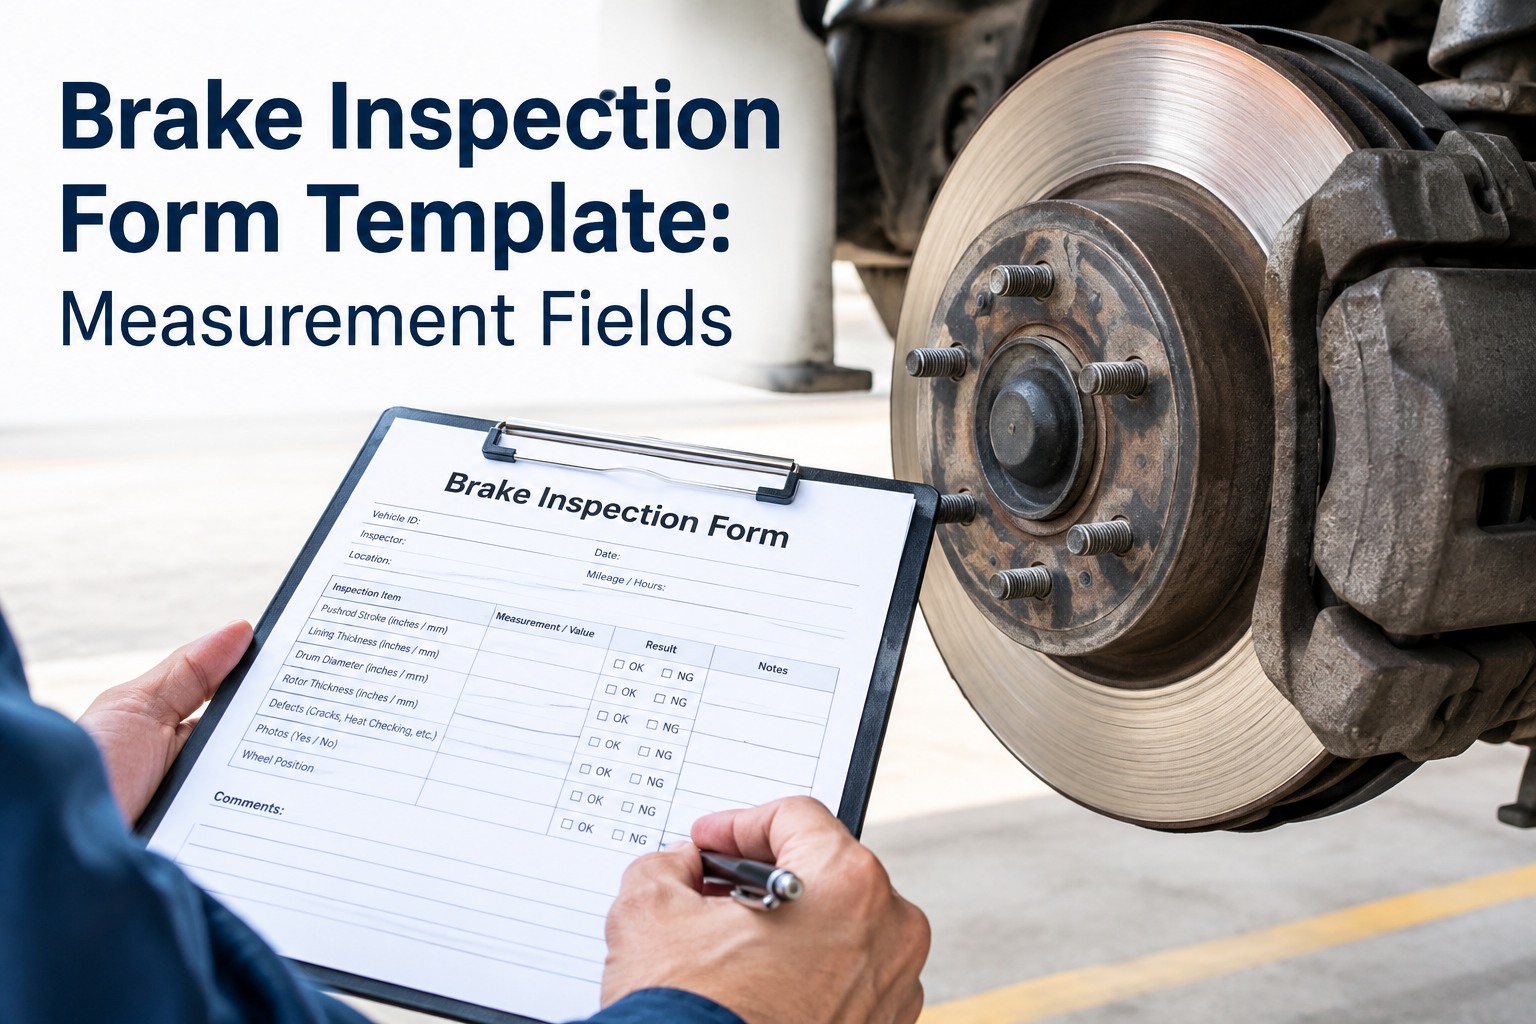
Record these by wheel position, not as one pass/fail for the truck — because a single corner reading long every service is the pattern that points at the real cause. Start free and log stroke and free play per wheel-end
The slack adjuster diagnosis checklist
This is the check that reads the adjuster instead of just resetting it — the measurement, the causes to rule out, and the one rule about never cranking a faulty automatic back to spec. Use this slack adjuster checklist online free, so every stroke reading lands against the chamber's readjustment limit.
Lubrication: the cheap fix that prevents the expensive one
Most slack adjuster and S-cam trouble traces back to lubrication done wrong — too little, too much, or too rarely. The adjuster and the camshaft it drives both need grease on a schedule, and two details matter more than people expect.
Lubrication is the cheapest brake maintenance there is and the one most likely to prevent an overstroke down the line. Put it on a recurring PM schedule per asset and it actually happens — on time, right grease, every wheel-end. Book a demo to schedule adjuster and cam lube as recurring PM
From a brake technician who learned to put the wrench down
Early on, an out-of-adjustment brake meant you adjusted it — simple. Then I had a trailer that kept coming back long on the same corner, no matter how many times I set it. Turned out the cam bushing was shot; the cam was walking and the adjuster couldn't keep up. I'd been resetting the number and shipping the real problem.
Now the first thing I tell new techs is: on an automatic, don't touch the adjustment screw to fix a stroke. Confirm it's out with a measurement, then work the foundation brake — shoes, drum, S-cam, bushings — before you ever look at the adjuster. Nine times out of ten the answer's already there. And write down which corner it was, because the repeat offenders tell you the most.
Frequently asked questions
Can you manually adjust an automatic slack adjuster?
You physically can, but for an automatic slack adjuster that's out of adjustment, you shouldn't — and the manufacturers say so. An automatic that isn't self-adjusting has a fault (worn internals, a bad clutch, a dry S-cam), and cranking it back into spec just masks the fault; it drifts out again within days. The correct action is to diagnose the cause and, if the adjuster is faulty, replace it — not adjust it.
What is the correct free play for a slack adjuster?
Free play is how far the center of the large clevis pin moves before the shoes contact the drum, checked by hand at the adjuster. Excessive free play points to wear in the linkage or the adjuster itself. But free play is only part of the picture — the definitive measurement is applied pushrod stroke against the chamber's readjustment limit, which is what a roadside inspector uses.
How do worn S-cam bushings affect brake adjustment?
Worn S-cam bushings are one of the most misdiagnosed causes of an out-of-adjustment brake. The S-cam rides in bushings; when they wear, the cam shifts under load and the geometry the adjuster relies on changes — so the brake reads out of adjustment even though the adjuster is fine. Replace the slack adjuster and the problem returns, because the real fault is the bushings. Check them before condemning the adjuster.
How often should slack adjusters be lubricated?
Follow the manufacturer's service information for your specific adjuster — that's the authority. As a rough reference, many fleets lubricate slack adjusters and S-cams on a set interval with a grade-2 grease rated for the temperature range, more often in severe-duty or wet, dirty conditions. Most slack-adjuster and S-cam trouble traces back to missed lubrication, so it's the cheap step that prevents the expensive replacement.
When should a slack adjuster be replaced instead of repaired?
Replace an automatic slack adjuster when function testing confirms it's the faulty component — but only after ruling out the other causes first (worn S-cam bushings, a seized cam, air-chamber or foundation issues). The mistake is replacing the adjuster on a hunch when the real fault is upstream. Confirm the adjuster itself has failed its self-adjusting function, then replace it — never adjust a faulty automatic back into spec.
Turn slack adjuster inspection into a documented diagnosis
HVI records the adjuster type and wheel position per asset, captures stroke and free-play measurements, attaches photos of S-cam, clevis, and bushing wear, routes a suspected foundation-brake fault into corrective maintenance, and schedules the lubrication PM that prevents overstroke in the first place — with a full brake history per wheel-end. The corner that keeps reading long becomes a pattern you can fix, not a screw you keep turning. Live on your fleet in days.
No credit card · Measurement capture by wheel position · Ready on day one