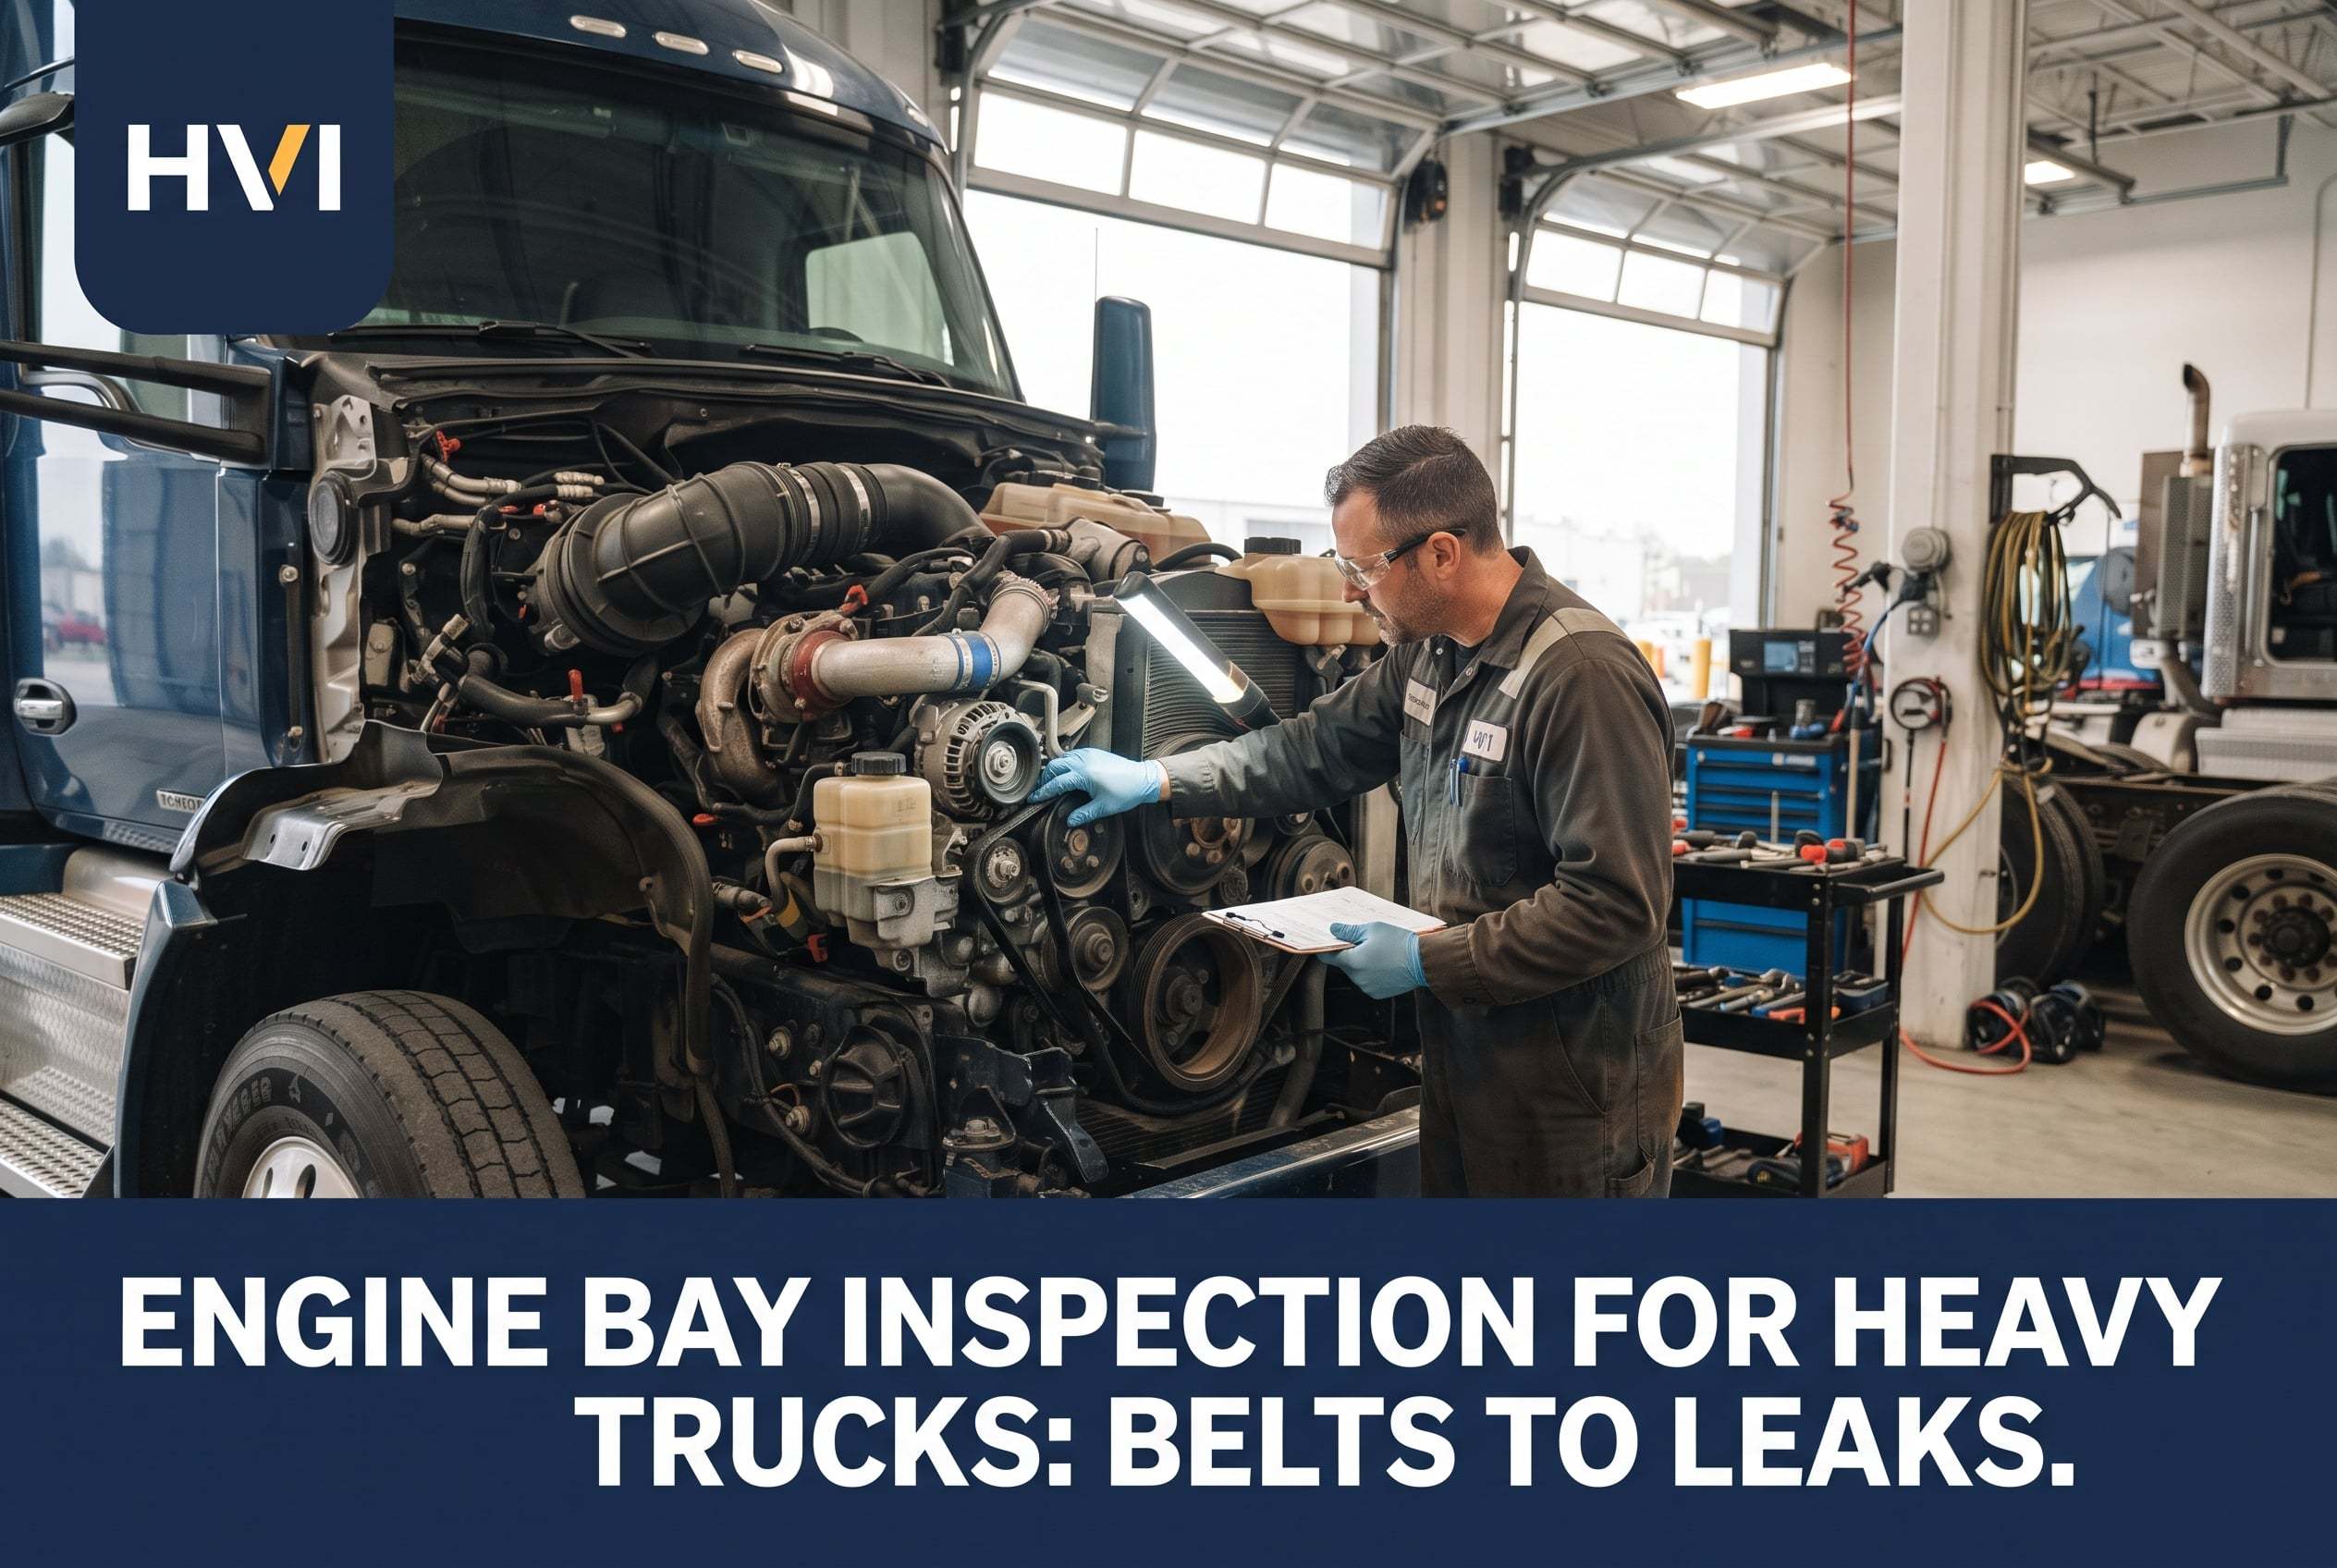
A serpentine belt on a heavy truck costs about $60. When it snaps at highway speed, it takes down the water pump, the alternator, the air compressor, and the power steering — simultaneously. Coolant temperature spikes, the electrical system loses charge, brake air pressure starts bleeding off, and steering effort triples. All from one part that showed you the failure ten thousand miles earlier if anybody looked. This truck engine bay inspection guide is the five-minute cold-engine walk-through that catches those signs: what to look for on the belt, hose, and fluid, the counterintuitive squeeze test that spots the failure paper checklists miss, and what a leak on the ground actually tells you. Do it before every long haul, and the expensive breakdowns quietly stop happening. Book a demo to see photo-verified under-hood checks in HVI's digital DVIR.
The 5-Minute Truck Engine Bay Inspection
Five zones under the hood decide whether the truck rolls into the next town or onto a shoulder. Here is the picture-first walk-through — belts, hoses, fluids, leaks, and battery — that catches the failures before they cascade.
- 1Belt & pulley system
- 2Coolant hoses
- 3Fluid reservoirs
- 4Leak zone (underside)
- 5Battery & terminals
Everything under the hood is either a rubber part slowly cracking, a metal part slowly corroding, or a fluid slowly changing color. That's the whole game. A five-minute cold-engine walk catches almost every one of them — and it does it long before the truck strands somebody on I-40 at 2 a.m. Here is the walk in order, starting with the part that fails hardest.
Why the belt is where you start
On a car, a snapped serpentine belt is annoying. On a heavy truck, it's a four-way failure the driver has minutes to react to. One belt drives four separate systems, and losing all four simultaneously is exactly as bad as it sounds.
- Water pump stops Engine overheats in minutes
- Alternator stops Electrical system dies
- Air compressor stops Brake air pressure drops
- Power steering stops Steering effort triples
The reason to obsess over belt condition is arithmetic. A $60 replacement in the shop versus a tow, engine overtemp damage, and a next-day delivery gone late. The belt is the highest-leverage inspection point under the hood. See belt condition captured with photos on every DVIR
The 5-station walk-through — what to look for
Cold engine. Hood up. Rag in your hand. Here is what to check at each station, in order, and what a failure actually looks like. If you can only do one thing consistently, do this.
Belts & pulleys
- Smooth continuous surface, no visible cracking
- Ribs full-depth, not shiny or worn
- Tensioner sitting at the correct index mark
- Idler pulleys spinning silently by hand
- Cracks across the ribs (three or more in an inch)
- Glazed shiny surface — slipping under load
- Missing chunks, fraying at the edges
- Pulley wobble, squeal on start-up, black belt dust
Coolant hoses
- Firm but pliable when squeezed near clamps
- Clean dry connections — no crust, no dampness
- Straight runs, no kinks or contact rub marks
- Clamp tight, no visible rust or weeping
- Soft or mushy squeeze — ECD (see below)
- Bulge or swelling at the clamp end
- Dried coolant residue (chalky white or green)
- Cracks visible when hose is bent gently
Fluid reservoirs
- Engine oil on the dipstick within min/max marks
- Coolant at the "cold" mark on the reservoir
- Power steering fluid between the level lines
- Windshield washer topped and cap sealed
- Level below min — investigate before topping off
- Oil dark and gritty on the dipstick's paper wipe
- Oil milky or foamy — coolant intrusion
- Coolant rusty or brown — inhibitors depleted
Leak zone (underside)
- Clean ground under the truck — parked overnight
- Dry oil pan and transmission case
- Radiator and charge air cooler fins clear of debris
- No wet spots on hoses, fittings, or the underside
- Amber drops = engine oil (main seal or pan gasket)
- Bright green or orange = coolant
- Red or pink = transmission or power steering
- Clear watery = A/C condensate (usually normal)
Battery & terminals
- Clean terminals, no fuzzy corrosion buildup
- Cable clamps tight — no movement by hand
- Hold-down bracket present and snug
- Case intact, no bulge, no acid weep
- White or green corrosion — intermittent starts
- Loose ground — the #1 cause of electrical gremlins
- Bulging case — internal failure, replace now
- Terminal wobble — connection failing under load
Five stations, roughly a minute each. Done cold, done consistently, and photographed on the DVIR — this is the routine that quietly ends most under-hood breakdowns. See it as a guided digital walk-through
The squeeze test — the check nobody teaches
Coolant hoses fail from the inside out. It's a real chemical process called electrochemical degradation (ECD), and it's the reason a hose can look brand new on the outside and be minutes from splitting on the inside. The only way to catch it is with your hands.
Springs back, resists a hard squeeze, no crunchy or gritty feel. Hose is healthy — keep an eye on it at the next PM.
Rubber is losing elasticity from heat and age. Not urgent, but the clock is running — schedule replacement inside 3–6 months.
ECD in progress. Hose is compromised from the inside — splits or blows under pressure without warning. Replace immediately, don't dispatch.
The upper radiator hose is the most common casualty, followed by the water pump bypass and heater outlet. Squeeze all three at the clamps every walk-around. The whole test takes fifteen seconds and catches the failure a visual inspection can't. Start free and get squeeze-test prompts on every DVIR
Fluid color diagnostic — what the dipstick is telling you
Fluids are the cheapest diagnostic tool on the truck. Every one of them changes color when something is wrong, and the change tells you exactly what's failing. Two minutes with the dipstick and the reservoir caps and you know more about engine health than most gauges will tell you.
-
Amber engine oil Healthy. Clean, translucent, wipes off the dipstick cleanly. Normal.
-
Dark and gritty oil Overdue oil change. Not urgent, but you're now shortening bearing life. Do the change.
-
Milky or foamy oil Coolant is mixing with oil — head gasket, EGR cooler, or oil cooler failing. Don't drive it.
-
Bright green or orange coolant Healthy. Vivid and translucent means the corrosion inhibitors are still doing their job.
-
Rusty or brown coolant Inhibitors are depleted. The system is corroding from the inside. Flush and refill now.
-
Dark power steering fluid Fluid is degraded from heat. Steering will feel notchy or noisy under load. Change service due.
The dipstick isn't a level check — it's a diagnostic. Wipe it on a clean rag every time, look at the color and the grit, and you'll catch $8,000 problems on a $30 fluid change. See fluid color captured photographically on every DVIR
From a shop foreman who's seen too many towed trucks
Nine out of ten no-start calls I get on the road come down to something the walk-around should have caught. Corroded ground on the frame rail. Belt with a chunk missing. Hose that felt fine yesterday and split at the coolant reservoir today.
None of them are hard to spot cold. They're hard to spot when you're forty minutes into your shift and the dispatch is already asking for an ETA. What changed for us was making the driver take a photo of each of the five zones on the tablet. Not check a box — a photo. Now I see the belt on Tuesday and I know Wednesday it needs to come off. That's the whole thing.
Frequently asked questions
What should a driver check in a truck engine bay before every haul?
A five-station cold-engine walk covers everything worth catching in under five minutes. Start with the belt and pulleys — look for cracks across the ribs, glazed shiny surfaces, missing chunks, and check that the tensioner sits at its correct index mark. Move to the coolant hoses next: squeeze each one firmly near the clamps, feeling for soft or mushy sections that signal electrochemical degradation, and look for dried coolant residue at connections. Third, check fluid reservoirs — engine oil level and color on the dipstick, coolant at the cold mark and vivid in color, power steering fluid between the level lines. Fourth, walk around and inspect the ground beneath the truck for leaks; amber is engine oil, bright green or orange is coolant, red or pink is transmission or power steering. Finally, look at the battery: clean terminals, tight cable clamps, no bulging case, no corrosion at ground connections. The whole sequence takes about a minute per station and catches the vast majority of preventable roadside breakdowns.
What is the squeeze test on a coolant hose?
The squeeze test is a hands-on check for electrochemical degradation, or ECD — the primary way modern coolant hoses fail. ECD occurs when the coolant and small electrical currents in the cooling system chemically attack the hose from the inside, breaking down the rubber and creating tiny internal cracks that expose the reinforcement layer. A hose can look perfectly good externally and be minutes from splitting internally. To test, wait for the engine to be fully cool and squeeze each hose firmly near the clamps at both ends. A healthy hose feels firm but pliable, springs back, and has no crunchy or gritty texture. A hose that feels crunchy or hardened is losing elasticity from age and heat and should be scheduled for replacement in the next three to six months. A hose that feels soft, mushy, or noticeably weaker at the clamp end is actively failing from ECD and should be replaced immediately — a hose in that condition can split without warning under pressure. The upper radiator hose fails more often than any other, followed by the water pump bypass hose and the heater outlet hose, so those three are the most important to squeeze on every walk-around.
How can you tell if a truck engine belt is about to fail?
Modern EPDM serpentine belts don't crack dramatically the way older neoprene belts did; they lose rib material gradually, like tire tread wearing thin. The result is that a belt can look fine on the surface and still be slipping under load. The visual signs to look for are cracks across the ribs (three or more within an inch of belt length is a clear replacement signal), glazing or a shiny slick surface indicating the belt is skating on the pulleys, missing chunks, and fraying at the edges. Under running conditions, listen for a high-pitched squeal on start-up or when the air compressor cuts in, feel for pulley wobble when the engine is off, and check the ground beneath the belt for black rubber dust — a strong sign the belt is shedding material. Gates technical guidance recommends starting formal belt inspections around 60,000 miles and measuring rib wear with a gauge; as little as 5 percent rib material loss is enough to cause slipping and reduced accessory drive performance. On heavy trucks the belt drives the water pump, alternator, air compressor, and power steering simultaneously, so a failure isn't a single-system problem — it's four systems failing at once.
What does the color of engine oil and coolant tell you?
Fluid color is the fastest diagnostic on a truck, and every fluid tells a specific story. Fresh engine oil is amber and translucent — that's healthy. Dark, gritty oil that leaves a heavy black smear on a rag wipe is overdue for change; the truck is still drivable, but bearing wear is accelerating and the next PM should not be postponed. Milky, foamy, or noticeably lighter oil means coolant is mixing with the oil, which points to a failing head gasket, EGR cooler, or oil cooler — the truck should not be dispatched until the source is identified. On the coolant side, healthy coolant is vivid green, orange, or pink depending on chemistry, and translucent enough to see through. Rusty, brown, or muddy coolant means the corrosion inhibitors have been depleted and the cooling system is now corroding from the inside; this needs a full flush and refill before it does damage to the water pump, radiator, and heater core. Dark or foamy power steering fluid indicates heat degradation and will show up as notchy steering under load. Taking thirty seconds to look at fluid color on every walk-around catches expensive problems while they're still cheap.
Why should engine bay inspections be photographed on a digital DVIR?
Three reasons, and each one matters for a different person in the operation. For the driver, a photo requirement removes the ambiguity of a paper checkbox — you can't just tick "belt OK" without actually looking at the belt, because the app wants an image of what you're claiming to have checked. For the shop, a photo taken this Tuesday and a photo taken last Tuesday create a visible trend line on belt cracking, hose condition, or corrosion buildup that a paper form cannot show. The shop sees a $60 belt about to fail before it becomes a $6,000 tow and repair. For the fleet, photo-verified DVIRs generate the audit trail that satisfies the new 2026 FMCSA Vehicle Maintenance: Driver Observed CSA category, which specifically scores the quality of driver-conducted inspections. A clean Driver Observed record improves CSA percentiles, reduces roadside targeting, and becomes part of the underwriter package at the next insurance renewal. One photo per zone, thirty seconds of the driver's day, and every one of those problems gets caught earlier.
Turn the engine-bay walk into a photo-verified DVIR
HVI runs the five-station engine-bay inspection as a guided mobile DVIR: each zone prompts a photo, the belt-and-hose trend is visible to the shop, defects route to a work order the moment they're flagged, and the whole chain is timestamped, GPS-tagged, and CSA-ready. No missed belt, no forgotten hose, no ambiguous checkbox.
No credit card · No hardware · Live on your fleet in under two weeks