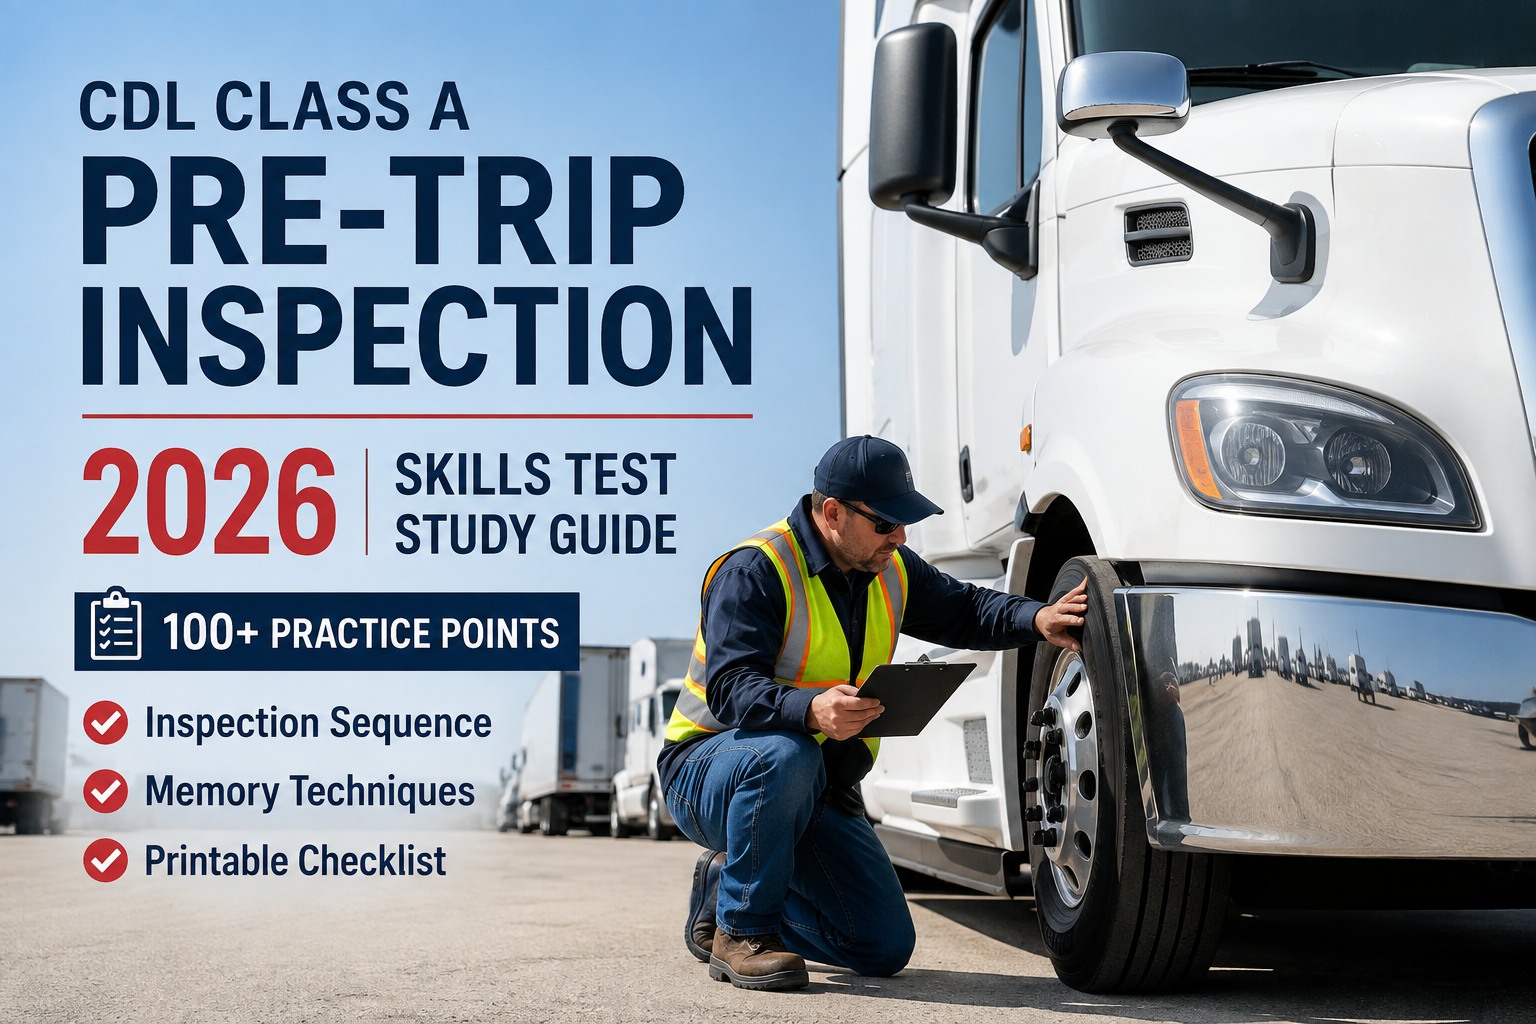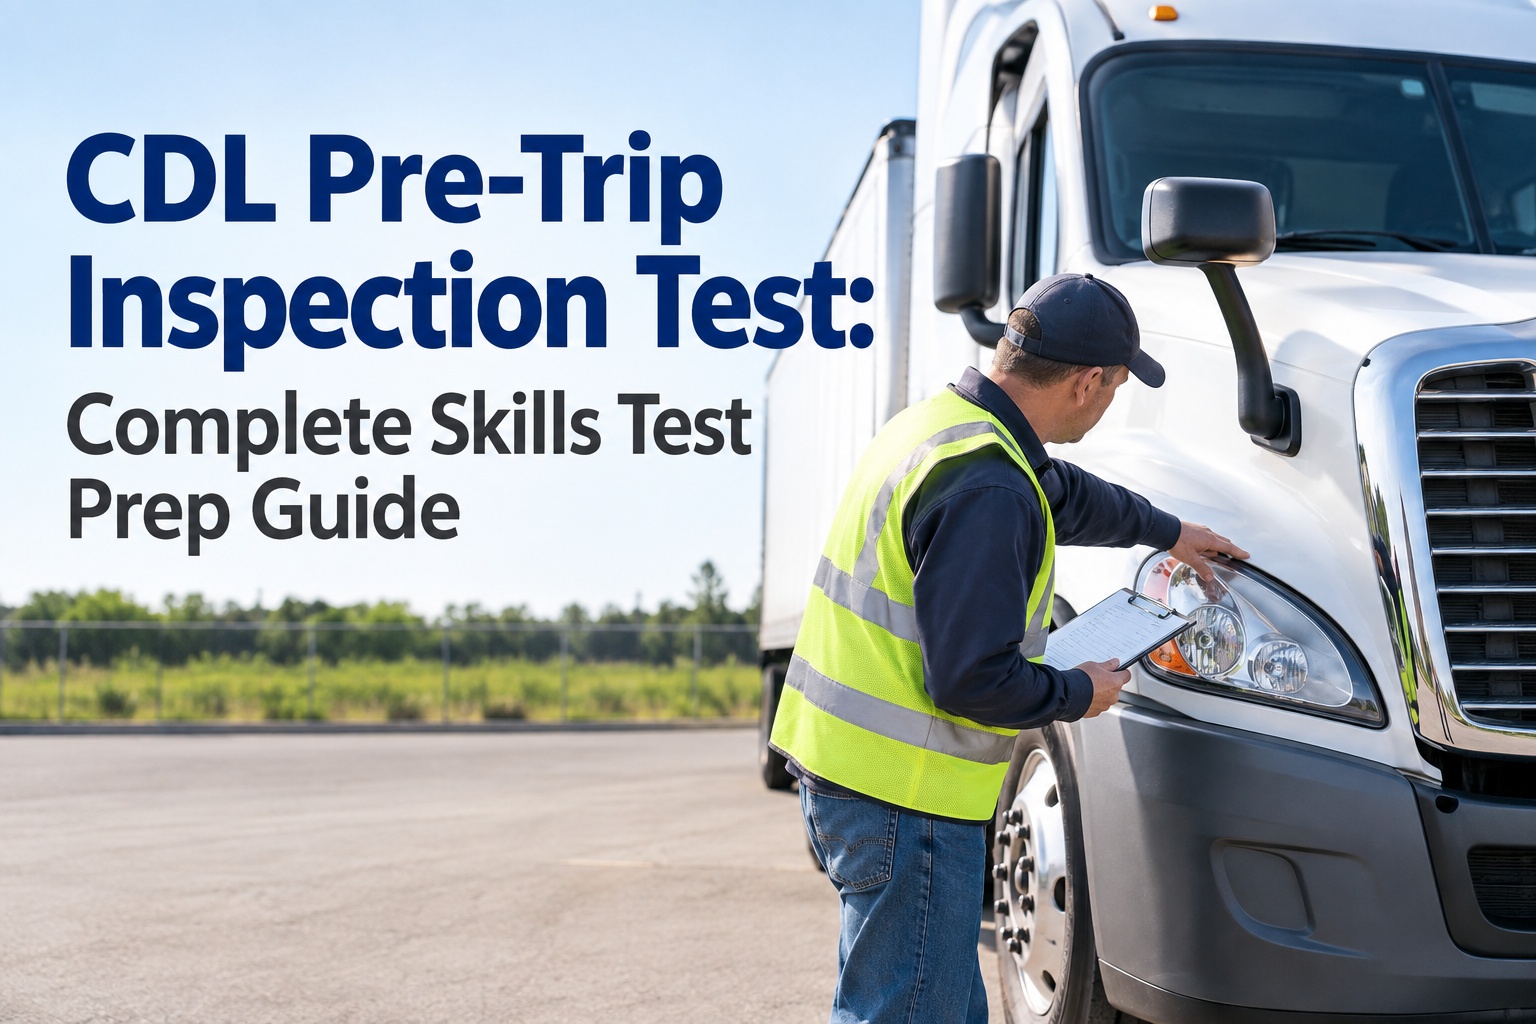
Here's what nobody tells you until you're in the yard with an examiner watching: the CDL pre-trip inspection test isn't a mechanical knowledge test. It's a memory-and-discipline test in disguise. You don't have to be a mechanic — you have to systematically walk a truck, name every safety-critical part, point to it, and explain what you're checking for and why. This guide covers the walk-around zones, the air-brake test, the verbal call-outs, and the practice habits that turn nerves into muscle memory. One rule first: your state's official CDL manual is the source of truth.
Every Item Needs Three Things
Under the modernized CDL skills exam most states now use, examiners score whether you do three things for each safety-critical item — not whether you're a mechanic.
If you're a CDL student, instructor, or trainer, the pre-trip is where most candidates lose points — often where they fail outright. Not because the truck is complicated, but because the sequence is long, the pressure is real, and it's easy to freeze in front of 100-plus parts. The good news: it's entirely learnable and rewards preparation over talent. Just remember throughout: procedures vary by state and testing provider, so everything here is a framework to build on — not a replacement for your state's official CDL manual.
What the CDL Pre-Trip Inspection Test Isthe first of three phases — and where discipline is graded
The CDL skills test has three phases: the pre-trip (vehicle) inspection, the basic control skills, and the road test. The pre-trip comes first, and it's a controlled demonstration — you walk the truck while the examiner scores whether you can identify safety-critical components and show you understand what makes each one safe or unsafe.
Here's a distinction that matters: the skills-test pre-trip — with its verbal call-outs and scoring — is a state-administered exam that varies by jurisdiction. The daily-driving pre-trip you'll do every morning after is a federal safety obligation under 49 CFR 392.7 and 396.13. Same components and discipline — but the test has the talking and scoring, and the daily version has the real-world consequences. FMCSA sets the framework, including entry-level driver training standards; your state administers and scores the skills test. That's why your state CDL manual, not a generic checklist, is the authority for test day. See how HVI helps trainers turn inspection practice into a real workflow
What Changed: The Modernized Skills Examwhy old study guides can steer you wrong
Many states adopted the AAMVA Modernized CDL Skills Test starting around late 2023, and it changed how the pre-trip is run in important ways. If you're studying from an old guide, you may be preparing for a version that no longer matches your test.
The single most important takeaway: check whether your state has adopted the modernized model and study that version. Testing dates, checklist rules, and exact procedures differ, and an examiner scores against your state's current standard — not the one a YouTube video from four years ago was filmed under. Book a demo to see a guided digital inspection built on current procedures
The Walk-Around: Inspecting by Zonea common front-to-back pattern — verify your state's order
Most CDL training uses a zone-by-zone walk-around, often summarized as a seven-step pattern. The exact order and step count vary by state and vehicle type, so treat this as the common structure to organize your practice — not a nationwide-mandatory sequence. What is universal is the logic: move systematically, front to back, driver-side to passenger-side, so you never miss a zone.
Pick one order — ideally the one in your state manual — and run it the same way every single time. The sequence becoming muscle memory is what lets you get through 100-plus items without freezing, because you're following a groove instead of making a hundred separate decisions under pressure.
The Air-Brake Testthe part that most often fails candidates — get the numbers from your state manual
If you're testing in an air-brake-equipped vehicle, the air-brake check is the highest-stakes part of the pre-trip: on many state tests, botching it is an automatic fail. It's a specific sequence with specific pressure numbers, and it must be done in order because each step depends on the last. The exact values and required call-outs can vary slightly by state, so verify them against your CDL manual — but the shape of the test is consistent.
- 1Governor cut-in / cut-outWith the engine running, let air build and confirm the governor cuts out near the top of the normal operating range, then cuts back in as pressure drops.
- 2Air-loss (leakage) testEngine off, key on, brakes released: note pressure and check that the leak-down rate over one minute stays within the allowed limit. Repeat with the brakes applied.
- 3Low-air warningFan the brakes down; the low-air warning (buzzer and/or light) must come on before pressure falls below the required threshold — commonly around 60 psi, but confirm your state's number.
- 4Spring-brake pop-outKeep fanning down; the parking/spring brakes must apply automatically within the specified range (commonly around 20–45 psi) — the fail-safe that stops the truck if air is lost.
- 5Rebuild & apply checksRestart, rebuild pressure, and confirm the brakes hold and release properly. Some memorize this as an "L.A.B." pattern — leaks, alarm, button — but follow your manual's exact wording.
Practice this until it's automatic, because it's the sequence candidates most often stumble on under pressure. Run it at the end of every practice session so it's the last thing in muscle memory before test day. And resist the urge to memorize numbers from a national video — a value that's right in one state can be wrong in yours. See how a guided digital inspection reinforces the air-brake sequence step by step
Verbal Call-Outs: How to Actually Say Itthe difference between practicing and passing
The verbal explanation is the single biggest gap between someone who knows the truck and someone who passes the test. You can't just point and grunt — you have to talk the examiner through what you're checking and why. Here's the pattern, and a few examples to model. Adapt the exact phrasing to your state's requirements.
Notice the three-part shape of each: what it is, what condition I want, and what goes wrong if it's bad. You don't need a unique speech for all 100-plus parts — group similar items (all tires get the same tire call-out, all brakes the same brake call-out) so you're memorizing patterns, not paragraphs. And say it out loud at conversational volume every practice run: an examiner can't score what they can't hear.
Common Mistakes That Cost Pointsthe traps that fail prepared candidates
Plenty of candidates who "know" the truck still lose points on avoidable errors. Watch for these.
The pattern across all of these: the test rewards a loud, systematic, complete demonstration, and punishes anything that makes the examiner unsure whether you actually checked something. When in doubt, over-communicate. Book a demo to see a per-step guided inspection that prevents missed items
How to Practice So It Sticksmuscle memory beats memorization
Reading a checklist is preparation; passing is muscle memory, and muscle memory only comes from repetition on a real truck. Here's how the candidates who pass on the first attempt actually practice.
Above all, study your specific state's CDL manual and match your practice to its procedure. The muscle memory only helps if it's grooved to the right sequence. Start free and let trainees run a guided digital inspection to build the habit
Test-Day Tipsmanaging the nerves and the clock
You've done the reps; test day is about execution under pressure. A few things that help.
Slow down and be deliberate. Rushing is how you skip items and mumble. You typically have plenty of time — use it. Talk to the examiner, not the truck. Face them enough that your call-outs are clearly heard. Follow your one grooved sequence and don't improvise a new order because you're nervous. If you blank on a part, describe what you see — naming the condition you're checking for often recovers the item. And breathe. The examiner is scoring discipline and completeness, not speed or perfection under a stopwatch.
Remember what the test really measures: not whether you can rebuild an engine, but whether you'll systematically make sure a truck is safe before you drive it. That's a habit worth building for its own sake — and it happens to be exactly what passes the test.
From a CDL instructor who coaches the pre-trip
The students who fail almost never fail because they don't know the truck. They fail because they go quiet, or they point at a brake chamber and just say "brake chamber" like naming it is enough. The examiner needs to hear what you're checking for and why it matters.
I drill three things into every student: name it, touch it, explain the defect and the consequence. Same three moves, a hundred times, in the same order every run. The ones who do that walk in calm because it's just the routine they've done fifty times in the yard. And that same routine is what keeps them safe once they've got the license — the test is really just their first professional inspection.
CDL pre-trip inspection test: the takeaway
The CDL pre-trip inspection test looks intimidating and is genuinely beatable with the right preparation. Learn the zones, master the air-brake sequence, build your call-outs into repeatable patterns, and practice on a real truck out loud until the whole thing is automatic — always against your state's official CDL manual. And keep the bigger picture in mind: the systematic, disciplined inspection you're learning to pass the test is the exact skill that keeps you and everyone around you safe on the road for the rest of your career. See how HVI turns that inspection discipline into a real digital fleet workflow
Frequently asked questions
What is the CDL pre-trip inspection test?
The CDL pre-trip inspection test is the first of the three phases of the commercial driver's license skills test, followed by basic control skills and the road test. In it, a candidate walks around the vehicle and demonstrates to an examiner that they can identify safety-critical components, physically point to or touch them, and explain what they are checking for and why it matters to safe operation. It is not a mechanical-knowledge test — you don't need to be a mechanic — but a demonstration of systematic inspection discipline. Under the modernized CDL skills exam that many states adopted starting around late 2023, candidates in many states may reference the official Vehicle Inspection checklist from their state CDL manual during the test. Because the skills test is administered by each state, the exact procedures, scoring, and checklist rules vary by jurisdiction and testing provider, so candidates should always prepare using their own state's current official CDL manual.
What do they check on the CDL pre-trip inspection?
The inspection covers the vehicle's safety-critical systems, typically organized into zones you walk through front to back. Common areas include the engine compartment (fluid levels, belts, hoses, air compressor, leaks); the in-cab inspection and safe-start check (seatbelt, steering play, mirrors, gauges, emergency equipment); lights and reflectors; the front and steer axle (steering components, steer tires, wheels, brakes, suspension); the sides and drive axles (fuel tank, exhaust, frame, drive tires and brakes, air lines); and the rear and passenger side (rear tires, brakes, lights, mud flaps, ICC bumper). Class A combination vehicles add the coupling system — fifth wheel, kingpin, locking jaws, safety latch, air and electrical lines — and the trailer. Air-brake-equipped vehicles also include the air-brake test. The exact zones, order, and required items vary by state and vehicle class, so confirm the specifics in your state CDL manual.
What are the CDL pre-trip verbal call-outs?
Verbal call-outs are how you demonstrate each check to the examiner, and they are the biggest difference between knowing the truck and passing the test. For each safety-critical item you should name the component, point to or touch it, and explain what condition you're checking for and what goes wrong if it's defective. For example, for a brake chamber: "This is the brake chamber — checking it's securely mounted with no cracks, dents, or air leaks; a damaged chamber can cause brake failure." The efficient approach is to group similar parts into reusable patterns — one call-out for all tires, one for all brake components, one for all lights — so you're memorizing a handful of patterns rather than a unique speech for every part. Say them out loud at conversational volume so the examiner can clearly hear you, since an inspection they can't hear can't be scored. Always adapt your exact phrasing to your state's requirements.
How do you do the air-brake test for the CDL test?
The air-brake test is a fixed sequence performed on air-brake-equipped vehicles, and on many state tests failing it is an automatic fail, so it's worth mastering. The general sequence is: check the governor cut-in and cut-out pressures with the engine running; perform an air-loss (leakage) test with the engine off to confirm the pressure drop over one minute stays within limits, both with brakes released and applied; fan the brakes down to confirm the low-air warning activates before pressure falls below the required threshold (commonly around 60 psi); continue fanning to confirm the spring/parking brakes pop out automatically within the required range (commonly around 20 to 45 psi); then rebuild pressure and confirm the brakes hold and release. The exact pressure numbers and required call-outs can vary slightly by state, so verify them against your state CDL manual rather than a generic national script. Practice the sequence until it's automatic, and run it at the end of every practice session.
What can make you fail the CDL pre-trip inspection?
Common ways candidates lose points or fail include naming a component without explaining what you're checking for and why (the explanation is where the credit is), speaking too quietly for the examiner to hear, failing to point to or touch items that require it, breaking or restarting your inspection sequence, and mishandling the air-brake test, which on many state tests is an automatic fail if done incorrectly. Studying an outdated or out-of-state procedure instead of your state's current modernized version is another avoidable cause. The underlying theme is that the test rewards a loud, systematic, complete demonstration and penalizes anything that leaves the examiner unsure whether you actually checked something. When you're unsure, over-communicate — describe what you see and what you're looking for. Because scoring and automatic-fail items vary by state and testing provider, review your own state CDL manual for the specific criteria that apply to your test.
Turn inspection training into a real fleet workflow
The systematic pre-trip discipline candidates learn for the CDL test is exactly what fleets need every day. HVI puts a guided, per-step digital inspection in the driver's app — the same zone-by-zone habit, now documenting defects, routing them to the shop, and keeping the fleet compliant. Trainers use it to bridge from yard practice to professional inspection, and fleets use it to keep new drivers sharp long after test day.
No credit card · No hardware · Digital inspections ready on day one