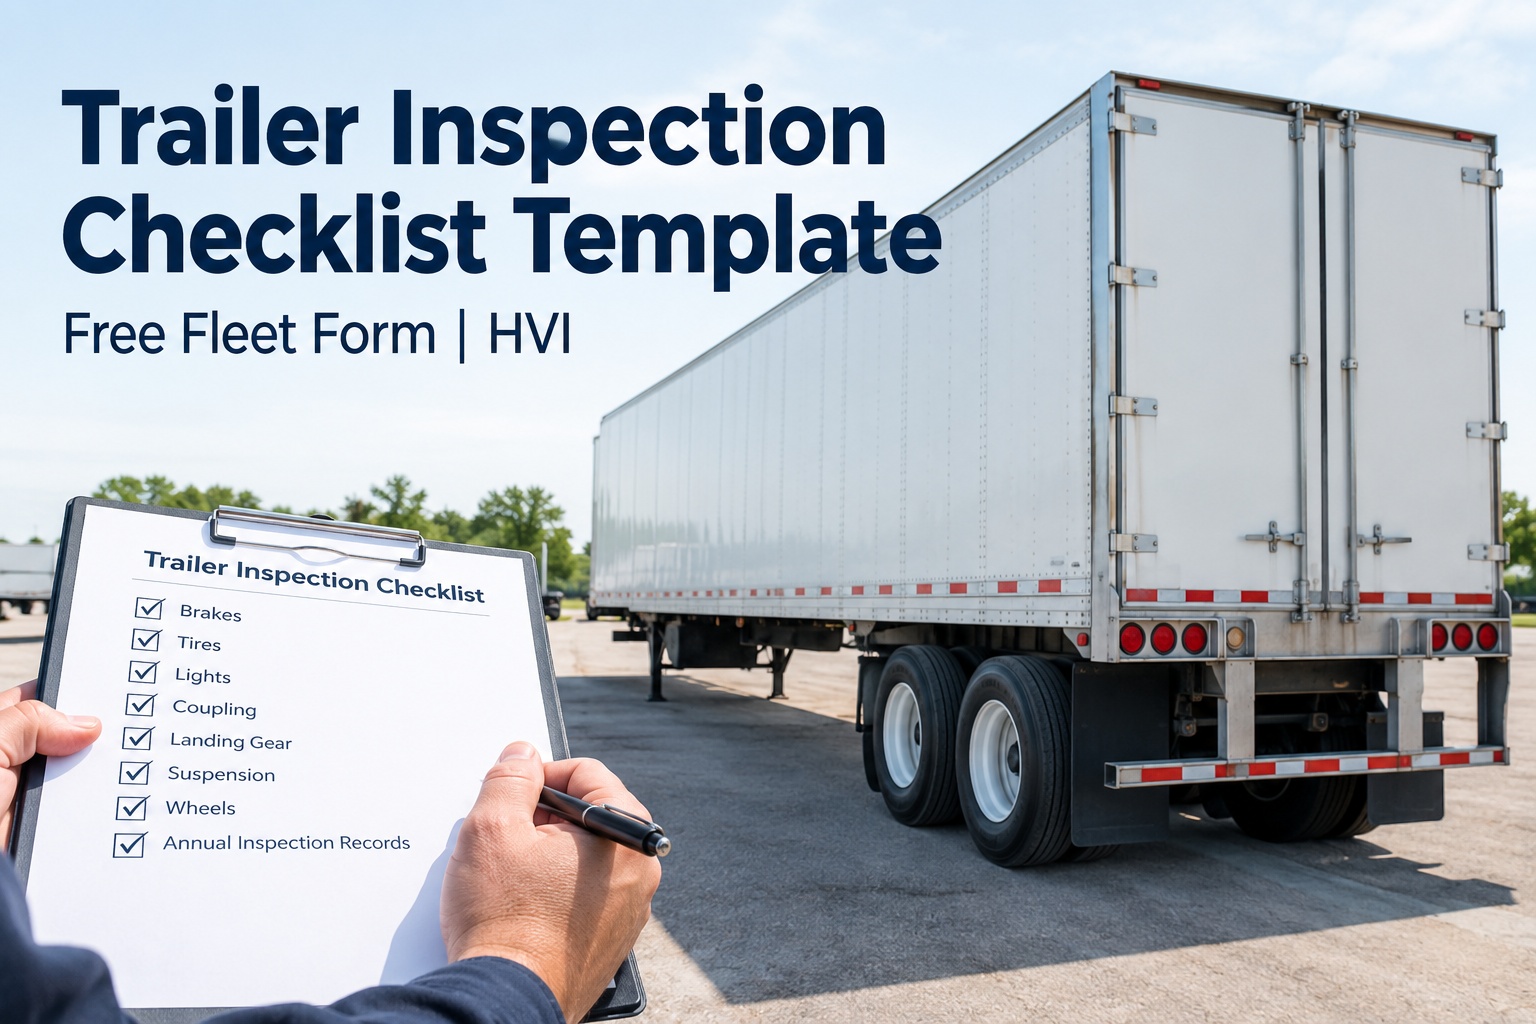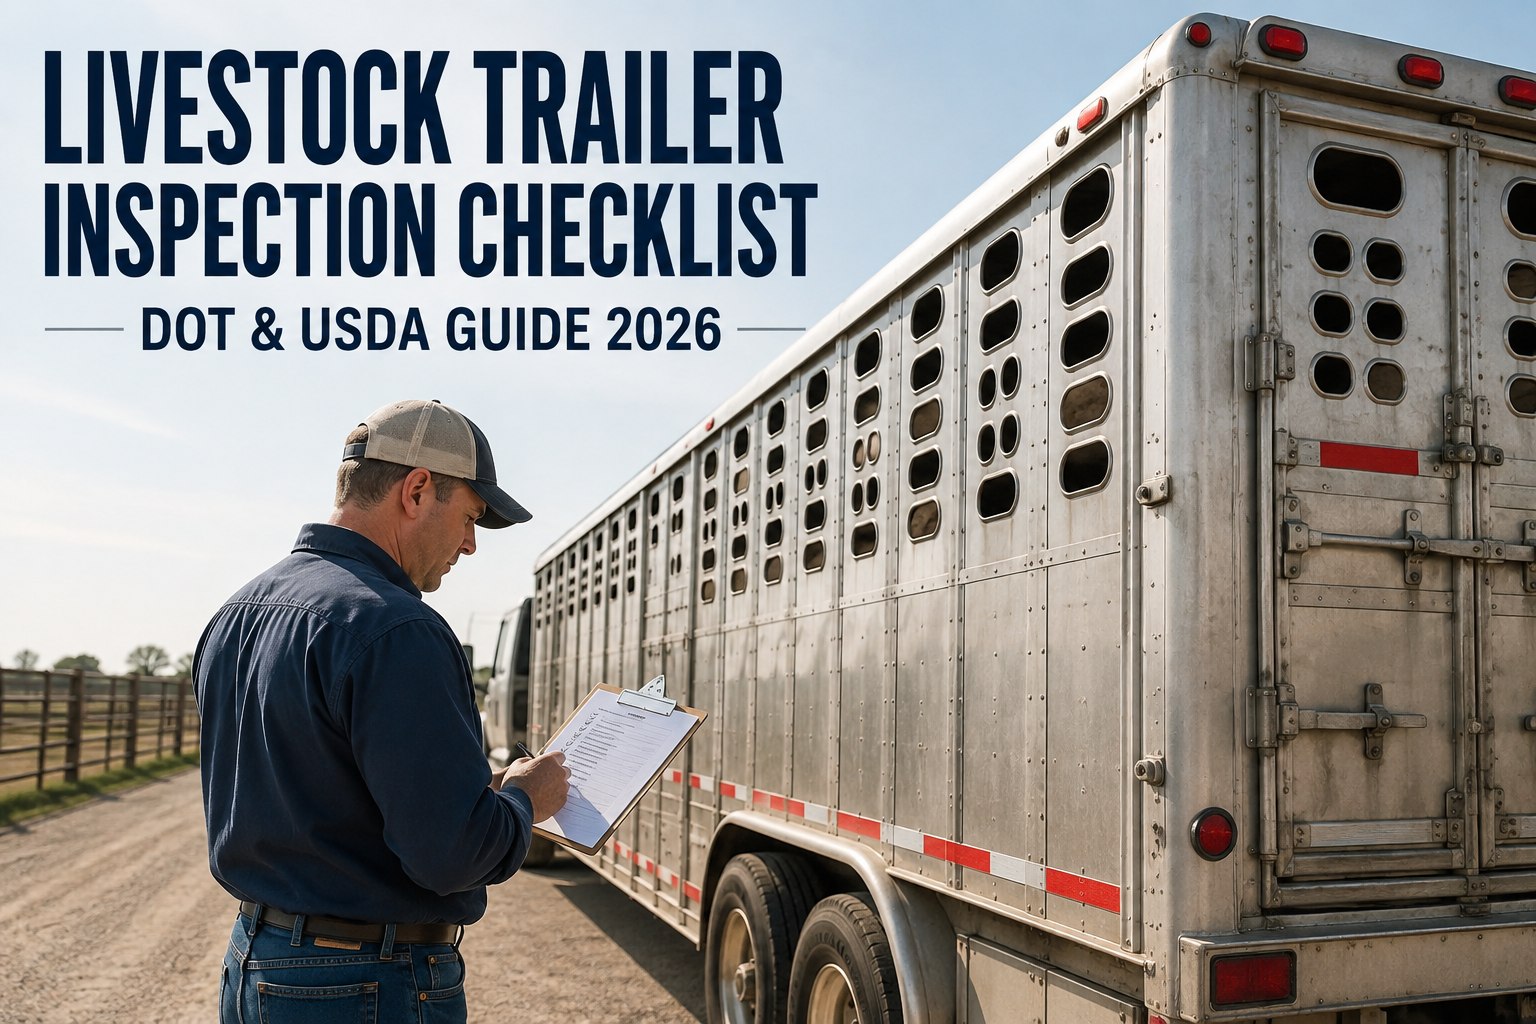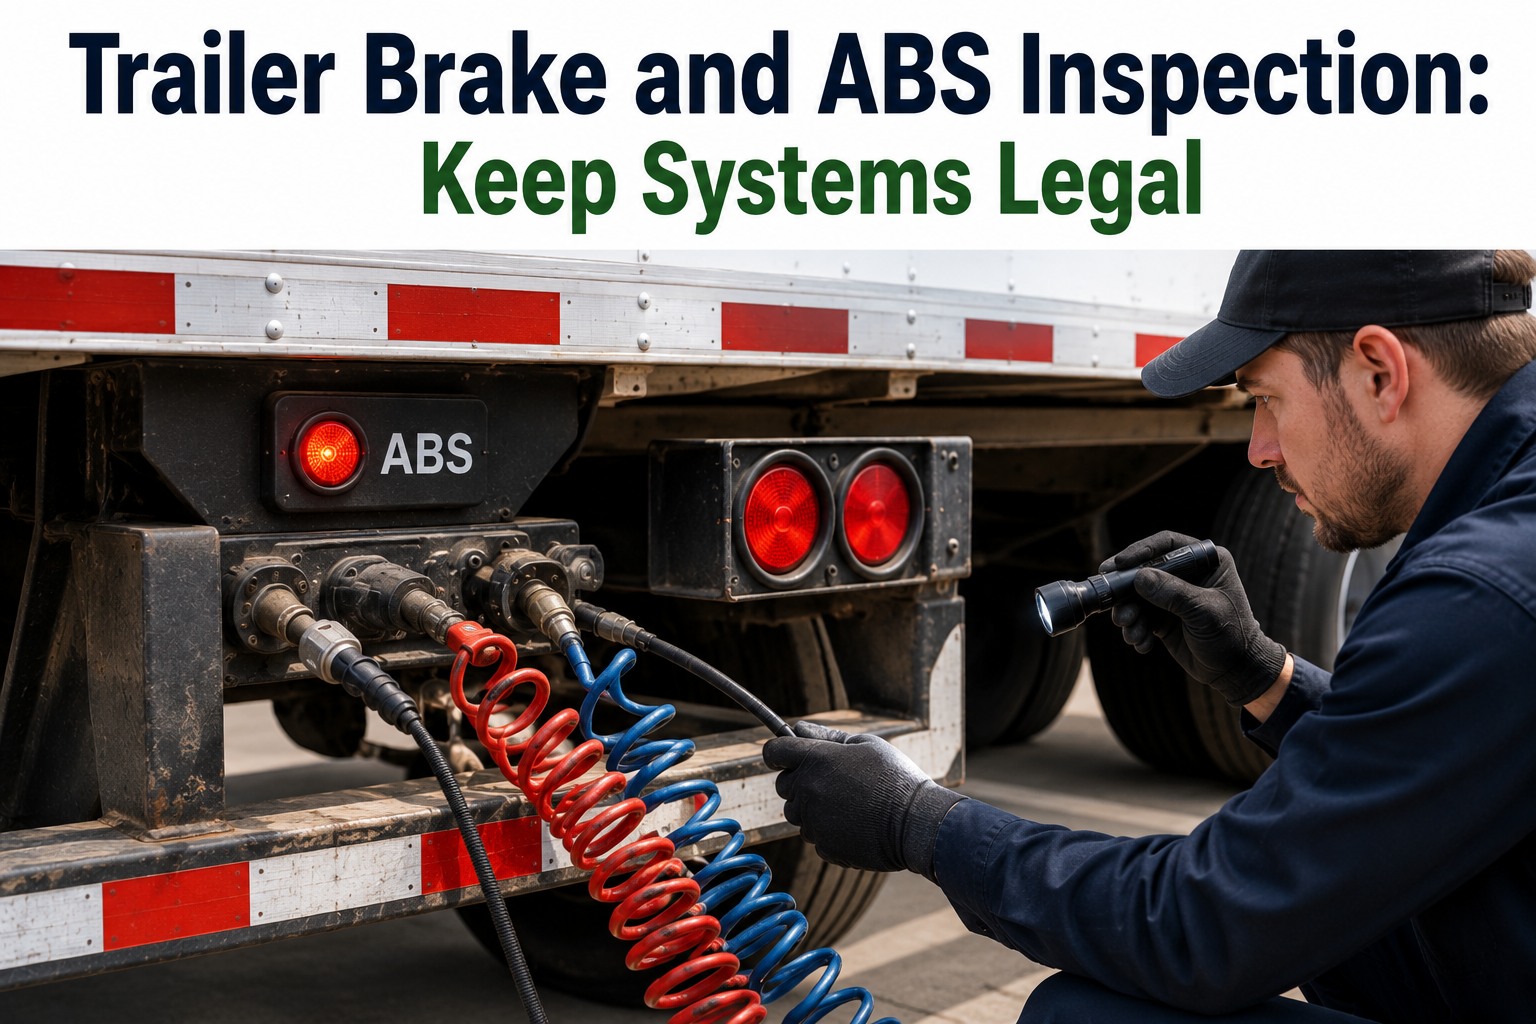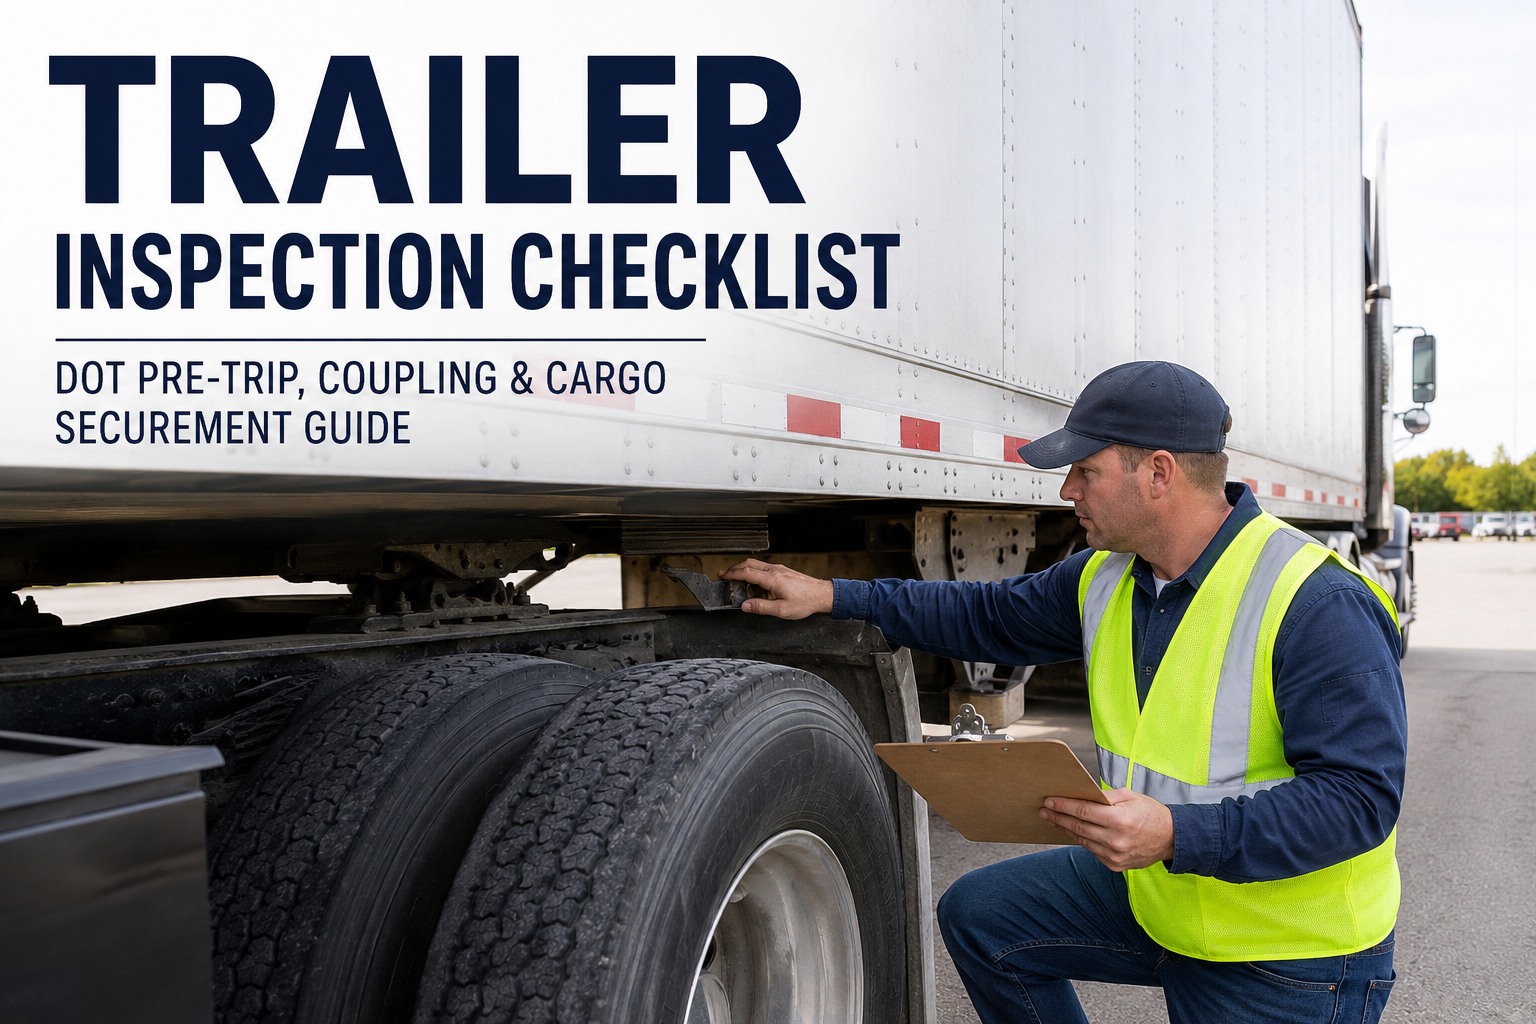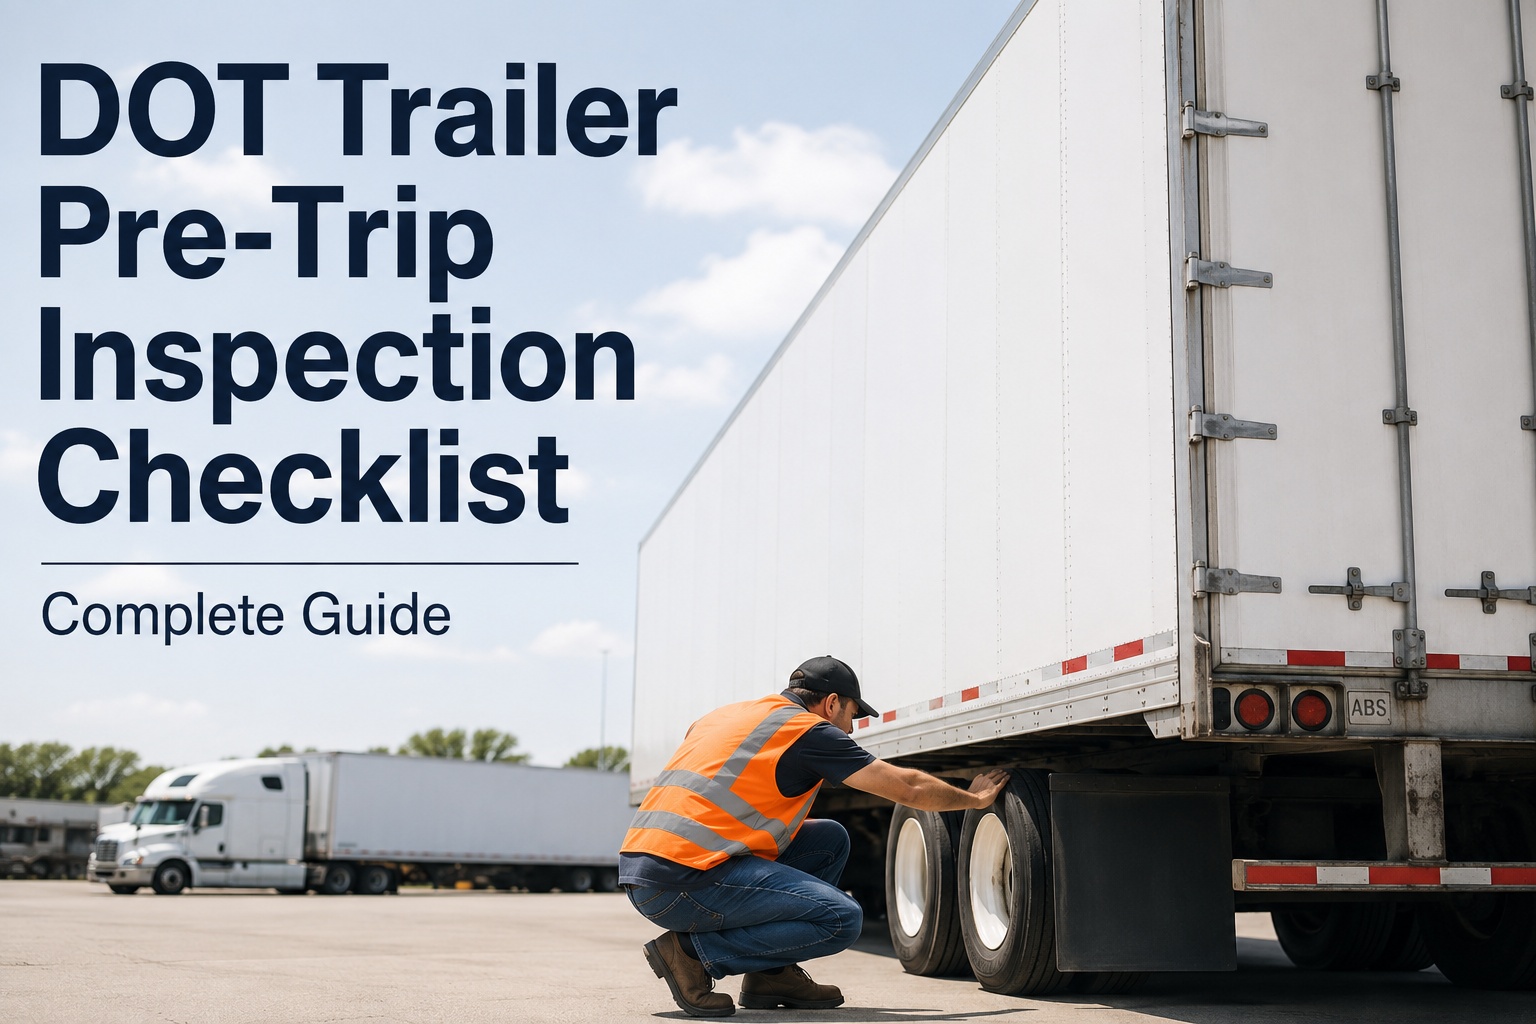
A DOT trailer pre-trip inspection checklist is the systematic 8-zone walkaround a CDL driver performs on the trailer half of a tractor-trailer combination before every shift — required under 49 CFR 392.7 and documented via DVIR under 49 CFR 396.11. It's where the majority of preventable roadside violations get caught before the truck ever hits the road. During the 2025 CVSA International Roadcheck, 22.6% of inspected vehicles were placed out of service, and the trailer half accounted for a disproportionate share of the defect count — brake violations (41% of all OOS), tire violations (21.4%), lighting failures, coupling issues, and cargo securement defects that a proper trailer walkaround would catch in ten minutes. This guide walks through the complete DOT trailer pre-trip inspection checklist: the 8-zone walkaround pattern, the specific check items and pass/defect criteria for each zone, the top 5 trailer defects that trigger immediate out-of-service placement, cargo securement quick reference, and the common pre-trip mistakes that turn a 10-minute inspection into a missed violation. Book a demo when you want to see the trailer walkaround built into a digital DVIR.
The 8-zone clockwise trailer walkaround
Aerial view · systematic path · every numbered stop is a mandatory inspection zone
Why the trailer needs its own walkaround discipline
Most CDL pre-trip training focuses on the tractor — engine compartment, air brake test sequence, cab systems, coupling from the tractor side. The trailer half typically gets treated as a quick lap around at the end. The regulatory reality is different: the trailer is a separate vehicle under FMCSA rules, and roadside inspectors evaluate it that way. Trailer defects (brakes, tires, lighting, coupling from the trailer side, cargo securement) drive a disproportionate share of out-of-service placements because they're often skimmed during hurried inspections.
Position yourself at the front of the trailer. Verify kingpin fully engaged in fifth wheel with no gap. Both glad hand connections tight, no air leaks. Safety chains crossed under coupling with correct slack. Electrical trailer cord connected and undamaged.
~90 secMove to the curb-side (passenger side of tractor) front corner of trailer. Check landing gear fully retracted with crank secured. ABS box operational (light off after 5 seconds of driving). Front slider pins engaged if sliding suspension.
~60 secWalk toward the rear along curb side. Inspect sidewall for damage. All marker lights and reflectors intact and operational (activate lights before walkaround). Red-and-white DOT reflective tape present and unfaded.
~60 secAt the tandem wheels on curb side. Check tire tread minimum 2/32" (measure both tires each axle). Sidewall condition, no cuts or bulges. Brake chambers — no leaks, pushrod adjustment within spec. Mud flap present and not shredded. Wheel seals dry.
~2 minAt the back of the trailer. All tail lights, brake lights, turn signals operational (have someone verify or use walkaround procedure). License plate illuminated and legible. Rear DOT reflective tape complete. Door hinges, latches, and seal intact. Cargo secured if visible through door.
~90 secMove to driver-side tandem wheels. Same checklist as zone 4 — tire tread, sidewall, brake chambers, pushrod adjustment, mud flap, wheel seal. This is where fatigue in the walkaround costs most drivers — halfway through and the temptation to skim is highest.
~2 minWalk forward along driver side. Same items as zone 3 — sidewall damage, marker lights, DOT tape. Also visually check underside for hanging air lines, wire chafing, or leaks that would be visible from this angle.
~60 secComplete the loop at driver-side landing gear. Same landing gear + ABS + slider check as zone 2. Then verify documents in cab: registration, insurance, permits, previous DVIR reviewed and signed per 49 CFR 396.13. Emergency triangles + fire extinguisher present.
~90 secTotal time: 10–15 minutes done properly on a tablet-based DVIR, 15–25 minutes on paper. Rushing any single zone is where compliance exposure enters — every skipped item is a bet against a roadside inspector catching it. Book a demo to see the 8-zone walkaround structured into a mobile DVIR
Zone-by-zone inspection: what to check, pass criteria, defect triggers
Each zone has a specific list of items, a specific pass condition, and specific defect conditions that create either a work order or an immediate out-of-service placement. Here's the operational detail for the four zones most likely to generate roadside violations.
Coupling area (kingpin, glad hands, air lines, chains)
- Kingpin fully seated in fifth wheel jaws
- Trailer plate flush against fifth wheel (no gap > 2")
- Both glad hand connections tight
- No air leaks audible at coupling
- Safety chains crossed, correct slack
- Trailer electrical cord connected, undamaged
Kingpin locked with jaws visibly engaged. No visible gap at coupling. Air pressure holds at 90+ psi with no measurable drop.
Gap > 2" at coupling = immediate OOS. Any missing safety chain = OOS. Audible air leak > 3 psi/min drop = OOS.
Wheels, tires & brake chambers (both sides)
- Tire tread depth minimum 2/32" on all trailer positions
- Tire pressure within manufacturer spec (gauge check, not visual)
- No sidewall cuts, bulges, or cord ply exposure
- Brake chamber pushrod adjustment within limit
- No brake chamber leaks (soap test if suspicious)
- Wheel seals dry, no oil weeping
- Lug nuts torqued, no rust streaks radiating from any nut
- Mud flap present, undamaged, not shredded
All tires above 2/32" tread. Pressure within ±5% of spec. Brake pushrods within stroke limits (measured against slack adjuster arc). No visible seal weep or bearing grease.
Tread below 2/32" = OOS. Flat or damaged tire = OOS. Brake pushrod stroke beyond adjustment limit = OOS. Missing wheel lug nut on axle = OOS.
Rear doors, lights & license plate
- Left & right tail lights operational
- Left & right brake lights operational
- Left & right turn signals operational
- Reverse lights (if equipped) operational
- License plate light illuminated + plate legible
- Rear DOT reflective tape complete (red/white striping)
- Cargo doors close, latch, and seal properly
- Rear ICC bar / underride guard intact (no cracks/bends)
Every required lamp functional. DOT tape unfaded and unbroken. License plate visible with light on. ICC bar structurally intact with no visible cracks or major damage.
Missing/inoperative required lamp = OOS. Damaged or missing rear ICC bar/underride guard = OOS. Faded or missing DOT tape = defect (work order, not always OOS).
The three zones above (coupling, wheels, rear) generate roughly 80% of trailer-related OOS placements at roadside inspection. Nailing the discipline on these zones alone measurably improves compliance exposure. Book a demo to see zone-by-zone pass criteria built into your DVIR
Top 5 trailer defects that trigger immediate out-of-service
Based on 2025 CVSA International Roadcheck data and FMCSA roadside inspection records, five specific trailer defects account for the majority of trailer-related OOS placements. Every one of these is catchable in the pre-trip walkaround if the driver actually stops at each zone rather than doing a quick lap.
Brake pushrod stroke beyond adjustment limit, brake chamber leak, or unbalanced brakes across the axle. The single most common OOS trigger by a wide margin. Pre-trip catch: measure pushrod stroke against slack adjuster arc, listen for air leaks at every chamber, verify service brake application activates every wheel end.
Tread below 2/32" on any trailer tire, sidewall damage exposing cord ply, tire that's flat or losing pressure. Pre-trip catch: gauge every tire (visual under-inflation of 20% often looks normal), tread depth gauge on each tire, walk-around inspection of sidewall.
Gap greater than 2 inches between trailer plate and fifth wheel (high-hitch), any missing mounting bolt on fifth wheel, any missing safety chain, any incomplete jaw engagement. Pre-trip catch: visual inspection from the ground under the coupling, verify kingpin fully seated, safety chains crossed with correct slack.
Any required lamp inoperative — tail lights, brake lights, turn signals, marker lights, license plate light, or clearance lights. Pre-trip catch: activate 4-way flashers plus service brake application before walkaround so every lamp is on during zone-5 inspection.
Insufficient tiedowns for load weight, damaged/inadequate straps or chains, cargo shift during transit. Pre-trip catch: verify working load limit (WLL) sum meets or exceeds 50% of cargo weight, minimum tiedown count per length rule, all straps and hardware within condition standards.
These five categories combined represent a large majority of trailer-related OOS placements at roadside inspection. Every one is preventable in the walkaround if the inspection actually happens. Start a free trial to load the trailer pre-trip checklist onto every truck this week.
Cargo securement quick reference
Cargo securement is governed by 49 CFR Part 393 Subpart I. The rules apply to every trailer carrying anything — dry van, flatbed, reefer, container chassis. Here are the three rules that catch most fleets during roadside inspections.
Total Working Load Limit (WLL) of all tiedowns must equal at least half the cargo weight. Example: 20,000 lb cargo requires tiedowns totaling at least 10,000 lb WLL. Each tiedown has a WLL stamped on it or listed in manufacturer specs.
Cargo up to 5 feet long & 1,100 lb: 1 tiedown minimum. Cargo up to 5 feet long & over 1,100 lb: 2 tiedowns. Cargo over 5 feet: minimum 2 tiedowns for first 10 feet, plus 1 additional tiedown for every additional 10 feet or fraction thereof.
No visible cuts, cord damage, knots, or heat damage on straps. No cracks, deformation, or excessive wear on chains, hooks, or binders. All hardware rated for at least the WLL of the tiedown. Ratchet handles secured against unintended release.
The commodity-specific rules under 49 CFR 393.116-136 (logs, metal coils, paper rolls, concrete pipe, intermodal containers, heavy vehicles, flattened cars, and rolls of similar material) add commodity-specific requirements on top of the general rules above. Always check the commodity rules for the specific cargo type. Book a demo to see the commodity-specific securement templates in HVI's DVIR
Five common trailer pre-trip mistakes (and how to fix them)
Every fleet safety manager sees the same patterns. These five mistakes cover the vast majority of trailer pre-trip failures that show up in post-incident reviews and audit findings.
-
01Doing a "walkaround" without actually stopping at each zone
Fix: Require photo capture at each of the 8 zones on the DVIR — can't submit without them. Turns a fake lap into a real inspection because there's now proof of presence at each stop.
-
02Checking tire condition visually only, without a gauge
Fix: Issue every driver a tire gauge and require reading captured on the DVIR. A tire can be 20% low and look completely normal — a gauge is the only way to catch it before it becomes a roadside issue.
-
03Skipping the previous DVIR review under 49 CFR 396.13
Fix: Digital DVIRs enforce the previous-report sign-off automatically before the current shift can start. Missing this is a citable violation independent of any actual defect — audit-common finding.
-
04Marking "PASS" on lights without activating them first
Fix: Standard practice is to activate 4-way flashers plus service brake application before starting the walkaround. Every marker light, brake light, and turn signal is illuminated during zone-5 inspection. Missing lights become impossible to miss.
-
05Fatigue-skimming zones 6 and 7 on the driver side
Fix: Rotate walkaround direction daily — some days start clockwise, some days counter-clockwise. Prevents the fatigue-driven pattern where drivers consistently do their best inspection on the first three zones and skim the last three.
Each of these mistakes shows up in post-incident reviews with striking consistency. The fixes aren't complicated — they're just harder to enforce with paper. Start a free trial to load the 8-zone walkaround with photo-enforcement onto your DVIR this week.
From a safety supervisor who dropped trailer OOS rate 62% in one quarter
Our trailer OOS rate was hovering around 15% at roadside — brake violations mostly, some tire, occasional coupling. Every one of those was theoretically catchable on the pre-trip. But when we pulled the DVIRs from before those violations, they all showed "PASS · No defects." So the paper was clean but the trucks weren't.
Digital DVIR with mandatory photo capture at each of the 8 zones dropped the trailer OOS rate from 15% to under 6% in one quarter. Not because the checklist was different — it was the same 8 zones we'd always had — but because now the drivers were actually stopping at each zone. Photos don't lie. If the tandem wheel photo shows a flat tire, the driver can't mark it PASS. The system solved the compliance problem by making the fake inspection impossible.
The bottom line on DOT trailer pre-trip inspection
A DOT trailer pre-trip inspection is a systematic 8-zone walkaround under 49 CFR 392.7, documented via DVIR under 49 CFR 396.11, and reviewed before the next shift under 49 CFR 396.13. The 8 zones — coupling area, curb-side front, curb-side body, curb-side rear, rear doors, driver-side rear, driver-side body, and driver-side front — take 10 to 15 minutes done properly on a mobile DVIR. Five specific defect categories (brakes, tires, coupling, lighting, cargo securement) account for the vast majority of trailer-related out-of-service placements, and every one is preventable in the walkaround. The move to digital DVIR under FMCSA's 2026 electronic DVIR rule closes the audit-defense gap that paper systems always carried — missing forms, illegible handwriting, unverifiable timestamps — and eliminates the "fake pass" problem where drivers marked zones passed without actually inspecting them. The trailer pre-trip is not just compliance discipline; it's the single highest-leverage safety practice available on any tractor-trailer operation, and the direct upstream of both roadside inspection outcomes and CSA percentile performance.
Frequently asked questions
What must a DOT trailer pre-trip inspection cover?
Under 49 CFR 392.7 and 49 CFR 396.11, a DOT trailer pre-trip inspection must cover 11 specific components on the trailer half of the combination: (1) service brakes including trailer brake connections and brake chamber condition; (2) parking brake system; (3) steering mechanism (not applicable on trailers themselves but part of combination); (4) lighting devices and reflectors including tail lights, brake lights, turn signals, marker lights, and license plate light; (5) tires including tread depth, sidewall condition, and inflation; (6) horn (on tractor); (7) windshield wipers (on tractor); (8) rear vision mirrors (on tractor); (9) coupling devices including fifth wheel, kingpin, safety chains, and glad hand connections; (10) wheels and rims including lug nuts and wheel seals; (11) emergency equipment. The systematic 8-zone walkaround covers all trailer-side items in these 11 categories, plus additional items the industry has adopted as best practice such as DOT reflective tape, cargo securement verification, mud flap condition, ABS operation, and previous DVIR review under 49 CFR 396.13.
How long should a trailer pre-trip inspection take?
A properly executed trailer pre-trip inspection takes 10 to 15 minutes on a digital DVIR platform, or 15 to 25 minutes on paper. This is time on the trailer specifically — the full tractor-trailer combination pre-trip totals 25 to 45 minutes across all components. The 8-zone trailer walkaround breaks down roughly as: 90 seconds at the coupling area, 60 seconds each at the four side-body zones, 90 seconds at the rear doors, 2 minutes at each of the two wheel/brake zones (which have the most items to check), and 90 seconds at the final driver-side front zone plus document verification. If a trailer pre-trip is being completed in under 5 minutes, the driver is skipping zones or not verifying items properly — the walkaround physically cannot be done in that time. If it's taking over 30 minutes, either the DVIR platform has too much friction or the driver is over-inspecting non-critical items and burning time. The right target is 12 minutes on average with a digital DVIR, with mandatory photo capture at each zone.
Are electronic DVIRs allowed for trailer pre-trip inspection?
Yes — and now explicitly authorized under FMCSA's 2026 final rule effective March 23, 2026. Electronic DVIRs (eDVIRs) have been permitted since 2018 under 49 CFR 390.32, but the 2026 rule explicitly authorizes them in 49 CFR 396.11 and 396.13, endorsed by the American Trucking Associations, OOIDA, and the National Tank Truck Carriers. Paper DVIRs still comply with the regulation, but electronic DVIRs offer significant advantages: automated timestamping and GPS verification that a paper form cannot provide, photo evidence attached to each zone or defect, automatic routing of defects to the shop as work orders, elimination of the "lost paperwork" audit finding that plagues paper-based fleets, and 90-day (minimum) cloud retention that survives any regulatory review. FMCSA actively encourages the transition to electronic methods. Most compliance experts now recommend digital DVIR as the default for any fleet operating more than 10 vehicles.
What is the minimum tire tread depth for a trailer?
FMCSA requires a minimum tread depth of 2/32" on all trailer positions (drive axles and trailer axles). Steer axle tires on the tractor require a higher minimum of 4/32". These are the DOT out-of-service thresholds — any trailer tire below 2/32" tread on any measurement point places the vehicle out of service at roadside inspection. Best practice in most fleets is to run higher internal minimums: 6/32" for tractor steer axles, 4/32" for drive axles, and 3/32" for trailer axles, which gives operational buffer between "still legal" and "must replace before next trip." Tread depth must be measured with a gauge, not estimated visually — a tire that measures 4/32" often looks similar to one at 2/32", and the visual estimate is not defensible during a roadside inspection or post-incident review. Tire violations were 21.4% of all OOS violations during the 2025 CVSA International Roadcheck, making tread depth measurement one of the highest-leverage items on the trailer pre-trip.
What are the penalties for skipping a trailer pre-trip inspection?
Federal penalties for DVIR violations are substantial and stack across multiple categories. Civil penalties include: up to $1,270 per day for failing to complete a required DVIR report; up to $12,700 for falsifying DVIR reports; up to $15,420 for failing to repair documented defects before returning the vehicle to service; and up to $19,277 for operating an out-of-service vehicle. Beyond direct fines, DVIR violations impact CSA BASIC scores — particularly the Vehicle Maintenance BASIC and the new Vehicle Maintenance: Driver-Observed BASIC under the 2026 CSA overhaul — which trigger downstream consequences including increased roadside inspection targeting, insurance premium increases (typically 8–15% at renewal for elevated BASICs), broker vetting failures, and elevated compliance review risk. In post-crash litigation, a documented failure to complete pre-trip inspections is one of the most damaging evidence points for a fleet's defense. Cumulative impact of pre-trip failures is typically 10 to 20 times the direct fine amounts.
Every trailer pre-trip documented, timestamped, and defensible
HVI ships with the 8-zone trailer walkaround pre-configured on every DVIR. Drivers complete on a tablet in under 10 minutes with mandatory photo capture per zone, defects auto-route to the shop as work orders, and the whole audit trail is GPS-tagged and cloud-stored for the 90-day FMCSA retention requirement. Live for your fleet in under two weeks — typical carriers cut trailer OOS rate by 50–70% in the first quarter.
No credit card · DOT/CVSA-ready templates · Works alongside any ELD provider