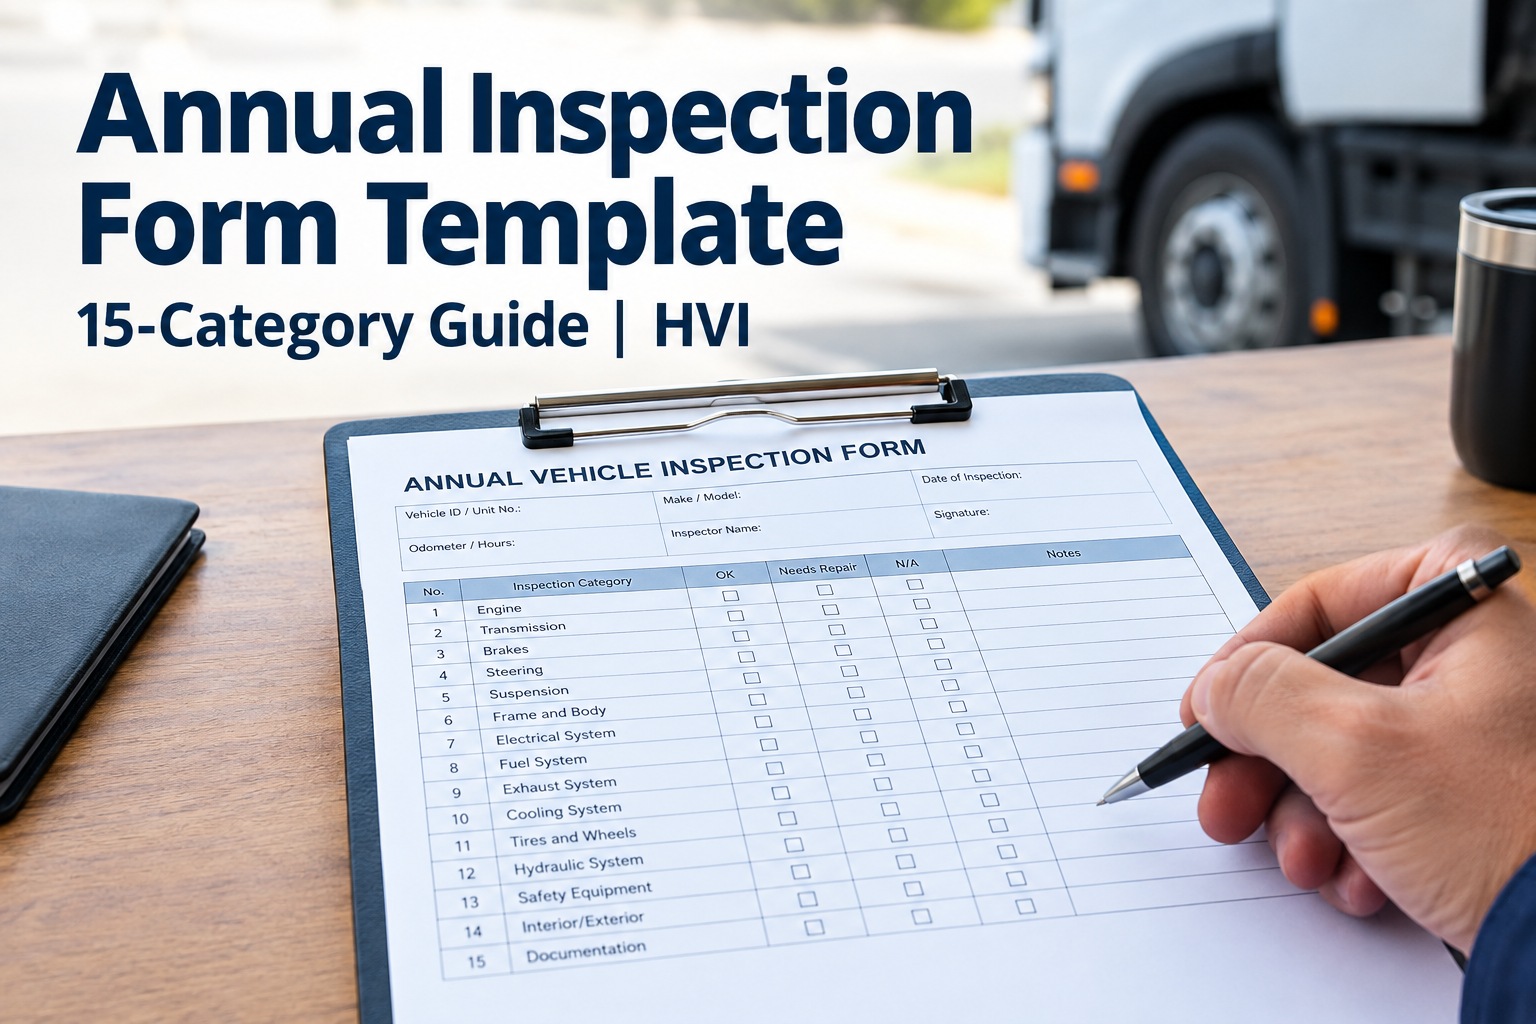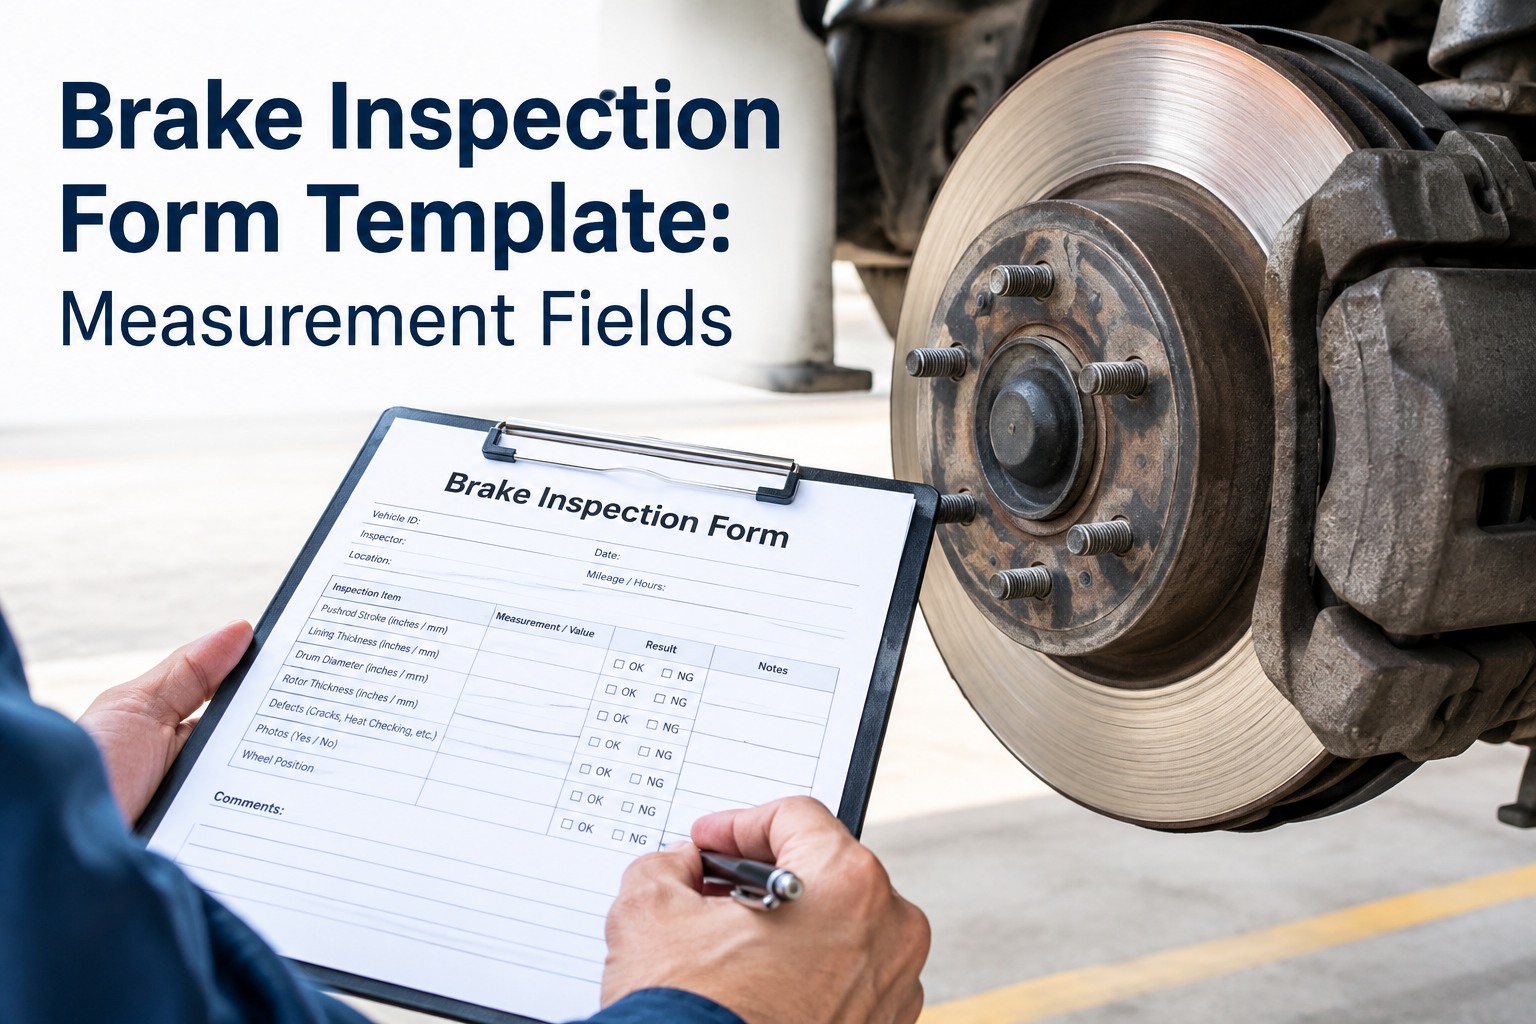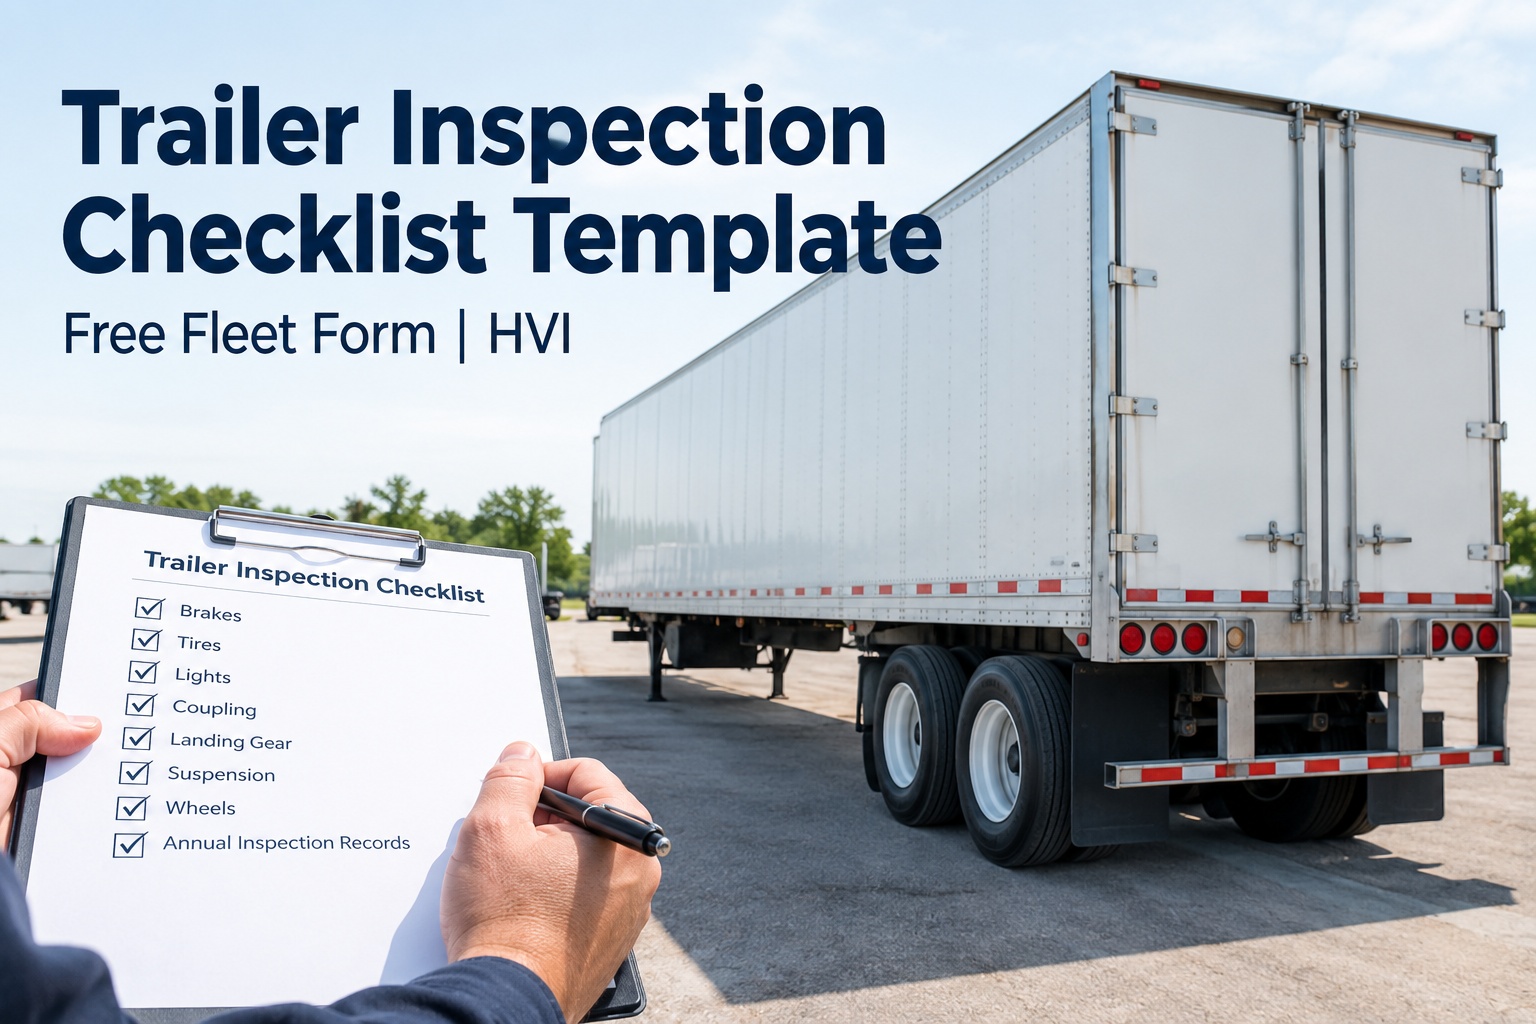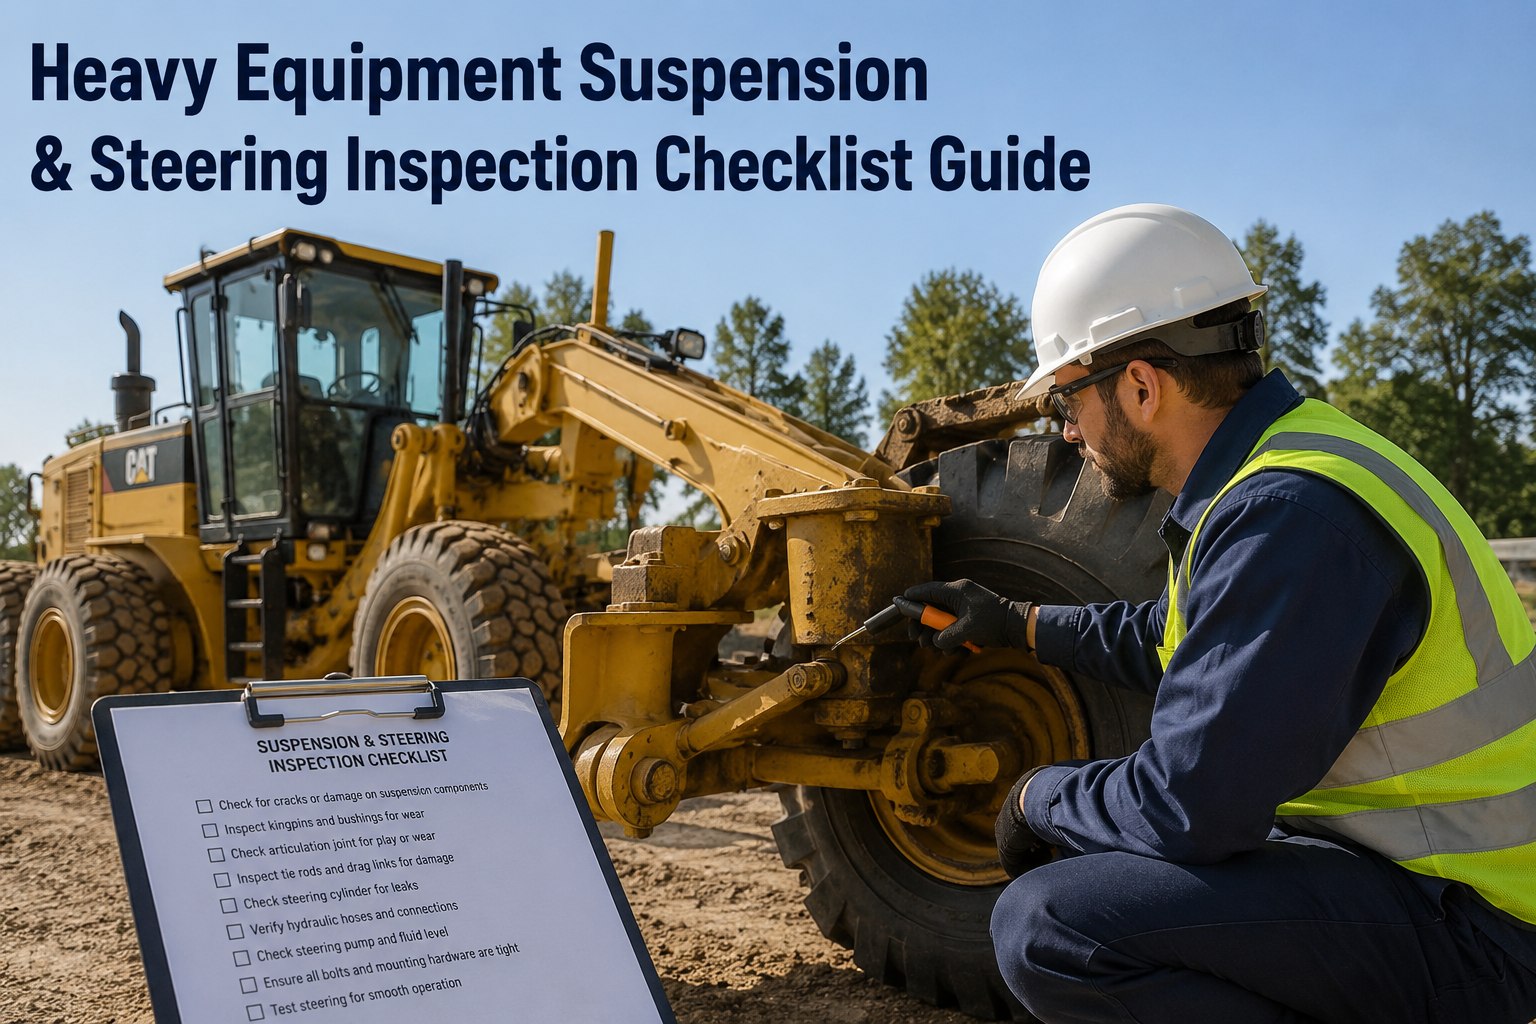
An inspection form is an interface, not paperwork. It's the thing standing between a technician and a two-ton machine at 6am, and its wording, length, and order quietly decide whether real defects get found or a box just gets ticked. Most inspection form design fails the same way: vague items, irrelevant questions, no measurable criteria, no path from a finding to a fix. This guide lays out nine principles that turn a form from a signature-collector into a defect-finder. Book a demo to see configurable inspection forms built in HVI.
Equipment Inspection Form Design: 9 Principles That Work
The form is an operational interface. Good design makes the right inspection action easy and important defects hard to miss. Here's how to build one that works.
Design guidance, not a compliance guarantee. Regulatory, manufacturer, and organizational requirements still determine required inspection content.
Here's the uncomfortable reality: most inspection forms are copied from a generic PDF, and their design actively works against good inspections. Vague wording invites inconsistency, excessive length invites rushing, weak criteria invite guesswork, and bad ordering invites skipped components. The fix isn't more items or stricter rules — it's better design. These nine principles are the mechanics of an inspection form that makes the correct action easier to take and the important defect harder to miss. None of them require new technology to understand, though a few only become enforceable once the form is digital.
1. Match the form to the inspection's purpose
Before writing a single item, be clear on what this form is for. A pre-trip driver check, a periodic maintenance inspection, and a post-incident examination have different purposes, depths, and audiences — and forcing them into one template serves none of them well.
Fast, safety-critical, operator-facing. Catches obvious defects before the asset moves. Short by design.
Deeper, technician-facing, measurement-heavy. Trends component wear over service intervals.
Focused, evidence-heavy, documentation-driven. Captures state after a specific event.
The purpose dictates everything downstream: length, depth, who fills it out, and how much evidence each item demands. A form that's confused about its purpose ends up too long for a pre-trip and too shallow for a real PM. Decide the job first, then design to it. Book a demo to build purpose-specific forms instead of one bloated template
2. Write items around components and observable defects
This is the highest-leverage principle. A vague instruction produces a vague result. Every item should name a specific component, state the condition you're checking for, and give an observable defect criterion — so the finding is the same no matter who's holding the form.
The strong versions all do the same three things: name the part, define what "good" looks like, and specify the observable defect. Where a measurable limit applies, capture the value — but pull the actual threshold from the manufacturer's spec, the applicable regulation, or your organization's approved maintenance standard. Don't invent a universal number; the right limit varies by asset, make, and jurisdiction. Start free on HVI to write items with measurement and defect fields built in.
3. Order tasks to match how the inspection actually happens
Ordering is invisible until it's wrong, and then it costs you every single inspection. A form that bounces the inspector around the machine wastes time and guarantees skipped items. Two ordering models cover most cases.
For physical inspections, follow one continuous path around and through the asset — approach, cab, engine, underneath, wheels, circuit — so the inspector never backtracks and nothing gets missed.
For system-based inspections, group by equipment system or by risk priority — brakes, steering, hydraulics, electrical — so related checks stay together and the highest-risk items get attention first.
The objective is the same either way: reduce unnecessary movement, repetition, and missed components. The right order isn't aesthetic — it mirrors how the work physically or logically unfolds, so the form and the inspection move together instead of fighting each other.
4. Use measurable pass/fail criteria wherever possible
Subjective items produce subjective data. Wherever a condition can be measured or defined against a clear standard, replace "does it look OK?" with an objective criterion — a value, a threshold, or a specific defect definition.
- Tires OK?
- Brakes good?
- Fluids fine?
Depends on who's asking. Captures nothing. Can't be trended.
- Tread depth: ___ (flag below limit)
- Pad thickness: ___ per position
- Each fluid: level + condition
Same result for every inspector. Produces a value you can trend and defend.
Measurable criteria do three things a checkbox can't: they remove inspector-to-inspector variance, they let you trend a component toward its limit before it fails, and they create a defensible record that the asset was in-spec at inspection time. The critical caveat, again: the threshold itself must come from the manufacturer, the regulation, or your approved standard — the form's job is to capture the measurement against the correct limit, not to define the limit. Book a demo to capture measurable findings on critical items
5. Use conditional logic to keep forms focused
Long forms full of "N/A" items are where inspection quality goes to die — the inspector learns to skim, and real items get lost in the noise. Conditional logic solves this: show only the questions that apply to this asset, this configuration, this situation.
The key discipline: conditional logic should focus coverage, never quietly remove required checks. A well-branched form shows an electric reach-truck operator only what's relevant to that machine, while a diesel rough-terrain forklift gets its own set — each inspection is shorter and sharper, but nothing required is skipped. This is one of the principles that simply can't exist on paper. Book a demo to see branching forms adapt to each asset
6. Require evidence on critical findings
For high-risk items and any failed check, a checkbox isn't enough — you want proof. A required photo, a recorded measurement, or a mandatory comment turns a claim into evidence. The trick is requiring it where it matters without drowning routine passes in busywork.
- Any failed / defect finding
- Safety-critical components
- Measurements on trended items
- Damage or wear near a limit
- Routine pass on low-risk items
- Every single line regardless of risk
- Evidence that adds no information
- Photos of things already logged
The balance matters: require a photo on every routine pass and inspectors start photographing the floor to move on; require nothing on a failure and you've got a defect claim with no backing when it's disputed months later. Target evidence at failures, safety-critical items, and trended measurements — the findings where proof actually changes an outcome. Start free to make evidence mandatory exactly where it counts.
7. Differentiate forms by asset class
One universal form across a mixed fleet is a design failure. A truck, a trailer, a forklift, and an excavator share almost no critical inspection points — a shared form means every asset carries irrelevant items and misses ones it needs. Use a common framework, different content.
Engine, aftertreatment, brakes, steering, coupling, drivetrain.
Brakes, tires, lights, coupling, structure, doors and seals.
Forks, mast, chains, overhead guard, controls, per truck type.
Hydraulics, undercarriage, attachments, structure, by hours.
The efficient approach isn't four unrelated forms — it's a shared design language (the item structure, criteria style, escalation rules from these principles) applied to asset-specific content and the requirements that apply to each class. Same rigor everywhere, the right items on each machine. That's exactly what configurable templates are built to do.
8. Make defect escalation explicit in the form
A finding that doesn't route to an action is a finding that gets forgotten. The form shouldn't just detect a defect — it should make the required follow-up unavoidable. Build the consequence into the item, not into someone's memory.
Record it — including the value on trended items — and move on. Clean data even on good results.
Within limits but approaching one. Note it and set it to reappear or shorten the interval.
Evidence required, corrective action auto-generated and assigned; the defect can't just close.
Safety-critical failure flags the asset's status and holds it from use until resolved and verified.
This is where a form stops being a document and becomes a workflow. When a failed item automatically requires evidence, spawns a tracked corrective action, and can flag an asset's status, nothing depends on the inspector remembering to tell someone. The escalation tiers should reflect your operation and the safety-critical thresholds for your assets — designed once, applied by everyone.
9. Review and improve the form with real data
A form is never finished at launch — that's when the data starts telling you where it's weak. The findings it produces, and the failures it misses, are the feedback that makes the next version sharper. This is the principle almost everyone skips.
A failure that happened between inspections but should've been caught means an item needs a tighter criterion or a measurement.
A defect showing up at roadside or repeating on the same units points to an item, threshold, or interval that isn't working.
The people filling out the form know which items are confusing, redundant, or missing. Ask them, and act on it.
Items that never produce a finding across hundreds of inspections may be adding time without value — data tells you what to cut, too.
The closed loop is impossible with paper and painful with spreadsheets, because you can't query what you can't search. When every inspection is a structured, searchable record, "which items fail most on our 2019 tractors" is a two-minute query — and that answer drives the next, better form. If an important defect keeps appearing outside the inspection process, that's the signal to add or sharpen an item.
From a fleet manager who rewrote every form
Our inspection forms were eighty-item PDFs that were the same for a day cab and a reefer. Drivers checked "pass" down the whole column in about four minutes because half the items didn't even apply to their truck, and the ones that did were things like "brakes OK?" that mean nothing. We were generating paperwork, not findings.
We rebuilt them around these ideas — shorter forms that branch by truck type, items that ask for an actual measurement, photos required on any fail, and a corrective action that opens automatically. Inspection time barely changed, but now the forms actually surface problems, and I can see which items catch the most defects. The form went from a formality to a tool.
Good inspection form design is a design discipline
The reason so many inspection programs underperform isn't a lack of forms — it's that the forms are copied, generic, and built to be signed rather than to find defects. Good inspection form design changes that with nine deliberate choices: match the form to its purpose; write items around specific components and observable defects; order tasks to how the inspection actually happens; use measurable criteria wherever a standard exists; use conditional logic to keep forms focused without dropping required coverage; require evidence on critical findings; differentiate forms by asset class from a shared framework; make defect escalation explicit; and review and improve the form using real missed-defect, roadside, breakdown, and repeat-failure data. Get these right and the same inspectors, on the same equipment, produce clearer findings and more useful data.
Several of these principles — conditional logic, enforced evidence, automatic escalation, and data-driven review — only become enforceable once the form is a configurable digital template rather than a static document. That's the core of what HVI does: build asset-specific inspection forms with branching logic, measurement and evidence fields, defect capture, corrective-action routing, and analytics on what your inspections find. One honest caveat: software doesn't make an inspection compliant on its own — applicable regulatory, manufacturer, and organizational requirements still determine what your forms must contain and what thresholds apply, and those belong in the design. Used well, though, good form design plus a configurable platform turns inspections from a box-ticking chore into a genuine source of operational insight. Book a demo to build better inspection forms in HVI.
Frequently asked questions
How do you design an effective equipment inspection form?
Effective inspection form design starts with purpose and works down to wording. First, define what the form is for — a fast operator pre-use check, a deep periodic maintenance inspection, and a post-incident examination have different depths, audiences, and evidence needs, and shouldn't share one template. Then write each item around a specific component and an observable defect condition rather than a vague instruction: "each tire: record tread depth, note cuts or bulges, flag below the applicable limit" instead of "check tires." Order the items to match how the inspection physically or logically happens — a continuous walk-around path for physical inspections, or a system/risk grouping for system-based ones — so nothing is skipped and the inspector doesn't backtrack. Use measurable pass/fail criteria wherever a standard exists, capturing a value against the correct threshold. Use conditional logic to show only the items relevant to that asset and situation, so the form stays focused without dropping required coverage. Require evidence such as a photo or measurement on failures and safety-critical items. Differentiate forms by asset class from a shared framework. Make defect escalation explicit so a failed item routes to a corrective action automatically. And review the form using real data on missed defects and repeat failures. Together these choices make the correct inspection action easier and important defects harder to miss.
How long should an inspection checklist be?
There's no single correct number of items, and any guide that gives you one is oversimplifying. The right length reflects the inspection's purpose, the asset's complexity, the level of risk, and the time realistically available to perform the inspection. A pre-use operator check on a forklift should be short and fast by design — its job is to catch obvious safety-critical defects before the machine moves, so a lengthy form defeats its purpose and encourages rushing. A periodic maintenance inspection on a complex piece of heavy equipment legitimately needs to be longer and deeper, because it's trending component wear and covering systems a quick check skips. The goal is not to hit a target length but to include every item that genuinely serves the inspection's purpose and exclude everything that doesn't. This is exactly where conditional logic helps: rather than making one long form that covers every possible asset and configuration — most of which is irrelevant on any given inspection — a well-designed digital form shows only the items that apply to the specific asset, fuel source, attachments, and situation. That keeps each individual inspection short and focused while preserving full required coverage across the fleet. Length should serve the inspection, not a rule of thumb.
How do you write effective inspection questions or items?
The core principle is to replace vague instructions with items that identify the component, the expected condition, and an observable defect criterion. A weak item like "inspect brakes" leaves everything to the inspector's interpretation and captures no usable information. A strong version names what to check and how to judge it: record lining or pad thickness per position, note any leaks, confirm a firm pedal that holds, and flag anything below specification. The same rewrite applies across the board — "check tires" becomes an item that records tread depth and calls out cuts, bulges, exposed cord, or uneven wear; "check hydraulics" becomes an item that looks for chafing, cracking, bulges, or weeping fittings and confirms smooth operation without drift. Three things make an item strong: it names the specific component and location, it defines what acceptable looks like, and it specifies the observable defect to look for. Where a measurable limit applies, the item should capture the actual value. Critically, the threshold itself must come from the manufacturer's specification, the applicable regulation, or your organization's approved maintenance standard — not a number invented to sound authoritative, since acceptable limits legitimately vary by asset, make, model, and jurisdiction. The item's job is to capture the right observation against the correct standard, consistently, regardless of who performs the inspection.
What is conditional logic in a digital inspection form?
Conditional logic, sometimes called branching, is a feature of digital inspection forms that displays or hides items based on earlier answers or on the asset's attributes, so the inspector sees only the questions relevant to the specific situation. For example, selecting a refrigerated trailer can reveal refrigeration-unit and temperature-log items that wouldn't appear for a dry van; choosing an LPG fuel source can surface tank, hose, and connector checks while hiding battery items that apply only to electric equipment; fitting a particular attachment can add attachment-specific inspection items; and marking any item as failed can make a photo and a written description mandatory before the inspector can continue. The value is focus without loss of coverage: instead of one enormous form full of items marked "N/A" — which trains inspectors to skim and causes real items to be missed in the noise — each inspection presents a shorter, sharper set of exactly the items that apply. The essential discipline is that conditional logic should narrow the form to what's relevant, never quietly remove a check that's actually required for that asset. Because it depends on the form responding dynamically to input, conditional logic is one of the design principles that simply can't be implemented on a paper or PDF form; it's a core reason configurable digital inspections outperform static documents.
How should inspection defects be documented and escalated?
Defects should be documented with enough detail to be actionable and escalated automatically so that finding a problem reliably leads to fixing it. At the documentation level, a defect finding should capture what asset was inspected, what specific condition was found, who found it, when, and supporting evidence such as a photograph or a measurement — a bare checkbox marked "fail" isn't enough to act on or to defend later. At the escalation level, the strongest approach builds the consequence into the form itself using severity tiers: a pass is recorded, including the value on trended items; a marginal or monitor result is flagged to reappear or to shorten the service interval; a failed or defect result requires evidence and automatically generates an assigned corrective action that can't simply be closed without resolution; and an unsafe or safety-critical failure flags the asset's status and holds it out of service until the issue is repaired and verified. The point of explicit escalation is that nothing depends on an inspector remembering to tell someone — the failed item routes itself to the right action. The specific severity tiers and the thresholds that separate them should reflect your operation and the safety-critical requirements for each asset class, defined once in the form so every inspector applies them consistently. This is what turns an inspection form from a record of findings into an actual control that prevents unsafe equipment from staying in use.
Build inspection forms that actually catch defects
HVI lets fleet, safety, and maintenance teams build configurable digital inspection forms — asset-specific templates, conditional logic, measurement and evidence fields, defect capture, corrective-action routing, and analytics on what your inspections find. Turn every one of these nine principles from good intention into enforced practice. Mobile-first for the field and the shop, live in under two weeks.
No credit card · Configurable forms & conditional logic · Evidence & defect workflows on day one