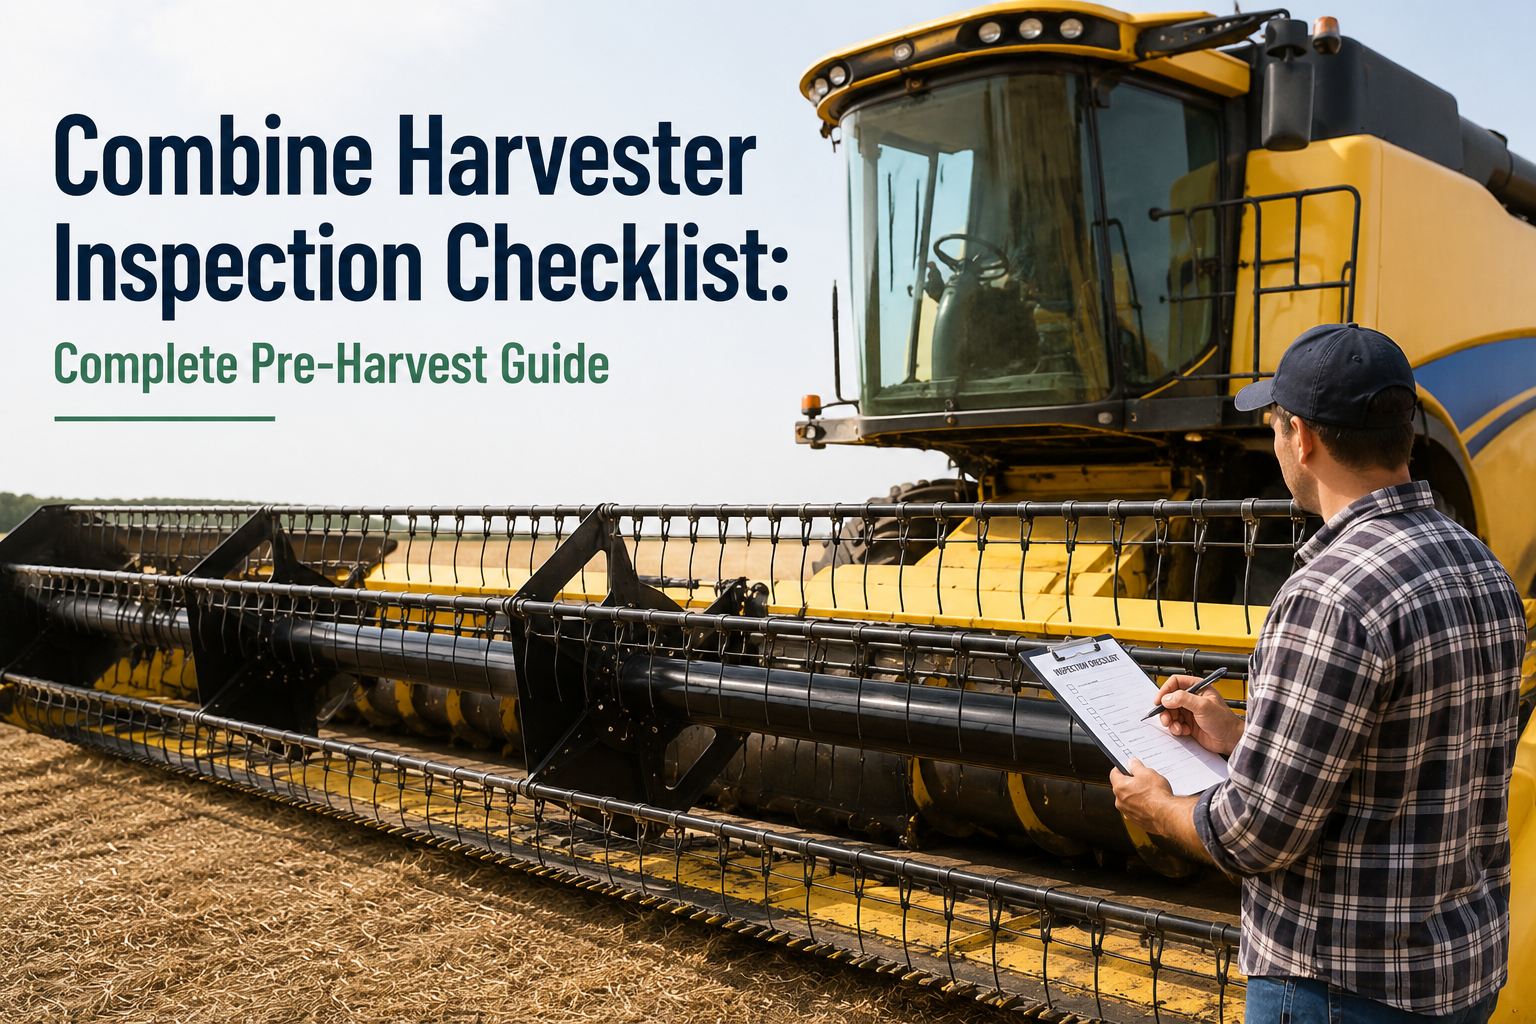
Combine Harvester Inspection Checklist: Complete Pre-Harvest Guide

By Sophie Hill on June 25, 2026

combine-harvester-inspection-checklist-guide

A combine is the most complex machine on the farm, and it earns its keep in the narrowest window of the year. When it fails mid-harvest, the cost isn't just the repair — it's grain left standing while a weather window closes, and yield that never comes back. The hardest part to inspect is also the most expensive when neglected: the threshing system is the part most often skipped pre-season because access is harder and the visual feedback is less obvious, yet it costs the most grain in the field when it drifts out of adjustment. The fix is a disciplined pre-harvest walkthrough following the crop's own path through the machine — header to grain tank — done weeks early, when a worn belt or cracked concave is a $40 part in stock rather than a backordered breakdown at peak. This 2026 guide walks all six systems, the grain-loss checks that tell you what's wrong, and the fire prevention every operator needs. Pair it with HVI inspection and maintenance software to run the checklist on a phone, flag defects with photos, and keep a service history per machine. Always follow your operator's manual for model-specific settings.

COMBINE HARVESTER · PRE-HARVEST INSPECTION 2026
Inspect Before Harvest, Not During It
A combine that fails at peak can't wait — the crop won't. HVI runs a full pre-harvest inspection across every system, header to grain tank, flagging the worn belt or cracked concave while the part's still in stock and the field's still standing.
6
crop-flow systems to inspect, header to tank
#1
grain-loss source is the header, first crop contact
Weeks
early is when parts are still in stock
LOTO
lockout before any hands-on service

Follow the Crop's Path

A combine inspection isn't random — it follows the grain. Crop enters at the header and flows through six systems to the tank. Inspect in that order, because if feeding is poor, everything downstream struggles. Setup is a chain.

1
Header
Cut & gather
2
Feeder House
Move crop in
3
Threshing
Rotor & concave
4
Separation
Beaters & grates
5
Cleaning
Fan & sieves
6
Grain Handling
Elevator & tank
Six systems, dozens of wear points, all on a narrow pre-season clock — HVI turns the crop-flow path into a guided checklist so nothing gets skipped, especially the threshing system everyone rushes. sign up for a free HVI trial and inspect every system in order.

Header & Feeder House

The header is the first contact with the crop and the single largest source of grain loss. Get it right and everything downstream has a fighting chance.

Sickle, Knives & Guards

Inspect the cutterbar for damaged or missing knife sections and bent guards. Rocks and debris damage both — replace on time to keep a clean, even cut.

Reel, Augers & Chains

Check reel teeth, auger flighting for dents, and gathering chains and sprockets for wear. On corn heads, adjust stripper-plate width and grease row-unit gearboxes.

Feeder Chain & Slats

Run the feeder by hand if you can; check every slat for cracks and cross members for wear. A chain that slipped a tooth last season will slip again.

Header Seal & Dust Shields

A worn header-to-feeder seal lets fines into the cab and engine bay. Replace cracked rubber now, and confirm the header height sensor works without faults.

Threshing & Separation

This is the system most often skipped because access is harder — and the one that costs the most grain when neglected. Don't rush it.

Concave & Rotor / Cylinder

Open the concave doors and inspect the bars and wires for wear or breakage — wheat is harder on concaves than corn. Check rotor wear strips for cracks or thinning: a worn strip scuffs the case and shaves metal into the grain tank. Verify the rotor-to-concave clearance against spec.

Rasp Bars & Elements

Replace worn or damaged rasp bars promptly — they reduce threshing efficiency. Tighten every accessible threshing-element bolt; vibration loosens them, and a missing element at full RPM can destroy the rotor housing.

Beater Grates & Separator

Clean beater grates and separator grates of last season's stalk-fiber mat and check for cracks or clogging. Carry-over residue chokes flow before you even start.

A cracked rotor strip or a loose element is exactly the kind of defect that's invisible from the seat and catastrophic at full RPM — flag it with a photo now and it becomes a planned fix, not a field failure. schedule a demo to see photo-flagged defect tracking.

Cleaning & Grain Handling

The last two systems decide grain quality and what actually reaches the tank. Worn parts here show up as loss on the ground or damage in the sample.

Chaffer & Shoe Sieves

Inspect the chaffer and sieves for damage and confirm the holes hold their original size. Clean sticky residue that causes clogging and set openings for the crop.

Cleaning Fan

Check fan condition and that it reaches full speed. Fan speed balances grain loss against cleanliness — verify it responds across its range before harvest.

Elevators & Augers

Inspect grain and tailings elevator chains for stretch and missing rollers; lubricate without over-greasing. Check auger flighting for dents and sharp edges.

Grain Tank & Unload Auger

Clean the grain tank and unloading auger, replace damaged rubber plates, and confirm the unload system runs smoothly. Residue here attracts vermin over storage.

Engine, Drive & Fire Prevention

The systems that power the machine — and the housekeeping that keeps a combine from becoming a field fire. On a dry crop, this section is non-negotiable.

Engine & Fluids

Check engine oil, coolant, hydraulic, and transmission levels and condition; replace fuel and air filters. Look for oil leaks, worn hoses, and unusual noises before the field.

Belts, Chains & Bearings

Inspect every belt for cracks and fraying and every chain for rust, stretch, or missing rollers — especially the main drive belt and feederhouse chains. Grease all bearings and check for tightness.

Fire Prevention

Remove chaff and residue from around the engine and exhaust — the leading combine fire source. Clean radiator screens, keep a charged, in-date extinguisher aboard, and clear dust daily during harvest.

Lights, Guards & Cab Safety

Test lights, flashers, and reflectors for road safety. Confirm all guards over moving parts are in place, and check seat belts and emergency exits in the cab.

A combine fire can total a machine and threaten a field in minutes — daily residue removal is the cheapest insurance there is, and HVI makes it a required, logged step every shift. start a free HVI trial and build fire-prevention into every check.

Read the Loss, Find the Fault

The field tells you what the inspection missed. During harvest, a quick drop-pan loss check plus these symptoms pinpoint which system needs attention.

Unthreshed heads or cobs in the tank or out the back
Threshing issue — close the concave slightly or raise rotor speed in small steps.
Free, unbroken kernels on the ground
Shoe loss — open the sieve a touch or increase fan speed.
Cracked grain and fines in the tank
Rotor speed too high — use the lowest speed that threshes cleanly; keep the rotor chamber full.
High whole grain in the tailings
Re-threshing good grain — adjust sieve and concave so clean grain isn't recirculated.

Paper Checklist vs. HVI

Six systems, dozens of wear points, a fire-prevention routine, and daily loss checks across a short, intense season — exactly the load digital inspections were built to carry.

PAPER OR MEMORY

Threshing system rushed or skipped
Faults found in the field, not the shed
Parts discovered backordered at peak
Last year's fault codes forgotten
No history to plan wear-part replacement

HVI INSPECTION SOFTWARE

Guided crop-flow checklist, every system
Defects flagged with photos weeks early
Parts ordered while still in stock
Issues carried forward between seasons
Full history per machine reveals patterns

Get the Combine Field-Ready Before the Window Opens

HVI gives farms a guided pre-harvest checklist that follows the crop through every system — header, feeder, threshing, separation, cleaning, and grain handling — plus engine, fire-prevention, and safety checks, with photo-flagged defects, defect-to-work-order routing, and a full history per machine. Spend the off-season fixing what the inspection caught, not the harvest chasing parts. Trusted by 25,000+ users worldwide.
Frequently Asked Questions

What should a pre-harvest combine inspection cover?
Follow the crop's path through six systems: the header (sickle, knives, guards, reel, augers, gathering chains), the feeder house (chain, slats, header seal, height sensor), threshing (concave, rotor/cylinder, wear strips, rasp bars, element bolts), separation (beater and separator grates), cleaning (chaffer, sieves, fan), and grain handling (elevators, augers, grain tank, unload auger). Add engine and fluids, belts, chains and bearings, fire prevention, and cab safety. Inspect in flow order, because if feeding is poor everything downstream struggles. HVI lets you build this as a guided checklist and run it the same way every season. Sign up for a free HVI trial to build yours.
Why is the threshing system the most important part to inspect?
Because it's the part most often skipped pre-season — access is harder and the visual feedback is less obvious — yet it costs the most grain in the field when it fails or drifts out of adjustment. Worn concave bars, cracked or thinned rotor wear strips, and loose threshing elements are largely invisible from the seat but serious in operation: a worn strip can shave metal into the grain tank, and a missing element at full RPM can take out the rotor housing. Inspecting the concave, rotor, rasp bars, and element bolts carefully before harvest is what prevents both grain loss and catastrophic damage. Schedule a demo to see threshing inspection logging.
When should I inspect my combine before harvest?
Weeks ahead of the first cut, not the night before. The biggest practical reason is parts availability: when you find a worn belt, cracked concave, or damaged sickle section early, the part is far more likely to be in stock at the dealer than backordered through a supplier at peak season when every farm needs the same thing. Inspecting early also gives you time to do the DIY-friendly fixes yourself — filters, belts, sieves, chain adjustment, concave inspection — and to schedule the shop work that isn't a Saturday job. A combine that finished last fall with an intermittent fault will fault again in the first hour unless it's addressed first. Sign up for a free HVI trial to plan ahead.
How do I diagnose grain loss during harvest?
Read the symptoms and use a drop-pan loss check. Unthreshed heads or cobs in the tank or out the back point to a threshing problem — close the concave slightly or raise rotor speed in small steps. Free, unbroken kernels on the ground indicate shoe loss — open the sieve a touch or increase fan speed. Cracked grain and fines in the tank mean rotor speed is too high, so use the lowest speed that threshes cleanly and keep the rotor chamber full. High whole grain in the tailings means you're re-threshing good grain. Change one variable at a time and re-check, and always start from your manual's factory settings for the crop. Schedule a demo to see daily harvest checks.
How do I prevent combine fires during harvest?
Combine fires usually start from chaff and crop residue accumulating around the hot engine and exhaust, so the single most important habit is removing that debris daily — and more than once a day in dry, dusty conditions. Clean the radiator and air screens regularly to prevent overheating, keep hydraulic components clean of greasy buildup, and carry a charged, in-date fire extinguisher (test it pre-season and replace expired units). Because the risk rises with dry crops and dusty fields exactly when the machine is working hardest, making residue removal a required daily step rather than an occasional one is the cheapest protection available. HVI can make that cleaning a logged daily task. Sign up for a free HVI trial to build it in.

Share This Story, Choose Your Platform!

Start Free Trial Book a Demo