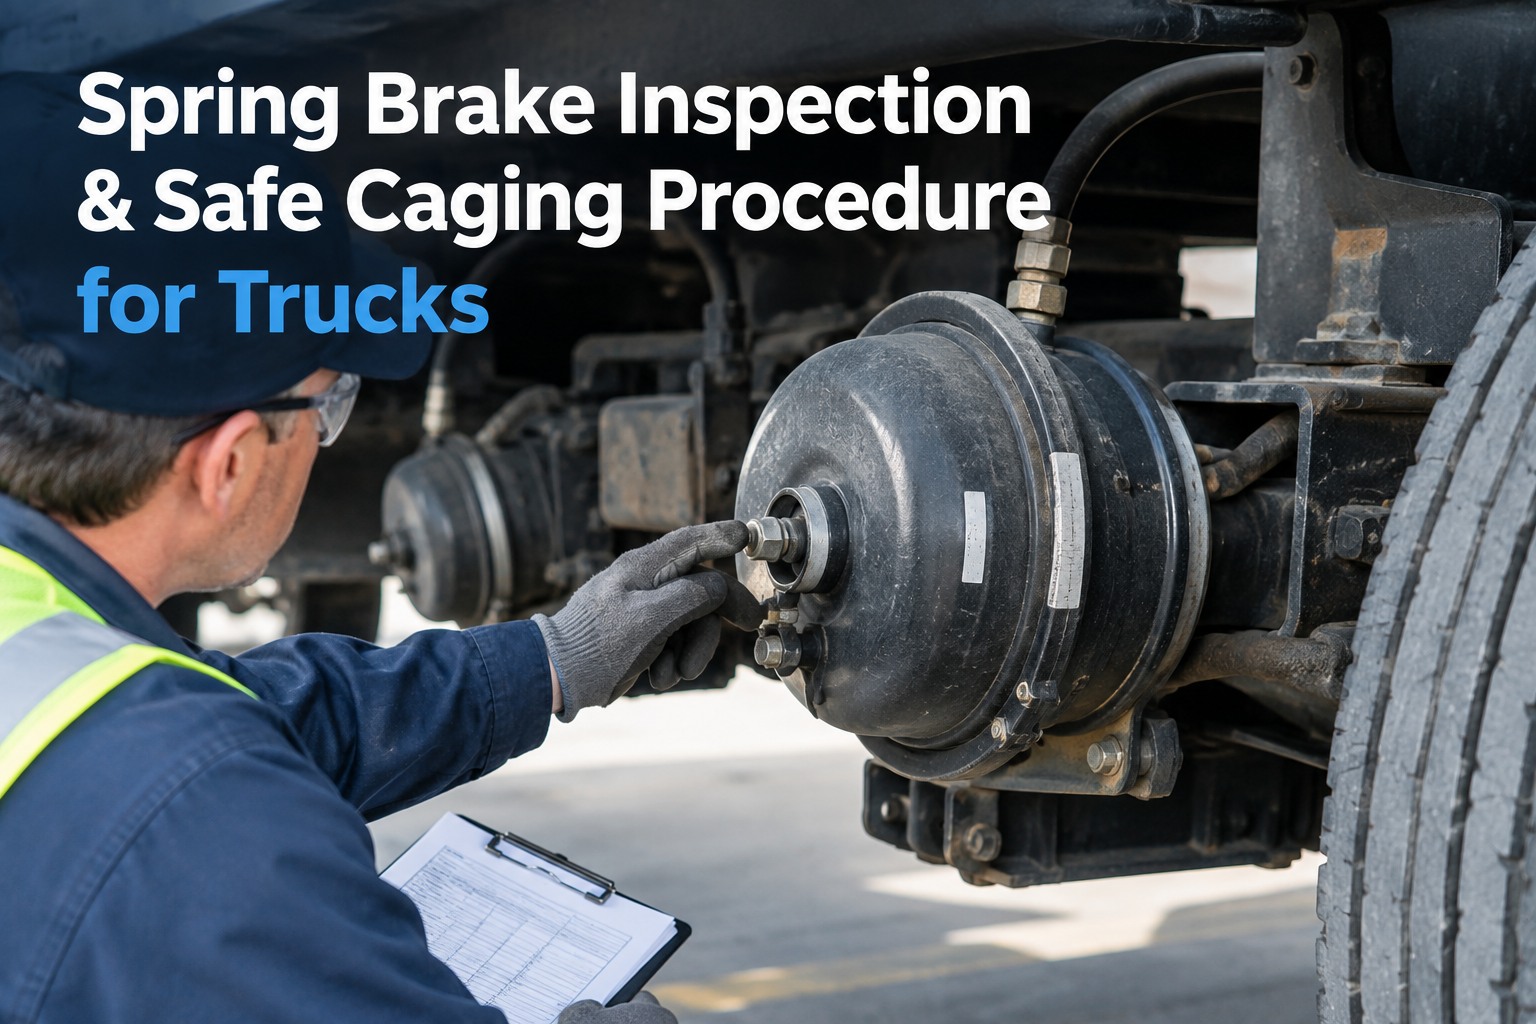
Every CDL driver knows the words "seven-step air brake test" — and roughly half of them can list all seven in order under pressure. The DOT air brake test isn't a memorization exercise; it's a sequential diagnostic that verifies four subsystems in a specific order, with the engine off for four of the seven steps. Skip a step, run the compressor at the wrong time, or forget to chock the wheels, and the whole test becomes theater. This guide walks all seven steps with exact PSI benchmarks under 49 CFR 393.52. Book a demo
The 7 steps in order — what happens, what to watch, what result passes
A single wrong step invalidates the test. The sequence matters as much as the checks themselves.
The seven steps aren't seven independent checks — they're one continuous diagnostic. Each step depends on the previous one succeeding, and the order is what allows an examiner to verify system behavior under controlled, repeatable conditions. Skip the wheel chocks, restart the engine mid-test, or move on before the initial pressure drop settles, and the whole assessment becomes invalid. The words are memorizable in an afternoon; the discipline of running the sequence correctly is what separates a driver who passes from one who really understands the system.
The four PSI benchmarks every CDL driver needs cold
The whole seven-step procedure hinges on four specific pressure numbers. Miss any one of them by more than a few psi and you're either failing the CDL skills test or dispatching a vehicle with a defective air system. These four numbers deserve full memorization — on the exam and every morning of a working career.
Pressure at which the air compressor stops building pressure. Verifies compressor and governor working correctly. Governor cut-in typically 95–100 psi.
Max allowable pressure loss per minute. Straight truck: 2 static / 3 applied. Combination: 3 static / 4 applied. Beyond these = failing leak somewhere in the system.
Warning light and buzzer must activate at or before this pressure per 49 CFR 393.52. If warning doesn't activate here, the driver may be losing pressure without knowing until spring brakes engage suddenly.
Range within which the parking brake valve and trailer air supply valve must pop out automatically. Below 20 psi is too late; above 45 psi means the spring brakes engage while the vehicle still has usable service braking.
These aren't arbitrary numbers. They're the calibration points a functioning air-brake system will hit under a properly performed test. When any of the four falls outside range, something specific in the system needs attention: leaking valve, defective warning device, weak governor, worn compressor. The number tells you where to look. Book a demo to see PSI benchmarks captured per test with automatic pass/fail evaluation
Why the engine must stay off for steps 2 through 5
This is the single most misunderstood part of the whole procedure — and the source of most failed CDL skills tests and invalidated fleet air-brake checks. The engine-off requirement isn't a formality. It's what makes the tests actually measure anything.
Compressor replaces lost air continuously
The air compressor senses pressure drop and immediately starts building. Whatever the system is leaking, the compressor pumps back in. Pressure gauge reads stable. Test appears to pass — but you've measured nothing.
System bleeds down naturally
No compressor pumping. Any leak in the system shows up as pressure drop over one minute. The low-air warning threshold and spring-brake pop-out points become visible as the system bleeds down at a controlled rate.
The confusion usually comes from drivers who see fleet mechanics leaving the engine running during shop inspections. That's a different test — mechanics are testing component response with compressor support, not verifying pressure retention. For the CDL skills test and for a valid daily pre-trip leakage check, the engine has to be off for steps 2, 3, 4, and 5. Any deviation and the test measures nothing useful about the system's real condition. Book a demo to see engine-state gating built into the pre-trip workflow
The 6 most common air brake test mistakes — and what they invalidate
Some are CDL exam failures. Some are daily-pre-trip failures that later show up as roadside violations. All six are common enough that experienced fleet trainers see them weekly. Recognizing which specific step gets invalidated by which specific mistake is the difference between doing the test right and just doing it.
Not chocking wheels before releasing parking brake
Step 2 requires releasing the parking brake. Without wheel chocks first, the vehicle can roll. This is an immediate skills-test failure — and a real-world safety incident waiting to happen.
Restarting engine between leakage tests
Steps 2, 3, 4, and 5 must all be performed with the engine off. Restarting between them means the compressor re-pressurizes the system, and any pressure loss you'd have caught gets pumped away.
Not waiting for initial pressure drop
When you first release the parking brake or apply service brakes, there's an immediate pressure drop from normal system dynamics. You must wait for that to stabilize before starting the 1-minute timer, or you'll measure the wrong quantity.
Fanning service brake too fast on low-air test
Steps 4 and 5 require slow, deliberate reduction of air pressure by fanning the service brake. Fast fanning drops pressure too rapidly to accurately identify when the warning activates or the spring brake pops.
Skipping the service brake road test
Step 7 requires actually moving the vehicle at ~5 mph and applying the brake. A stationary test doesn't verify braking response, pull, or delayed stopping. Skipping this misses the exact failure modes that cause roadside incidents.
Not verbalizing during the test
On the CDL skills test, the examiner needs to hear what you're checking and observing. Silent testing may be technically correct but often fails because the examiner can't verify what was actually observed. Verbalize every reading and every result.
Any one of the six invalidates the corresponding step. In practice, drivers who make one of these mistakes often make a second and third — because the mistakes usually stem from rushing or from not understanding the "why" behind the sequence. Slow down, work the sequence, verbalize the observations. Eight minutes now beats an out-of-service order later. Start free and get every pre-trip step tracked automatically
CDL air brake test vs daily pre-trip inspection — the distinction matters
The 7-step procedure is the CDL skills test standard, but the same discipline (with minor variation) is required every day for pre-trip inspection under 49 CFR 396.13. Confusing the two contexts is where operational drift creeps in over months and years of a career.
Formal 7-step verbalized procedure
Practical version of same sequence
The technical sequence is identical. What changes is the documentation, verbalization, and consequence structure. Every driver should run the seven steps daily with the same discipline they used on the CDL test — the only shortcut for a working driver is the verbalization requirement. The observations still matter every morning of every year of a career.
From a Fleet Trainer who runs CDL prep and driver refreshers on a 78-tractor fleet
Drivers who've been on the road ten years usually can't run the seven-step procedure from memory anymore. They know the components, they know the numbers, but the sequence gets sloppy. Static leak, applied leak, low-air, spring brake — those four are supposed to run one after another with the engine off, and half our veterans were restarting the engine between steps because the pressure gauge felt low and it seemed careful.
We built the sequence into digital pre-trips two years ago. The app doesn't let step 3 record until step 2 was completed with the engine off, and it captures the PSI reading at each step. Our air-brake OOS violations dropped 62% in the first year, and driver refresher training got shorter because the workflow taught the sequence continuously. What used to be a memorization exercise every three years became a habit reinforced every morning.
Frequently asked questions
What are the 7 steps of the DOT air brake test?
The 7-step DOT air brake test is the standard CDL skills-test procedure used to verify commercial vehicle air brake systems. Step 1: Build air pressure to governor cut-out — engine running, allow pressure to build to 120–125 psi; verify cut-in around 95–100 psi. Step 2: Static air leakage test — engine off with key on and wheels chocked, release parking brake, wait for initial drop, time 1 minute; straight truck max 2 psi/min, combination max 3 psi/min. Step 3: Applied air leakage test — engine off, fully apply service brake, hold 1 minute after initial drop; straight truck max 3 psi/min, combination max 4 psi/min. Step 4: Low-air warning test — fan service brake to reduce pressure; warning must activate at or before 60 psi per 49 CFR 393.52. Step 5: Spring brake activation test — continue fanning; parking and trailer air supply valves must pop between 20 and 45 psi. Step 6: Parking brake hold test — restart engine, rebuild pressure, remove chocks, engage parking brake, low gear, gentle pull — vehicle must not move. Step 7: Service brake response test — release parking brake, move at approximately 5 mph, apply service brake firmly, check for no pull, no unusual feel, no delayed stopping. Steps 2 through 5 must all be performed with the engine off — this is what makes the leakage measurements and warning-threshold observations valid.
At what PSI should the low-air warning activate?
The low air pressure warning device must activate at or before 60 psi per 49 CFR 393.52. This applies to both visual warning (dashboard light) and audible warning (buzzer or bell). The purpose is safety-critical: below 60 psi, the driver may lose air pressure without knowing it, and if pressure continues dropping, spring brakes will engage suddenly — potentially causing loss of control, wheel lockup, or jackknife in a combination vehicle. To test this correctly, the engine must be off (key on) so the compressor isn't replacing lost pressure while you fan the service brake. Slowly fan the pedal to gradually reduce system pressure, watching the primary gauge. The warning must activate before the gauge crosses 60 psi — not exactly at 60, but AT OR BEFORE. If the warning activates later than 60 psi, the low-air warning switch or the warning device itself needs replacement, and the vehicle must not be operated until repaired. Common failures at this step: dead bulb in the warning light, defective buzzer, low-air warning switch out of calibration, or the driver fanning too fast to accurately observe when the warning activates. State CDL handbooks may vary slightly in required verbalization, but the 60 psi federal threshold under 49 CFR 393.52 applies uniformly.
Why must the engine be off during the air brake test?
The engine must be off (with key in on position) for steps 2, 3, 4, and 5 of the 7-step test because the air compressor would otherwise invalidate the measurements. With the engine running, the compressor is engaged and pumping air continuously. It senses any pressure drop and immediately builds pressure back to governor cut-out. Whatever the system loses to leaks during the test, the compressor replaces in real time. The gauge reads stable, warning devices never activate at threshold, and spring brakes never pop at spec range — because compressor is holding pressure above thresholds artificially. The test appears to pass, but nothing has actually been measured. With the engine off, the compressor is inactive. Any leak reveals itself as gradual pressure loss over the 1-minute window. Low-air warning threshold and spring-brake pop-out points become observable at their real activation pressures. This is what the CDL skills test verifies, what daily pre-trip under 49 CFR 396.13 catches, and what fleet air-brake inspection templates should capture. The confusion sometimes comes from drivers seeing mechanics leaving engines running during shop diagnostics — but that's a different test checking component response with compressor support, not verifying pressure retention. For a valid 7-step test, the engine must remain off for steps 2 through 5. Restarting between them invalidates the sequence.
What's the difference between the CDL air brake test and daily pre-trip?
Both use the same 7-step sequence and same underlying physics, but differ in context, documentation, and consequence. The CDL skills test is the formal in-vehicle examination administered by a licensing office examiner to verify a driver can safely operate an air-brake commercial vehicle. It requires full verbalization — the examiner must hear the driver stating what is being tested, observed, and what the reading means. Failure results in an "L" restriction on the CDL, legally prohibiting the driver from operating any CMV equipped with air brakes — a severe career limitation since most commercial trucks use air brakes. The test is administered once at initial CDL licensing (with air brake endorsement) and repeated if a driver later needs to remove the "L" restriction. The daily pre-trip under 49 CFR 396.13 uses the same 7-step sequence but in the practical context of preparing a specific vehicle for operation on that specific day. Verbalization is not required; results are recorded on the DVIR under 49 CFR 396.11. The purpose is to verify the air brake system is safe for operation before dispatch; failure means the vehicle cannot be dispatched until defects are repaired. The technical sequence is identical — same benchmarks, same engine-off requirement for steps 2 through 5, same PSI thresholds. What changes is who is watching, what has to be spoken aloud, and what happens after. Drivers should run daily pre-trip with the same technical discipline as their original CDL test.
How does HVI help fleets standardize the daily air brake test?
HVI runs the 7-step DOT air brake test as a required digital pre-trip workflow, executed in sequence with each step gated behind completion of the previous one — so drivers can't record step 3 results until step 2 is properly completed with engine off. PSI readings are captured numerically per step per vehicle per driver, creating a wear-trend history so fleet mechanics can see when a specific vehicle's leakage rate is drifting toward the 2 psi/min or 3 psi/min limit before it crosses. Photo evidence required at critical steps: dashboard warning light active at step 4 proves low-air warning functioned; spring-brake valve popped out at step 5 proves activation range. Every pre-trip preserves GPS location, timestamp, engine-state confirmation, and driver sign-off, meeting DVIR requirements under 49 CFR 396.11. When a brake defect surfaces at roadside inspection, the daily pre-trip history shows exactly when the pattern started — often days before, when the leakage rate first drifted. For fleet trainers like Carl B., building the sequence into digital pre-trips reduced air-brake OOS violations 62% in the first year by teaching the sequence continuously instead of relying on periodic retraining. Published customer data shows fleets on HVI report approximately 25% lower annual maintenance cost with typical payback around 3 months.
Seven steps, four PSI benchmarks, one non-negotiable engine-off rule. Turn every morning pre-trip into a measured air brake test.
HVI runs the 7-step sequence as a digital pre-trip workflow with PSI capture, photo evidence, and engine-state gating. Live in under two weeks. One prevented OOS event ($5K–$15K all-in) typically pays for the first year.
No credit card · 7-step pre-trip templates ready on day one