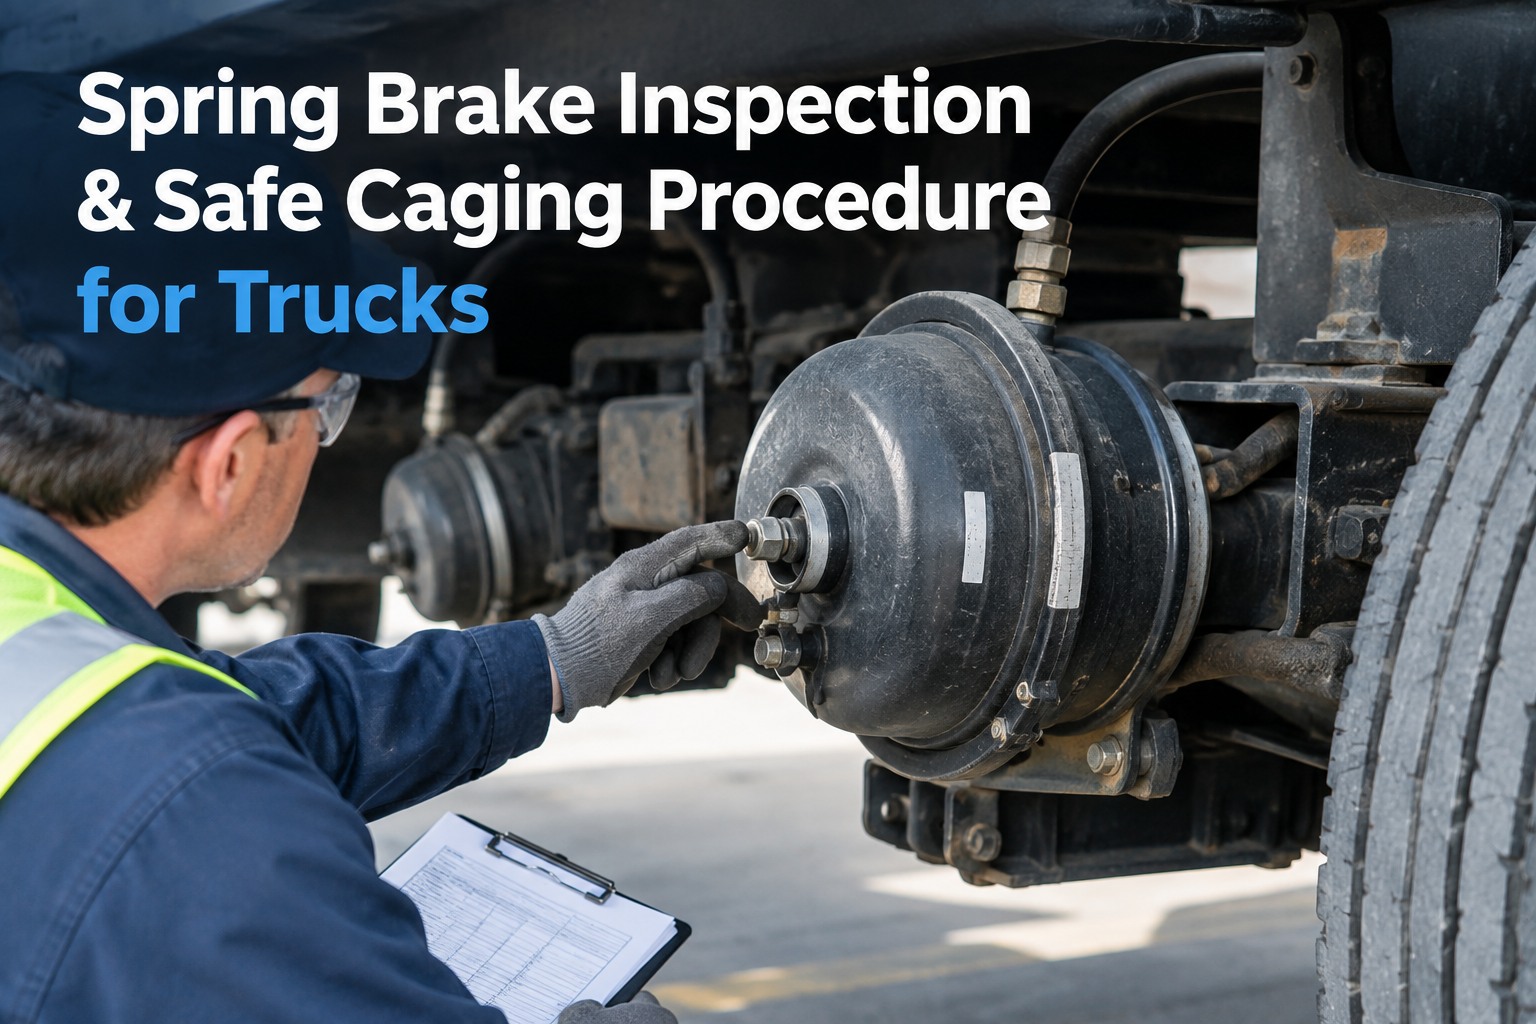
A spring brake chamber isn't just another part on the truck — it is a coiled steel spring holding hundreds of pounds of stored force, sitting inches from the ground, quietly corroding through every winter. That's why a proper spring brake inspection is one of the few checks where a rushed, tick-box walkaround can put a technician in the hospital, not just a truck out of service. The fix is a real record: what was checked, that the caging was safe, and proof it was done right. See a safe caging check captured as a record
The spring is under load even with the engine off
A parking brake spring is pre-tensioned from the factory and stays that way. It doesn't need air, a running engine, or a driver in the seat to release with enough force to break a wrist or worse. Three rules never bend, no matter the deadline:
Here's the thing every experienced technician learns the hard way: the chamber that fails you isn't the one making noise. It's the rusted, ignored one on the drive axle that looked fine from ten feet away. Below is how to actually read a spring brake, the caging step-flow that keeps hands intact, and how to turn all of it into a record you can stand behind in an audit.
Spring brake inspection points that actually matter
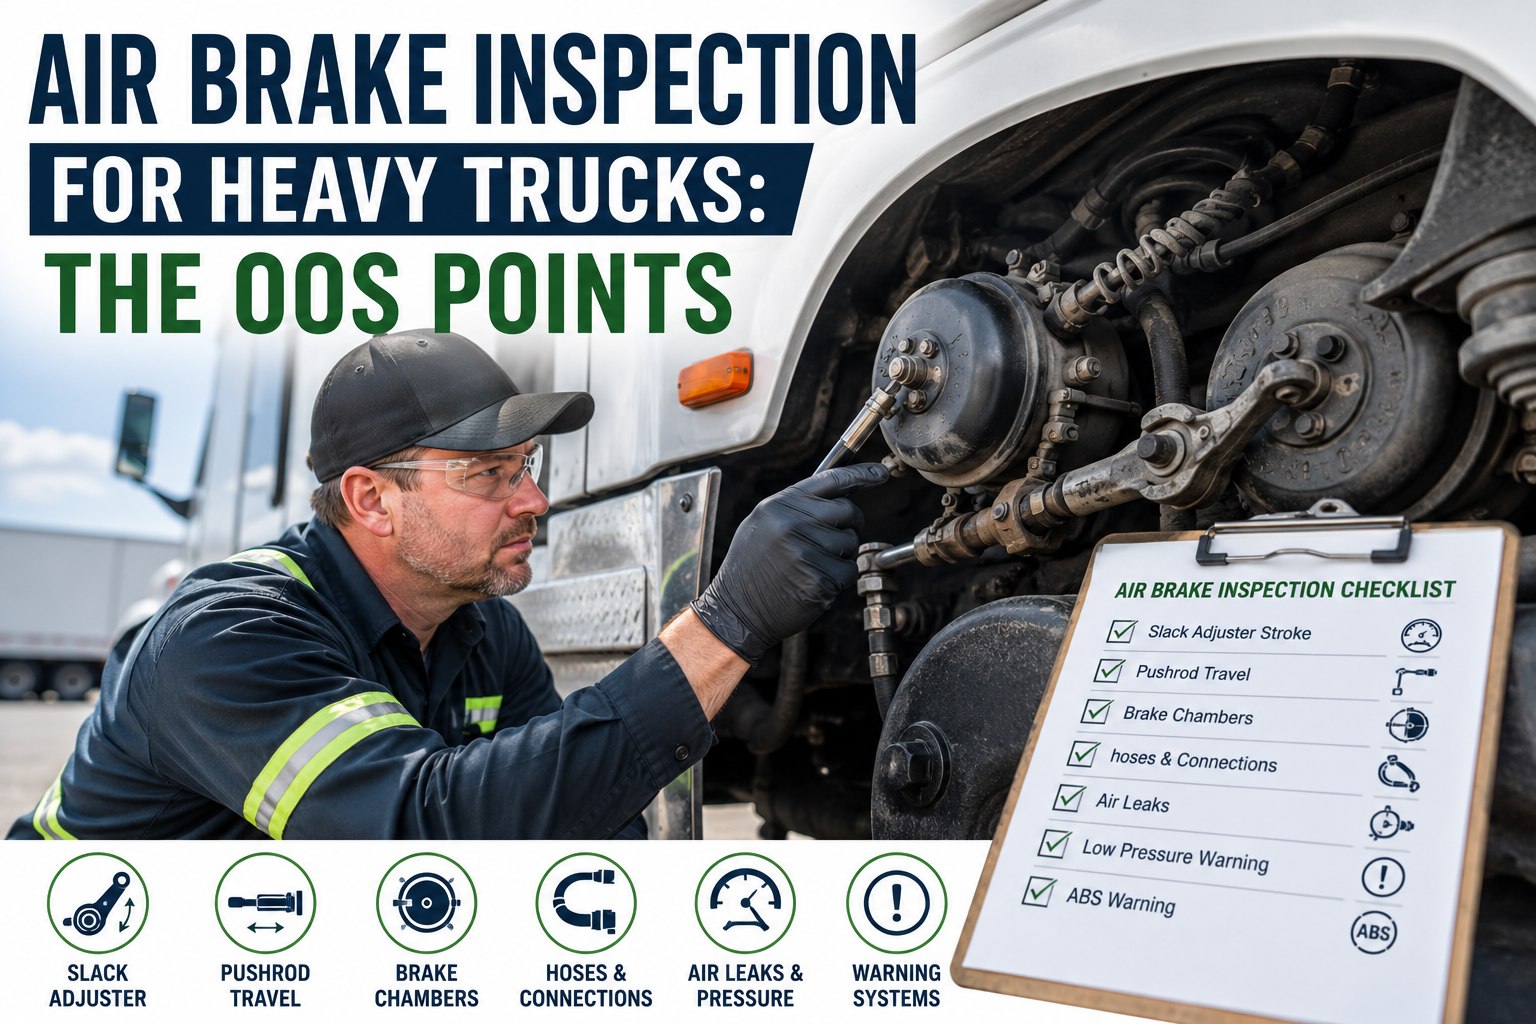
A spring brake inspection isn't one glance — it's a short list of specific failure modes, each with its own consequence. Miss the clamp band and you miss a chamber that can separate under load. Miss the corrosion and you're one hard winter from a housing crack. Work these seven, every time, on every chamber.
Chamber body & corrosion
Scan the housing for rust-through, pitting, dents, and any non-manufactured hole or crack. Under CVSA out-of-service criteria, a crack or hole that isn't from the factory puts the vehicle out of service. Heavy surface corrosion is the early warning — it's the drive-axle chambers, closest to road spray, that go first.
Clamp band condition
The clamp ring holds the two halves of a combination chamber together against spring force. A cracked, corroded, or loose band is a chamber waiting to come apart. If the band is damaged or suspect, the unit comes off — carefully — and gets replaced, not re-torqued.
Mounting security
Check the mounting stud nuts and bracket for looseness, missing hardware, and missing washers between nut and bracket. A loose air chamber or a missing mounting bolt is a stated out-of-service item on its own — and a loose chamber wrecks pushrod geometry, throwing the brake out of adjustment.
Air lines & fittings
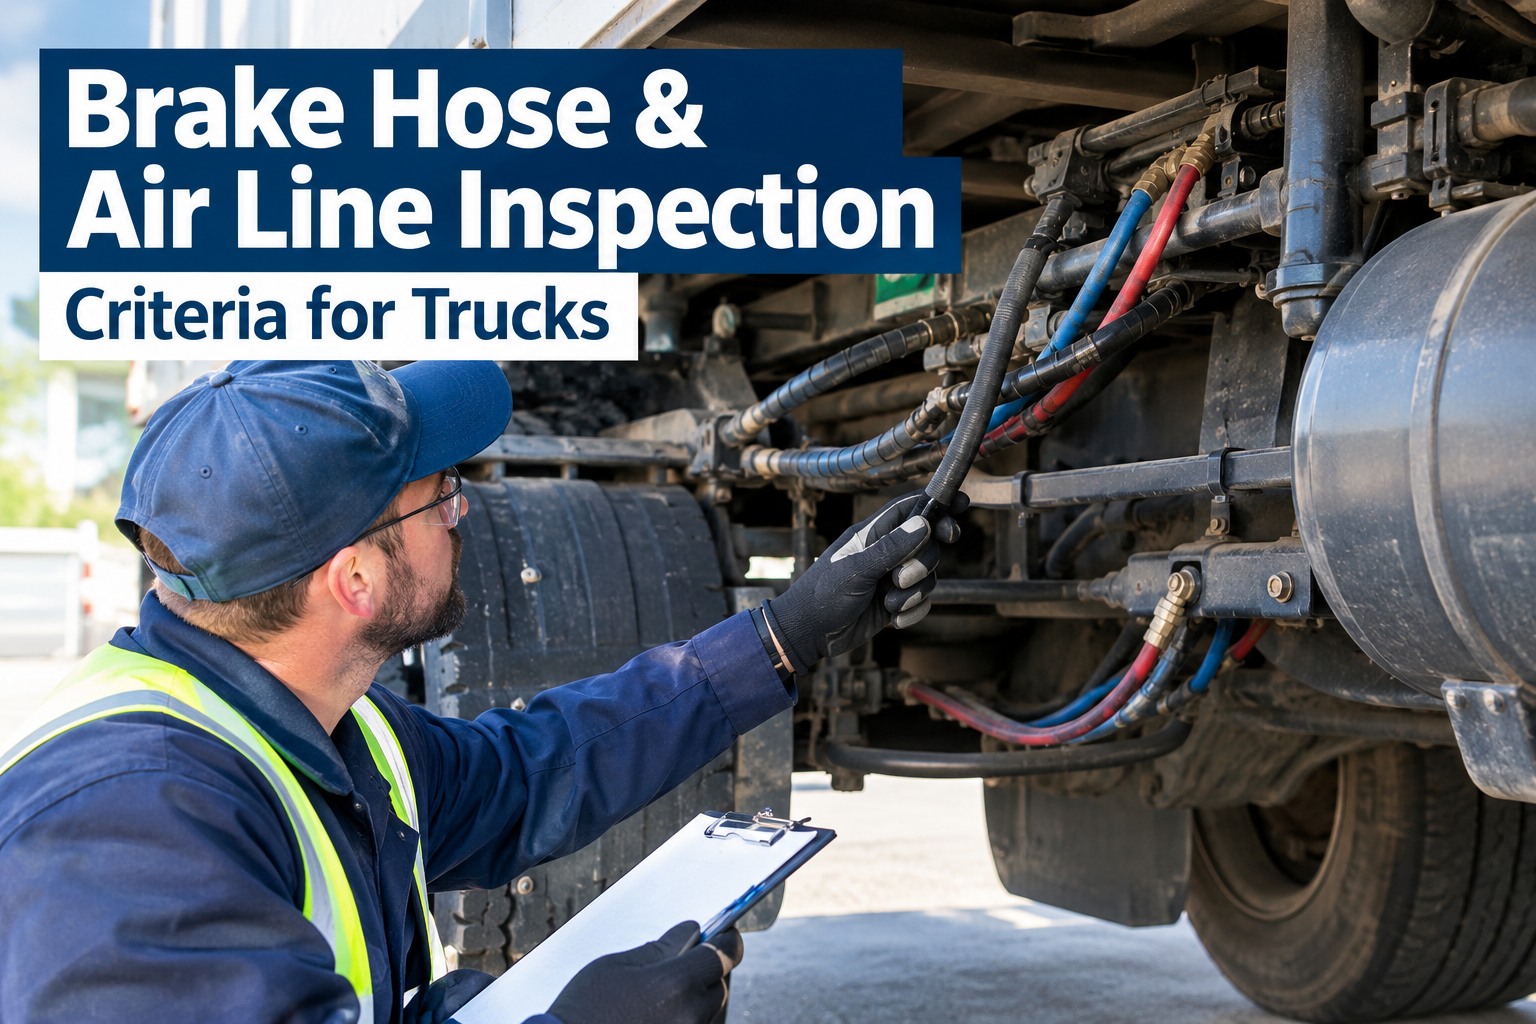
Follow every hose and fitting into the chamber. Look for abrasion, cuts, kinks, and chafe points where a line rubs the frame. Any damage through the outer reinforcement ply, or a hose crimped enough to restrict airflow, is a defect. Soapy water — never oil — finds the slow leaks a listen won't.
Pushrod & release function
The pushrod should sit square, move freely, and fully retract on release. A bent rod, a rod that doesn't return, or one that binds points to internal trouble — a broken return spring, a failing diaphragm, or a seized slack adjuster feeding back into the chamber.
Caging bolt presence & storage
The caging (release) bolt lives on the chamber for a reason. Confirm it's there, clean, and the threads are good. A missing or seized caging bolt means no safe way to release the spring in a roadside emergency — and a caging bolt found installed on a rig in service is a flag that the brake's been manually disabled.
Heat & drag warning signs
A chamber that won't fully release drags the brake, and a dragging brake makes heat. Discoloured drums, a hot hub after a short run, a burning smell, or a wheel that's noticeably warmer than its mates all point to incomplete release — the kind of slow failure that ends in a drum crack or, at worst, a wheel-end fire. Treat any heat signature as a stop-and-diagnose, not a note-for-later.
Any one of these findings can be the difference between a truck that passes Brake Safety Week and one that's grounded at the scale. Book a demo to see these captured as a structured template
The safe caging procedure, step by step
Caging manually compresses and locks the parking spring so the brake releases — the only safe way to service or move a unit with a failed spring brake. It is an emergency-and-repair procedure, not a driving state. Done with the right tool and no shortcuts, it's routine. Improvised with an impact wrench and a rushed hand, it's how people get hurt. Book a demo to see caging steps built into the mobile inspection
-
1Park, chock, and depressurise
Level ground, wheels chocked, and the air system drained to zero on that circuit. Confirm no residual pressure remains — a sudden release of trapped air can injure and damage components.
-
2Inspect before you touch
Check the chamber for cracks, corrosion, and a damaged clamp band. Do not cage a damaged unit — if the housing or band is compromised, it comes off and gets replaced. This inspection is the go/no-go gate for the whole procedure.
-
3Fit the approved caging bolt
Remove the dust plug, take the manufacturer's release bolt from its holder, and seat the T-end into the spring plate groove. Use the correct bolt and washer — skipping the washer lets the nut pull through the housing.
-
4Compress by hand — never an impact tool
Tighten the nut manually with a hand wrench and caging socket. Tension climbs until the spring bottoms out. An air or impact wrench can damage the unit and release the spring violently — this step is manual, always.
-
5Confirm the cage, then proceed
With the spring mechanically held, the brake is released. Now — and only now — is it safe to service or reposition. The extended caging bolt is your visual proof the spring is contained. Uncage and function-test before the unit ever returns to service.
Caging doesn't legally require a certified mechanic in most jurisdictions, but it absolutely requires training, the correct tool, and respect for what's inside the housing. A vehicle with a caged brake can be nudged to reposition — it cannot be driven on the road. If any doubt exists about the unit's condition, it comes out of service. Book a demo to build a caging checklist your whole team follows
Testing parking brake holding and release
Inspection finds the visible defects; the function test finds the ones you can't see. Two checks close the loop on a spring brake — does it hold, and does it fully let go.
With the parking brake applied and a gentle pull in low gear against the spring, the vehicle should not move. A truck that creeps forward has springs that have lost tension or a chamber that isn't fully applying — the parking brake is no longer doing its one job. This is the check that matters most on a grade.
Charge the system and release the parking brake. The spring should retract fully and the pushrod return all the way home. Incomplete release means brake drag — wasted fuel, cooked linings, and heat that builds until something cracks. A brake that half-releases is a slow fire, not a minor gripe.
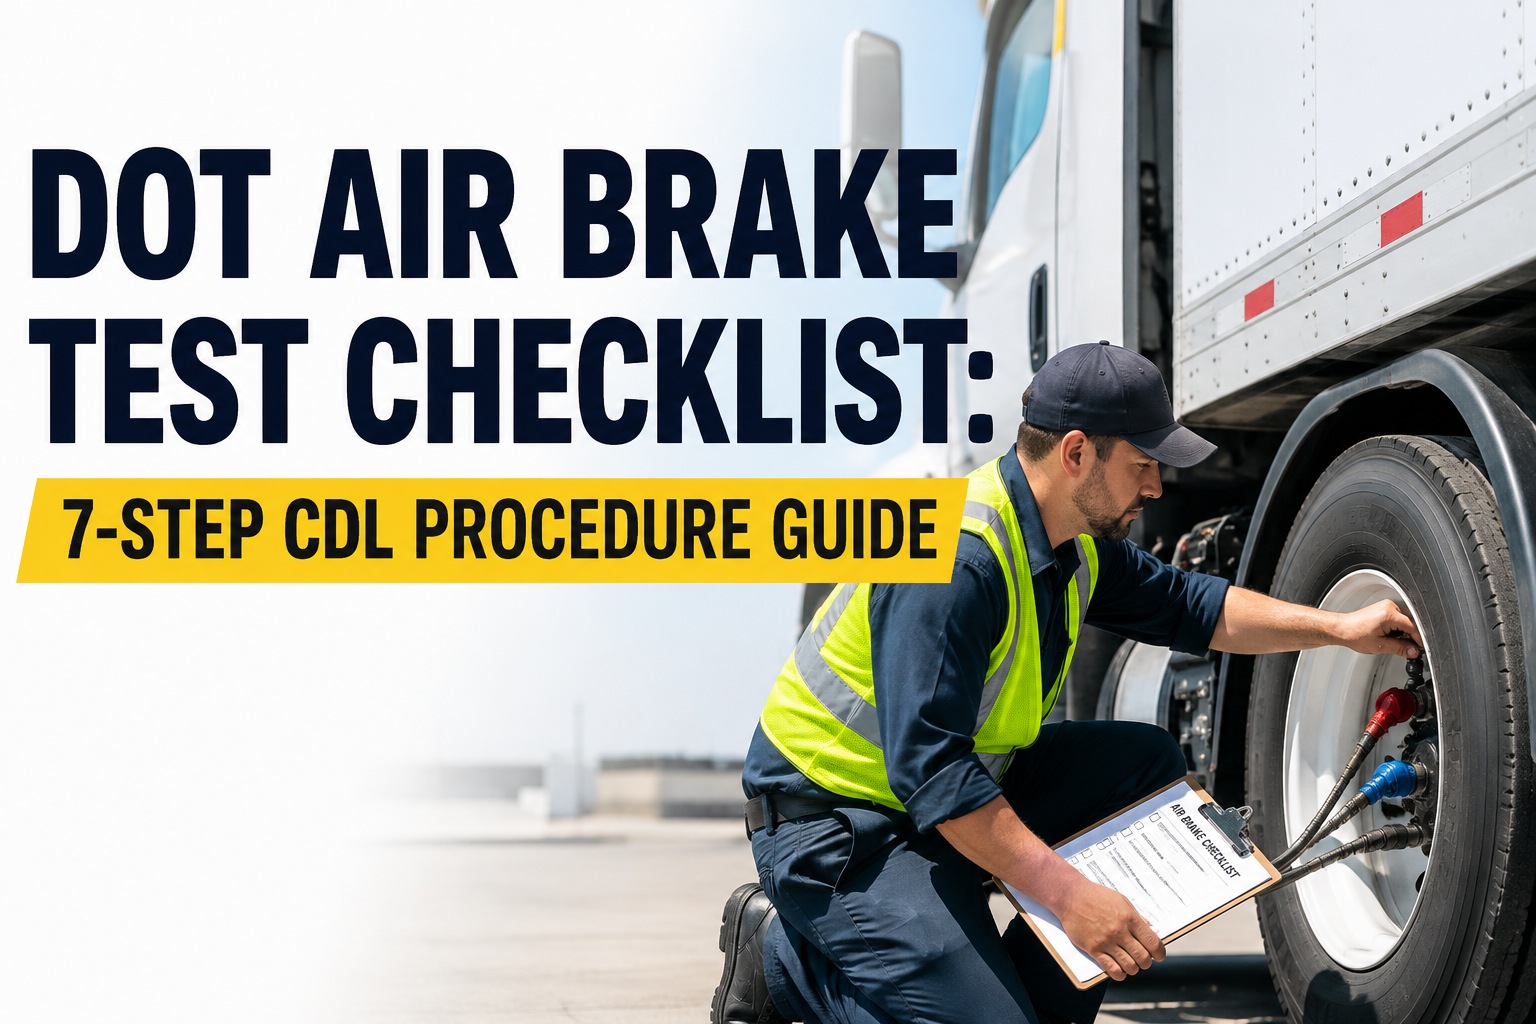
Both tests belong in the record with a pass or fail and the measurement behind it, not a mental note that evaporates by lunch. Book a demo to see holding and release logged per axle
The spring brake inspection checklist
This is the check that keeps the stored-energy hazard from becoming an injury — the chamber conditions that fail a unit, plus the safe way to handle it. Use this spring brake checklist online free, so every finding gets a photo and a record, not just a checkmark.
Documenting spring brake defects the audit-ready way
A spring brake inspection that lives only in a technician's head, or on a form that gets filed and forgotten, can't answer the questions that matter after the fact: was this chamber flagged before it failed? Was the corrective work ever finished? A photo of a rusted clamp band, tied to the asset with a date and a technician's name, answers all of it in seconds.
That's the gap between a form and a system: a form records that a box was ticked; a record proves the condition, the measurement, and the fix. It's also what lets a maintenance manager spot the chamber that keeps flagging before it becomes a roadside failure. Start free and keep a full defect history per chamber
From a fleet maintenance manager who's seen it go wrong
The one that stuck with me wasn't a failure — it was a near-miss. A newer tech went to service a drive-axle chamber that was rusted solid and started forcing the clamp band before he'd caged it. My lead caught him mid-swing. That housing let go on a bench two weeks later during disposal and put a dent in a toolbox. That's the force we're talking about.
What changed things for us was making the inspection prove itself. Every chamber gets a photo now, corrosion flagged, caging bolt confirmed. If a unit's questionable, the form won't let you pass it — it opens a work order. We stopped losing that information between the yard and the office.
Frequently asked questions
What is caging a spring brake chamber, and when is it needed?
Caging is manually compressing and mechanically locking the parking spring inside the chamber, using the release (caging) bolt supplied with the unit — so the powerful spring is held back and can't apply. You cage a chamber to move or service a vehicle that's lost air pressure, or before removing a chamber. It's the safe way to neutralize the stored spring force before anyone works on the unit.
Why is it dangerous to open or cut a spring brake chamber?
Because the parking spring inside holds a large amount of stored mechanical energy at all times — whether the truck has air or not. Cutting, grinding, or forcing open a chamber can release that spring violently, and it can launch parts with enough force to cause serious injury or death. That's why a chamber is caged (or replaced as a sealed unit) and never opened — the energy is always there.
What spring brake chamber defects put a truck out of service?
Under CVSA's North American Standard Out-of-Service Criteria, several conditions apply: a non-functioning or broken parking-brake spring, an audible air leak at the chamber, a chamber not securely mounted, a cracked or damaged housing, and mismatched or wrong-size chambers across an axle. Any of these can place the truck out of service on the spot — which is why they're worth catching at inspection, not at the roadside.
How do you know if a spring brake isn't releasing fully?
The clearest sign is brake drag and the heat that comes with it. When a spring brake doesn't fully retract after release, the linings stay in light contact with the drum, so that wheel runs hot, wears fast, and can smoke or smell on a long run. Causes include a weak or broken spring, a sticking mechanism, or low air pressure. A release test — and a check for uneven heat — catches it.
Does a driver need to be certified to cage a brake chamber?
In most jurisdictions caging doesn't legally require a certified mechanic — a trained, competent person can do it. But it's a high-risk task, so it should only be done by someone who understands the stored-energy hazard, uses the correct caging bolt, and follows the manufacturer's procedure. Training and documentation matter more than a certificate: the record that a caging was done correctly is what protects the fleet.
Give every spring brake inspection a record it can stand on
HVI standardises your spring brake templates, captures defect photos and measurements against the exact chamber, turns any flagged condition into a corrective work order, and keeps the full inspection history per asset — so a tick-box becomes proof, recurring defects become visible, and audit day stops being a scramble. Live for your team in days, not months.
No credit card · Mobile-first for the shop floor · Templates ready on day one