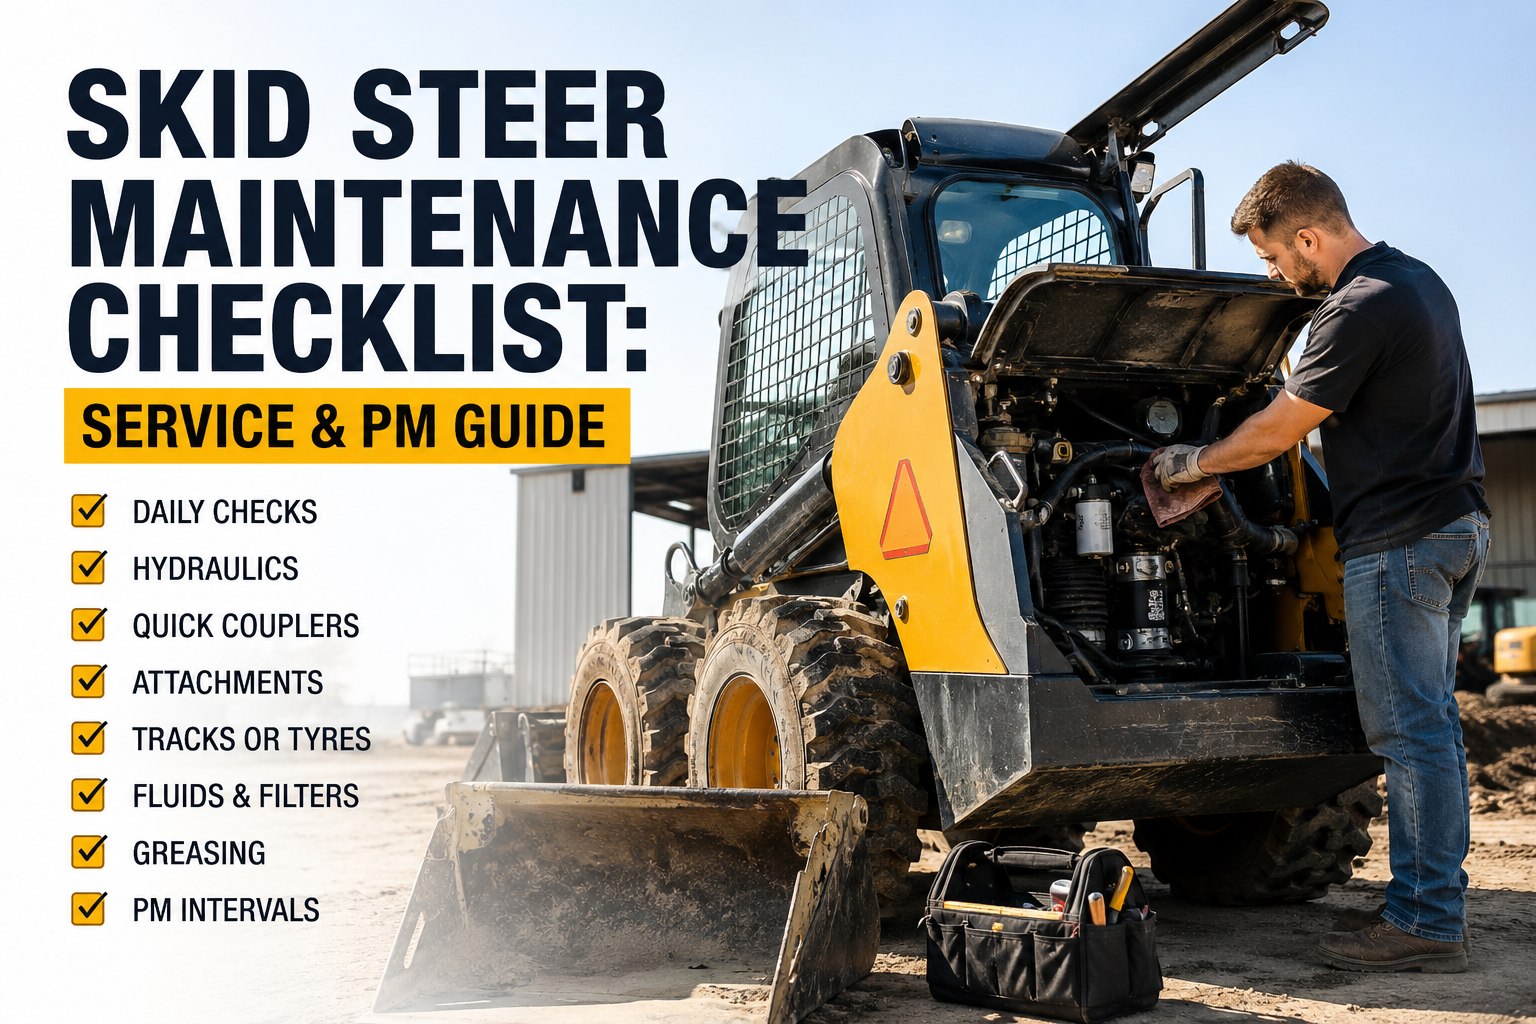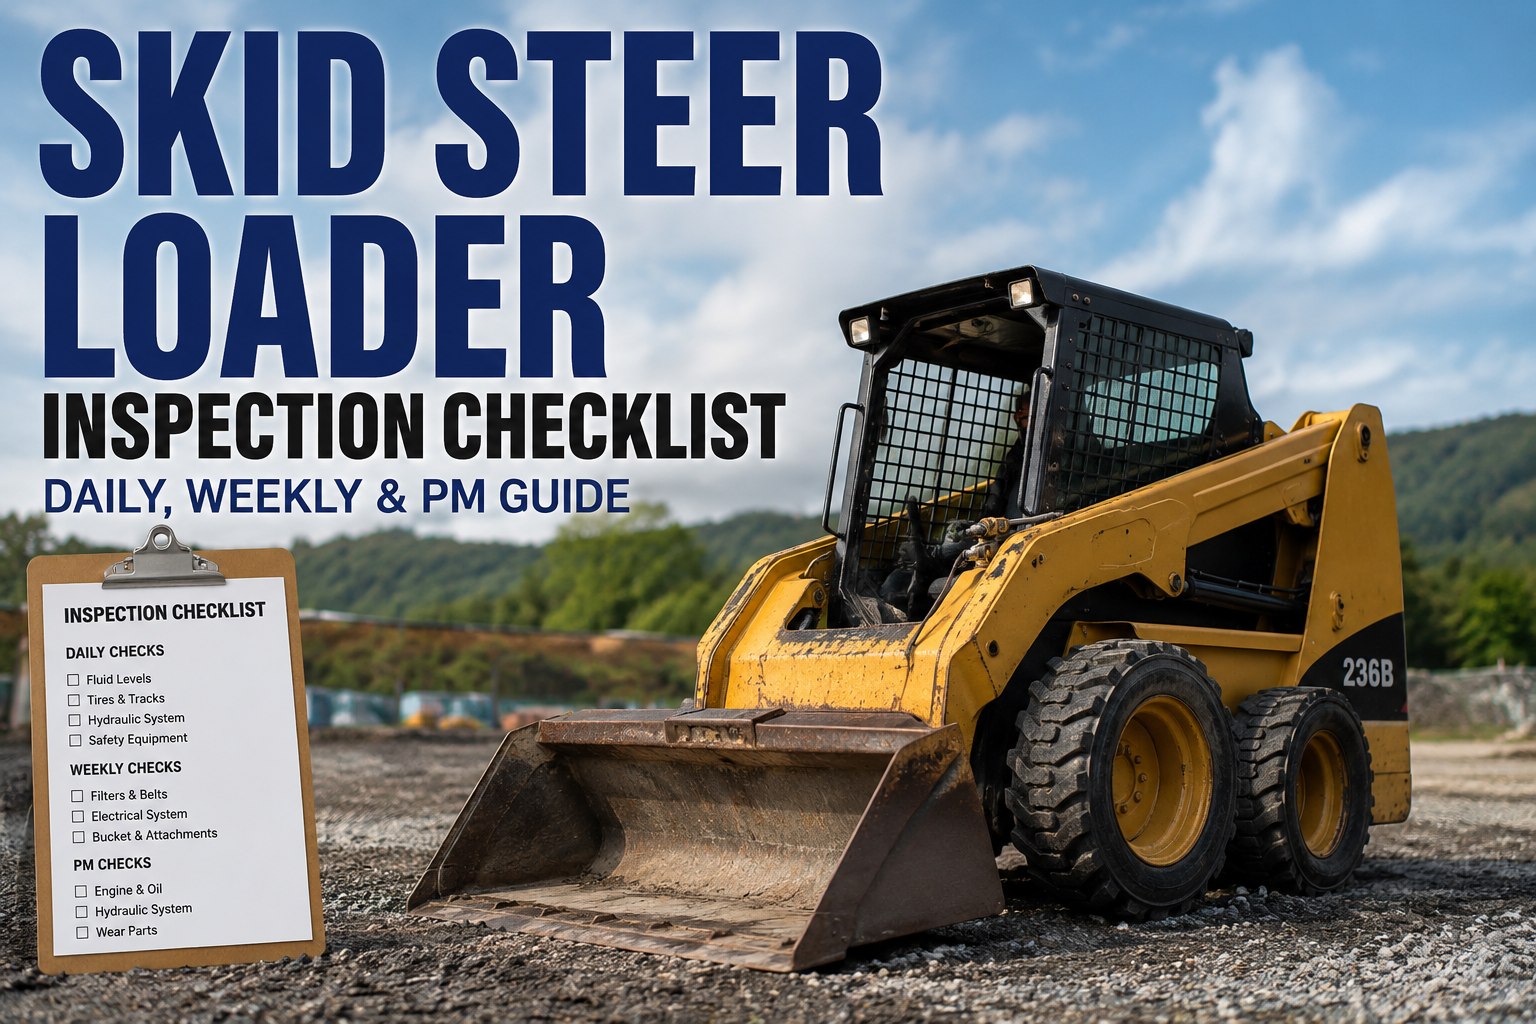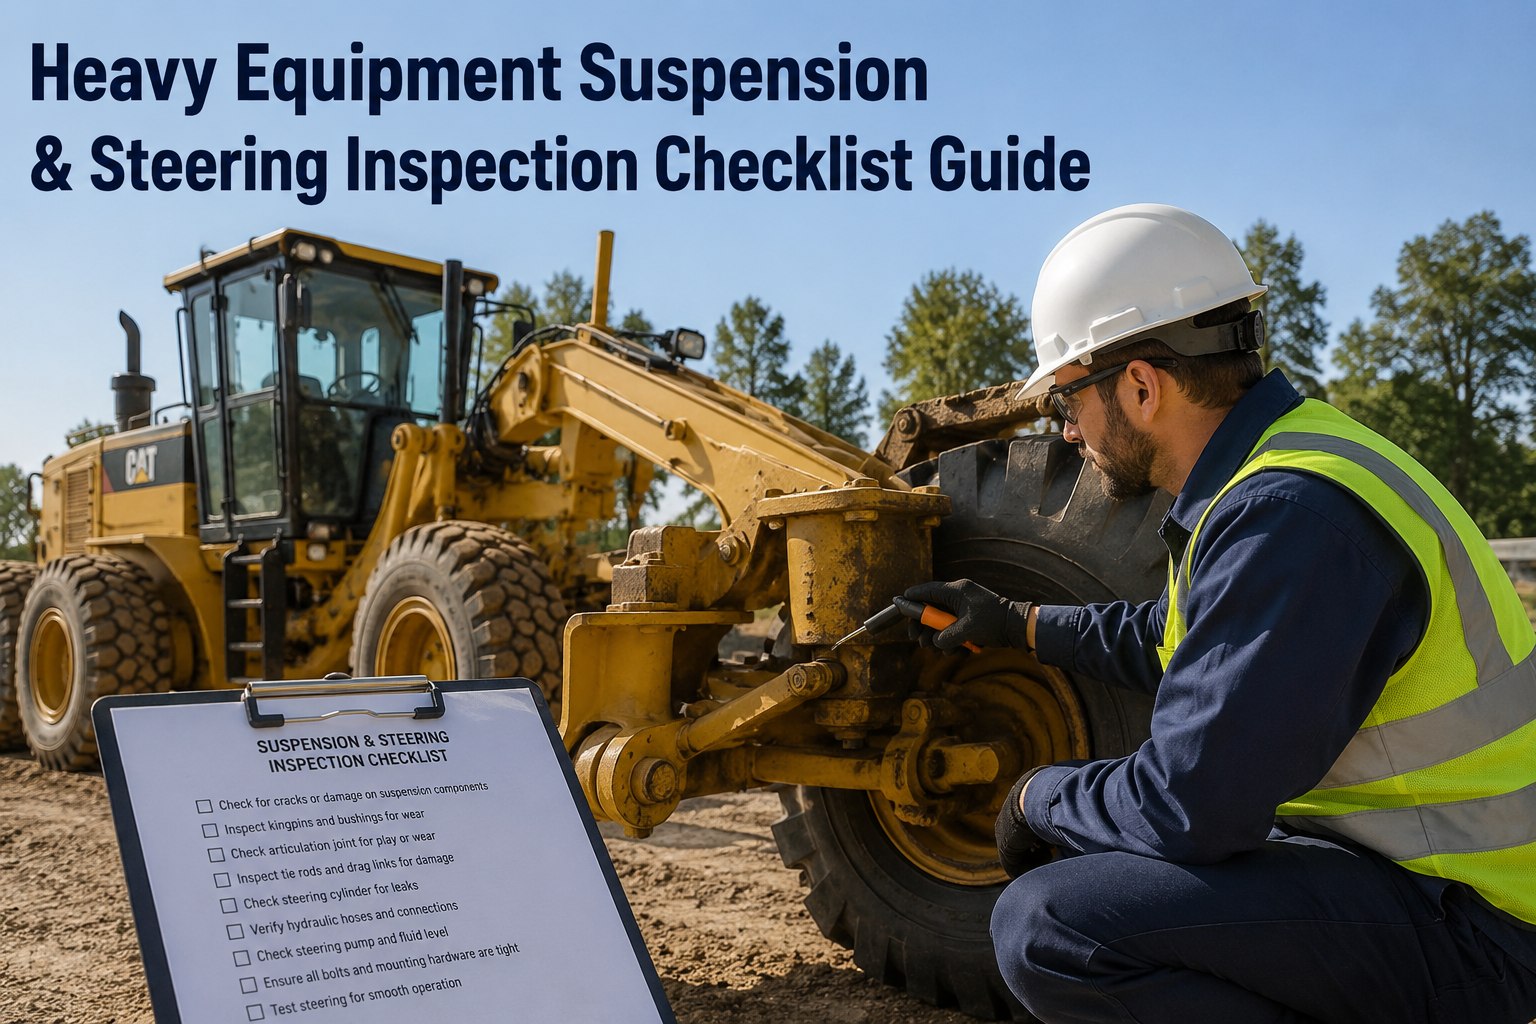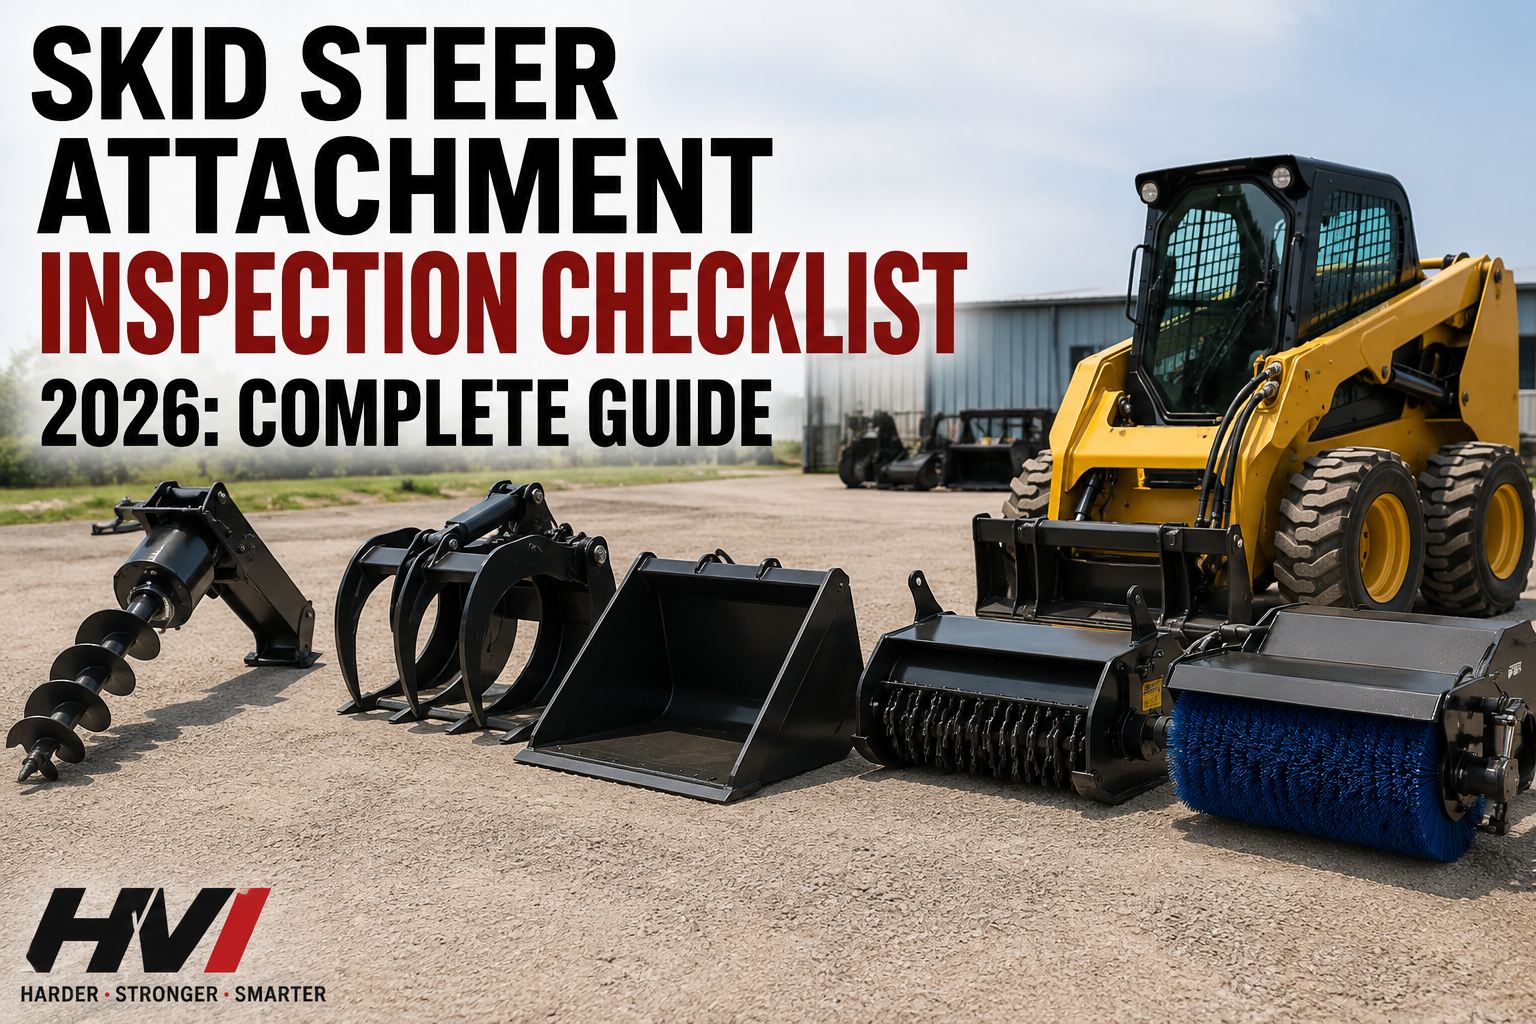
A skid steer attachment weighs 300 to 3,000 pounds and connects to the machine by a coupler that can fail in under a second if the pins aren't seated. That's the reality behind skid steer attachments inspection: it's not just a maintenance ritual, it's the last check between a productive shift and an attachment falling off mid-lift. This guide walks the 17 checks every operator should hit before each attach change — or book a 15-min HVI demo to see the digital version your operators can complete in three minutes.
The Attachment Inspection Card — Every Attach Change
Coupler. Hydraulics. Wear. Structure. Four zones, 17 checks, one signature.
A skid steer attachment inspection covers four zones: the quick-attach coupler (pins fully seated, latch springs intact, no stress cracks), the hydraulic connections (pressure released, couplers clean, hoses seated, no seepage), the attachment-specific wear points (cutting edges, teeth, bearings, rotating parts, grease points), and the safety & structural check (welds, cracks, labels, compatibility). Total: 17 items, 3 minutes, done before every attach change — not once per day.
The single most-cited cause of skid steer attachment injury: a coupler that looked locked from inside the cab but wasn't fully seated. The operator lifts, the attachment shifts, and 800 pounds of grapple lands next to somebody's boot. Every rule in this guide traces back to preventing that one moment. And every attachment on your yard has its own quirks — a mulcher head fails differently than a sweeper, and both fail differently than a bucket. Inspect them all like they can hurt someone, because any of them can.
The Coupler — Zone 01The 30 seconds that stop the most dangerous failure on the machine
Debris in the coupler socket. Weakened latch springs. Hairline cracks in the mount plate. Pins not fully seated because the operator didn't cycle the lever twice. Any one of these lets a $4,000 attachment separate from the machine while it's carrying weight. This is a 30-second check that prevents a fatality.
- Pins fully driven through both sides
- Latch springs return under thumb pressure
- No hairline cracks around mount plate
- Debris cleared from coupler socket
- Visual confirm through cab window after lock
Debris packed in the socket prevents full pin engagement — the machine says "locked" but the pins are half-seated. Stress fractures start at the corner welds after 2,000+ engage cycles. Latch springs fatigue and stop returning cleanly.
Lift the attachment 6 inches, tilt the coupler forward, then back. Watch the pins through the cab window. If either pin appears to shift or the attachment moves independently of the coupler frame, unlock and re-seat — do not proceed to work.
Hydraulic Connections — Zone 02The pressure release step nobody wants to skip after the first burn
Hydraulic pressure at operating temperature runs 2,500 to 3,300 PSI. A pinhole in a hose at that pressure delivers fluid at velocity high enough to inject through skin without breaking it. The pre-op hydraulic check is 45 seconds. Skipping it is how techs end up in an ER with hydraulic fluid injection injuries.
- Hydraulic pressure released before connect
- Couplers wiped clean — no visible debris
- Hoses fully seated with audible click
- No fresh seepage under fittings on cold start
Trapped pressure at disconnect blows the coupler out of your hand and contaminates the fitting with grit. Once dirt gets past the seal, the pump ingests it and the machine is on borrowed time. O-rings crack from age; check every 500 hours whether they leak yet or not.
To trace a suspected fine leak, run the attachment briefly and pass a piece of cardboard along the fittings and hoses. Fluid marks show up on cardboard where they don't show on skin. Never use your bare hand — that's how injection injuries happen.
Attachment-Specific — Zone 03Every attachment has its own weak point
Above the coupler, the two failure zones diverge by attachment. Here's the wear inspection for the 5 attachments most fleets actually run. Each takes about a minute.
- Rock teeth for chips, cracks, missing bolts
- Auger bit alignment (straight, not bent)
- Drive motor for leaks at output shaft seal
- Anti-seize on all pin connections
- Hex shaft engagement with drive coupler
- Pin/bushing play at each jaw pivot
- Cylinder rod polish (no scoring or pitting)
- Cylinder mount pins secured with cotter or clip
- Tine tips not curled or chipped
- Cross-bracing welds crack-free
- Cutting edge above the wear indicator line
- Tooth pockets not deformed or wallowed
- Tooth pins/retainers secured
- Side plates and rear wall no cracks
- Weld seams intact at bucket-to-mount
- Every cutting tooth tightened to torque spec
- Rotor balance (no wobble at low idle)
- Bearing housings dry, no seal leaks
- Push bar and hood latch secure
- Belt tension in spec (if belt-driven)
- Bristle length within spec (not worn to core)
- Broom drum spins freely under hand pressure
- Hydraulic motor no leaks at shaft seal
- Angle adjustment locks positively
- Debris collection hopper (if equipped) latched
- Fork heel thickness above 90% original
- Fork tips not bent or worn to a wedge
- Locking pins that hold forks to carriage
- Carriage plate crack-free at mount points
- Load capacity plate legible & matches machine
The Failure-Mode MapWhat breaks, on which attachment, and what stops it
Every attachment has one or two dominant failure modes. Learn the top one for each and 80% of defects get caught on the walkaround, not in the field.
| Attachment | Top Inspection Point | Common Failure Mode | Fix / Action |
|---|---|---|---|
| Quick-Attach Coupler | Pin engagement, latch springs, cracks | Pins not fully seated; debris in socket | Clear debris, cycle lock lever twice, visual confirm |
| Hydraulic Hoses | Coupler cleanliness, fitting seepage | Contamination at connect; O-ring fatigue | Wipe couplers before every connect; replace O-rings @500h |
| Auger | Rock teeth, drive coupler engagement | Chipped/bent teeth; motor shaft seal leak | Replace teeth as a set; reseat coupler with anti-seize |
| Grapple | Pin/bushing play, cylinder rod condition | Wallow at pivot pins; cylinder rod pitting | Replace bushings in pairs; polish or replace rod |
| Bucket | Cutting edge, tooth pockets, weld seams | Edge worn below wear line; deformed pockets | Replace edge before wear indicator; weld-repair pockets |
| Mulcher Head | Tooth torque, rotor balance, bearings | Loose teeth thrown at speed; bearing failure | Torque every tooth to spec; balance rotor at 500h |
| Sweeper | Bristle length, motor seal, drum bearings | Bristles worn short; motor overload from binding | Replace bristle sections; check drum bearing pre-op |
| Pallet Forks | Heel thickness, carriage plate welds | Heel wear below 90%; carriage plate cracks | Retire forks below spec; recertify carriage annually |
The Daily Attachment CardThe 3-minute walkthrough — every attach change, every operator
This is the sequence to run every time an attachment changes hands, changes machines, or comes back from a job. It doesn't matter if it was inspected this morning — if it left the yard, it gets re-inspected on return.
- Release hydraulic pressure at aux couplers
- Wipe both machine and attachment coupler faces
- Visual: any new damage since last use?
- Confirm attachment matches machine hydraulic flow
- Cycle lock lever twice — ensure spring return
- Confirm hydraulic click on both hoses
- Visual pins through cab window
- Tilt-test 6" lift, watch for shift
- Slow function cycle in open area — no load
- Cardboard test any suspected leak point
- Attachment-specific check (teeth, bristles, etc.)
- Sign the pre-op card, timestamp, move to work
Book a demo to see this checklist as a mobile flow — three minutes on a phone, photos and timestamps attached, defects route to shop automatically.
Rental Fleet RealityEvery attachment leaves the yard — some come back damaged
Rental yards live and die by attachment condition. An attachment that goes out with a hidden crack comes back as either a warranty dispute or a customer injury claim — both cost more than the attachment. The rental-specific inspection rhythm:
Complete pre-op card signed by yard tech AND customer. Photo of every wear surface. Damaged attachments don't leave — they get tagged and rotated to repair.
Same card, same photos, compare to dispatch. New damage triggers immediate repair estimate. This is where the rental margin lives — catch damage before the customer drives away.
Full attachment PM — grease points, pin/bushing measurement, cutting edge remaining life, cylinder rod condition. Rotating stock through PM prevents cascading failures.
Try HVI free — digitize the dispatch/return card so your yard tech signs, your customer signs, and every photo lands in the attachment's history — disputes take 90 seconds to resolve, not two days.
From a yard tech running 40+ attachments
Before we had a digital form, our attachment dispatch was a clipboard, a phone camera, and a whole lot of "we'll deal with that later." Later was usually a customer arguing about a bent tine we couldn't prove happened on their rental.
Switched to phone-based pre-op cards two years ago. Every dispatch, every return, both parties sign, photos of every wear surface. Damage disputes went from a weekly headache to maybe one a quarter — and now we win the ones we escalate because the timestamp and photo are undisputable.
Frequently asked questions
How do you inspect skid steer attachments?
Skid steer attachments should be inspected in four zones every time an attachment is changed: the quick-attach coupler (pins fully seated, latch springs, no stress fractures, socket debris cleared, visual confirm through cab window), the hydraulic connections (pressure released before connect, couplers wiped clean, hoses seated with audible click, no seepage under fittings), the attachment-specific wear points (cutting edges, teeth, bearings, pins/bushings, grease points), and the safety and structural check (frame welds, visible cracks, labels, machine compatibility). The whole process takes about 3 minutes for 17 items and prevents the two most dangerous failures on a skid steer: a dropped attachment under load and a hydraulic fluid injection injury.
What should be checked on a skid steer auger?
A skid steer auger has five inspection points beyond the shared coupler and hydraulic checks: rock teeth for chips, cracks, or missing bolts; auger bit alignment (straight, not bent from hitting a rock or root ball); drive motor for leaks at the output shaft seal; anti-seize applied to all pin connections; and hex shaft engagement with the drive coupler. Rock teeth are the top failure mode — replace them as a matched set, never one at a time, because uneven tooth heights cause the bit to walk sideways and put lateral load on the motor shaft. If the auger bit is even slightly bent, the drive motor's output shaft seal will fail inside 100 hours from the constant off-axis load.
How often should skid steer attachments be serviced?
Skid steer attachments follow a three-tier schedule. Daily / every attach change: full 17-item pre-op card (coupler, hydraulics, wear, structural). Every 50 hours: grease all pin joints and pivot points, inspect hydraulic hose routing, replace cutting edges if wear indicator is near. Every 500 hours: replace hydraulic O-rings whether they leak yet or not, torque check every tooth or bolt on rotating attachments (mulchers especially), inspect pin/bushing play and replace in pairs when detected. Attachments used in rental fleets get the daily card twice — once at dispatch and once at return — because damage sustained during rental needs to be documented before the customer drives away.
What causes hydraulic attachment failure on skid steers?
The three dominant causes of hydraulic attachment failure are contamination at the couplers (grit gets past the O-ring when a dirty coupler is connected, and the pump starts ingesting particles), trapped pressure at disconnect (either damages the coupler internally or throws hydraulic fluid at the technician), and O-ring or seal fatigue (rubber compounds break down at around 500 hours of duty cycle regardless of visible leakage). Prevention is procedural, not mechanical: wipe couplers every time, release aux pressure at the machine before disconnect, and replace O-rings on a fixed 500-hour schedule instead of waiting for leaks. Hydraulic hammers accelerate coupler wear by an order of magnitude — hammer users should inspect couplers every 100 hours, not every 500.
How do you inspect a quick attach coupler?
A quick-attach coupler inspection has five checks and takes 30 seconds. First, clear all debris from the coupler socket — even a small stone can prevent full pin engagement. Second, verify both locking pins fully drive through the attachment plate on both sides (visible from outside the cab, and confirmable through the cab's rear window after locking). Third, test latch spring return by pressing each pin's release lever with a thumb — it should snap back cleanly. Fourth, look for hairline stress fractures at the corners of the mount plate, especially around the weld seams, which fatigue after roughly 2,000 attach cycles. Fifth, after locking, lift the attachment 6 inches, tilt the coupler forward and back, and watch the pins — any shift means unlock and reseat. Skipping any one of these steps is how the most dangerous failure mode on a skid steer — a dropped attachment under load — actually happens.
Related HVI guides
Turn the paper card into a mobile flow
HVI's mobile inspection flow ships with pre-built cards for every attachment class on this page. Operators walk through, tap boxes, snap photos, sign, and move on. Defects fire work orders. Photos land in the equipment history. Disputes take 90 seconds to resolve. Live in under two weeks.
Mobile-first · Offline-capable · Multi-attachment