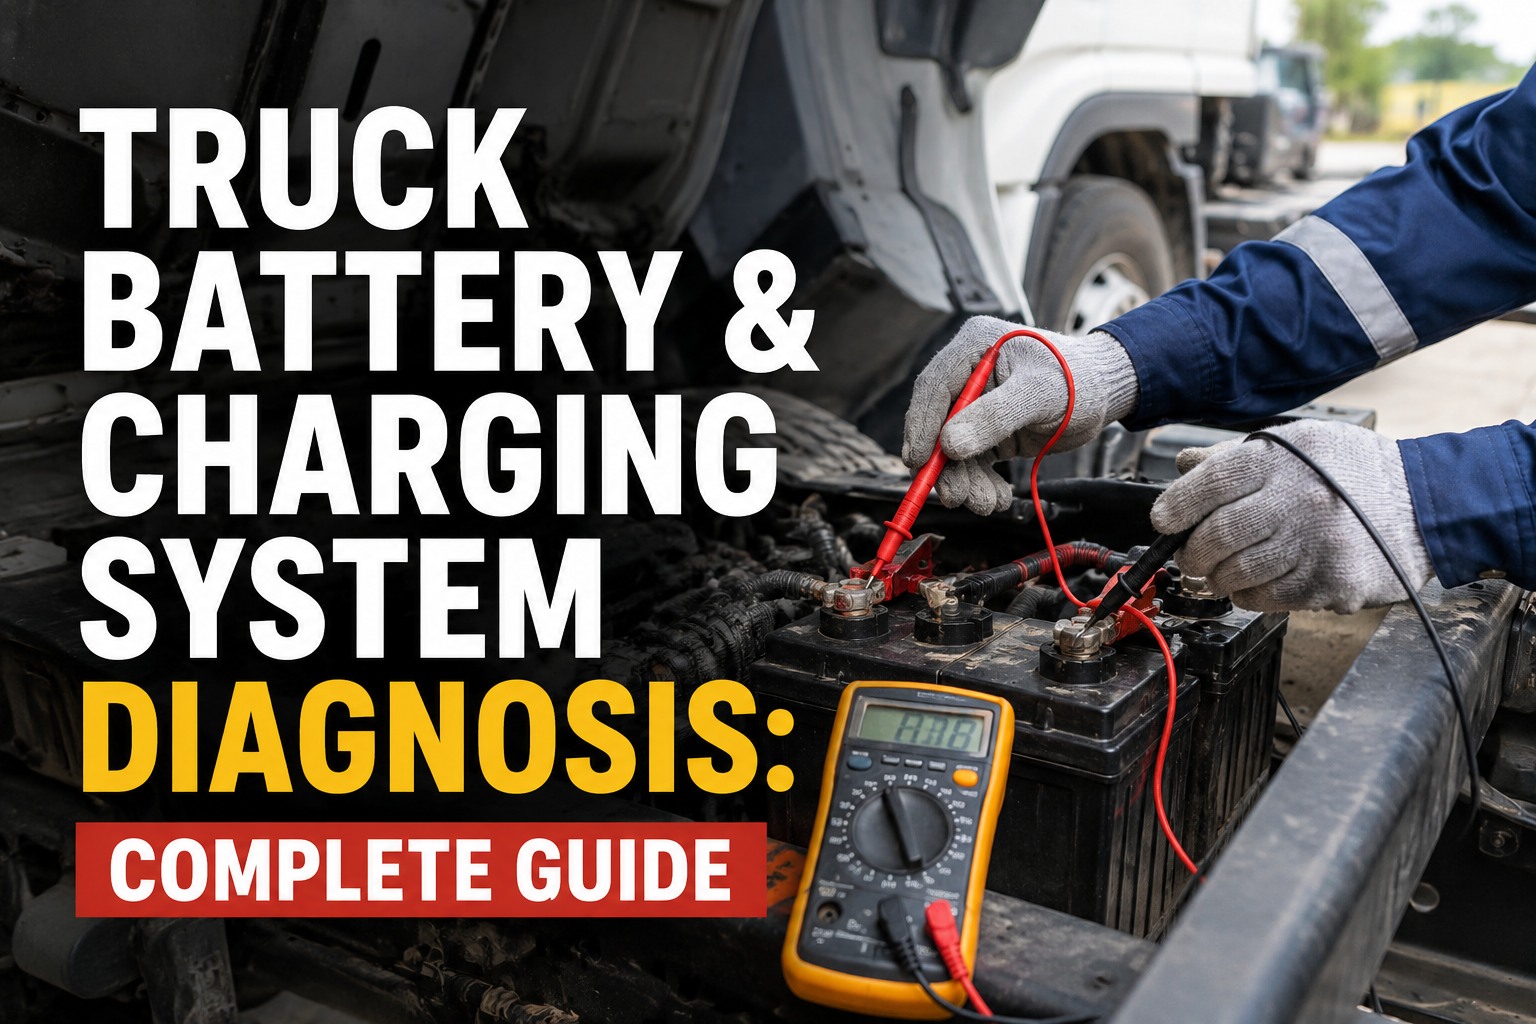
Truck battery problems trigger more mis-replaced parts than any other electrical diagnosis on commercial trucks. A dead battery gets replaced; two months later it dies again; the alternator gets replaced; a third battery fails; someone finally finds the sleeper inverter drawing 800 mA overnight. The problem was never any single component — it was skipping the sequential test flow. This guide walks the 5 measurements that isolate the actual fault — book a demo to track truck electrical faults in HVI.
Truck Battery & Charging — What the Numbers Actually Mean
Low voltage does not automatically prove alternator failure. Each measurement isolates a different part of the system. Read them in order — and the actual root cause is one number away.
Run these 5 measurements in order on every truck battery complaint. The reading that fails is the fault worth chasing — and there is almost always only one.
The rest of this page walks how each of the 5 measurements gets taken, what the failure mode looks like on a commercial truck (multiple batteries, long cable runs, sleeper loads), and the corrective actions that actually close the fault. Book a 30-minute demo to see per-asset electrical inspection templates in HVI.
Batteries in a bank — why individual testing matters
A Class 8 truck typically carries a 4-battery bank wired parallel for 12V systems, or series-parallel for 24V starting. The batteries share load during cranking and share charge from the alternator, but they do not age or fail uniformly. One weak battery in a 4-battery bank drags down the entire bank's performance — and testing the bank in aggregate gives an average reading that can hide a single failed unit.
| Test | Method | Interpretation |
|---|---|---|
| Rested voltage per battery | Disconnect bank, test each battery individually after 30 min rest | All within 0.1V of each other; outlier >0.2V below = suspect |
| Conductance test per battery | Midtronics-style tester on each battery, CCA reading | Result should be >75% of rated CCA; below = replace |
| Load test per battery | 50% of CCA rating for 15 sec, watch voltage | Voltage should not drop below 9.6V during load |
| Visual inspection | Case, terminals, hold-down, vent caps, electrolyte level | Bulging case, terminal corrosion, loose hold-down = flag |
| Temperature check | IR thermometer on case & terminals during operation | Warm terminals under crank = high resistance; hot case = internal short |
| Replacement strategy | Per manufacturer guidance | Many OEMs specify replace all in bank together if any >1 year old |
The single most common mistake in commercial truck battery service is replacing one dead battery in a bank of four while leaving the other three in place. The old batteries drag down the new one, the new one fails prematurely, and the fleet ends up replacing batteries every 8-12 months on a truck that should have gone 3-4 years on a full bank replacement. Individual testing before replacement identifies whether the bank truly needs one battery replaced or a full set, and following the manufacturer's replacement guidance almost always saves money in the medium term. Book a demo to see per-truck battery bank testing recorded and trended in HVI.
Voltage drop testing — the measurement that catches what a multimeter reading hides
A resting voltage of 12.6V and a charging voltage of 14.2V both look healthy on a multimeter. Yet the same truck can be underperforming because 0.6V is being lost across a corroded positive cable connection under load. Voltage drop testing catches exactly this kind of resistance in cables, connections, and grounds — and it's the single highest-value electrical test a technician can run on a commercial truck.
Setup
DVOM on 2V DC range. Engine running at 1500-2000 RPM. Apply full electrical load (headlights, HVAC blower, wipers, cab fans). Battery fully charged before starting the test.
Positive circuit
DVOM probe on alternator B+ post, other probe on battery positive post. Reading is the voltage drop across the entire positive cable and connection path. Target <0.2V; investigate above 0.3V; failing above 0.5V.
Negative circuit
DVOM probe on alternator case (clean spot), other probe on battery negative post. Same target thresholds. Ground path faults are more common than positive on trucks because chassis ground connections corrode faster.
Isolate the connection
If total drop is high, "walk the cable" — test drop across each connection point (post to clamp, clamp to cable, cable to junction). The highest single drop is the fault. Typical culprits: terminal corrosion, loose bolts, damaged cable strands.
The corrective action for a failed voltage drop test is almost always: clean the connection, replace the terminal or cable if damaged, retest to confirm <0.2V per side. Full cable replacement is rare — connection cleaning solves 80%+ of drop faults. And the truck that was cranking slowly, showing intermittent charging warnings, or draining batteries overnight often stops doing all of those the moment a single 0.4V drop is fixed. Book a demo to see voltage drop measurements captured per truck in HVI.
Parasitic draw — where commercial trucks differ from passenger vehicles
Parasitic draw is where commercial truck electrical diagnosis differs most from passenger-vehicle diagnosis. A passenger car with all modules asleep typically draws 30-50 mA and anything above 75 mA is a fault. A Class 8 truck with a sleeper cab, telematics, refrigeration control, ELD, dash cam, and driver-installed accessories can legitimately draw 100-200 mA at rest — and the diagnostic challenge is separating "high but normal" from "high because a specific load is stuck on."
| Draw source | Typical draw | When it's a problem |
|---|---|---|
| ECM & body modules | 20-40 mA (multiple modules aggregate) | Should sleep 20-30 min after key-off; not sleeping = suspect module |
| Telematics unit | 10-50 mA depending on model & state | Continuous cellular connection can be higher; check manufacturer spec |
| ELD device | 5-20 mA | Rare fault source; check if unit was recently swapped |
| Sleeper HVAC control | 10-30 mA at rest; higher if stuck on | Control module failing on = classic overnight battery kill |
| Refrigeration unit (reefer) | Variable; depends on setpoint & ambient | Reefer standby vs run cycles hide draw patterns |
| Inverter (sleeper cab) | 50-500 mA depending on inverter state | Inverter with poor sleep mode is #1 aftermarket draw source |
| Aftermarket accessories | 10-200 mA | Dash cams, additional lighting, driver-installed gear all suspect |
| Alternator diode fault | 50-500 mA reverse leak | Bad diode in alternator = looks like parasitic draw |
Method for isolating: connect ammeter in series with negative cable, close all doors, wait 30+ minutes for modules to sleep, then note the total draw. If elevated, pull fuses one at a time and watch the ammeter drop. The fuse that produces the largest drop when pulled is the circuit containing the fault. Then trace that circuit to the specific load. Time-consuming but definitive — and always cheaper than the next round of battery replacements. Start a free HVI trial to log per-truck parasitic draw readings with fault source.
A fleet maintenance manager on the 6 trucks that stopped eating batteries
We had 6 Freightliner sleeper tractors in a fleet of 34 that averaged 3 battery replacements per year each. Costing us $2,400-$3,200 per truck annually on batteries alone, plus roadside jump-starts and lost driving time. Standard fix at each replacement was swap the dead battery, sometimes the alternator too. Same trucks kept coming back.
Ran the 5-measurement sequential test on each of the 6 problem trucks. Findings: 4 had sleeper inverter units drawing 350-600 mA overnight (older aftermarket units with no sleep mode). 1 had a ground cable with 0.7V drop under load, corroded junction on chassis. 1 had a genuinely failed cell in a 3-year-old battery. Fixed the actual root causes — replaced the 4 inverters with modern low-standby units, redid the ground junction, replaced the full battery bank on the sixth truck.
Battery replacements on those 6 trucks dropped to zero in the following 14 months. Roughly $16K in avoided replacements plus roadside call savings. The pattern was invisible until we recorded per-truck test measurements and looked for the repeat offenders.
Frequently asked questions
How do I diagnose a truck battery not charging?
Run five sequential measurements in order rather than assuming a specific component is at fault. Rested battery voltage (engine off, all loads off, 30 min settled): healthy 12.6-12.8V, partial 12.2-12.5V, discharged/faulty below 12.2V. Cranking voltage (during start under starter load): healthy above 10.5V, marginal 9.6-10.5V, battery failing or bad connection below 9.6V. Charging voltage (warm engine 1500-2000 RPM, loads on): healthy 13.8-14.7V, under-charging 13.5-13.7V, alternator or regulator fault below 13.5V or above 15V. Cable voltage drop per side under load (positive OR negative cable): cable healthy below 0.2V, marginal 0.2-0.5V, high resistance / bad ground above 0.5V. Parasitic draw (key off, 30 min after doors closed, ammeter in series with negative cable): normal below 75 mA on truck without sleeper loads, high 75-200 mA, investigate immediately above 200 mA. The measurement that fails identifies the fault. A truck with 12.6V rested but 8.9V cranking has a battery or connection problem, not an alternator problem. A truck with 12.6V rested and 13.2V charging has an alternator or regulator problem. A truck with normal voltages but 400 mA parasitic draw has a stuck-on load. Low voltage does not automatically prove alternator failure.
How do I find a parasitic draw on a commercial truck?
Fully charge the battery first, then let the truck sit with key off, doors closed, all accessories off for 30+ minutes to allow control modules to sleep. Connect an ammeter (or DVOM in current mode) in series between the negative battery cable and the negative battery post. Note the reading. A passenger car with all modules asleep typically draws 30-50 mA. A commercial truck with sleeper cab, telematics, ELD, refrigeration control, and dash cams can legitimately draw 100-200 mA at rest. Draw above 200 mA warrants investigation. Draw above 500 mA will kill a healthy battery bank overnight. Isolation method: pull fuses one at a time from the main fuse panel and watch the ammeter reading drop when the fuse serving the faulty circuit is pulled. That circuit is where the fault lies. Trace it to the specific load. Common culprits on commercial trucks: sleeper inverter with poor sleep mode (50-500 mA), sleeper HVAC control module stuck on (10-30 mA), aftermarket accessories (10-200 mA), telematics unit fault (10-50 mA), alternator diode fault (50-500 mA reverse leak, looks like parasitic draw but is actually the alternator). Modern control modules require some continuous current to retain settings, so eliminating all draw is neither possible nor desirable.
Should I replace one battery or all batteries in a truck bank?
Follow the manufacturer's replacement guidance for the specific engine and battery configuration. In general practice, if any battery in the bank is more than 1 year old and one has failed, replacing the whole bank saves money in the medium term. Reason: one weak battery drags down the entire bank's performance because they are wired parallel (or series-parallel for 24V systems) and share load and charge. Replacing only the failed battery leaves the new battery to be dragged down by the remaining older batteries, and it typically fails prematurely — often within 8-12 months rather than the 3-4 years a full new bank would last. Before deciding, test each battery individually: disconnect the bank, allow 30 min rest, then measure rested voltage per battery (all should be within 0.1V of each other), run a conductance test per battery for CCA (should be greater than 75% of rated), and inspect visually for bulging cases, terminal corrosion, or loose hold-downs. If only one battery is genuinely weak and the others are all healthy on all tests, single-battery replacement is defensible. If two or more show any weakness, full bank replacement is almost always cheaper long-term. Records of individual battery ages and test results at each service make this decision defensible rather than guesswork.
What does a voltage drop test tell you about truck charging problems?
A voltage drop test measures the voltage lost across cables, connections, and grounds under load, which no static resting voltage or charging voltage measurement can reveal. A truck can show a healthy 12.6V rested battery and a healthy 14.2V charging voltage while simultaneously losing 0.6V across a corroded positive cable connection during operation — producing intermittent charging warnings, slow cranking, and overnight battery drain that all appear mysterious on standard voltage tests. Method: set DVOM to 2V DC range, run engine at 1500-2000 RPM with full electrical load applied (headlights, HVAC blower, wipers, cab fans), place one probe on the alternator B+ output post and the other on the battery positive post — the reading is the voltage drop across the entire positive cable and connection path. Repeat with alternator case and battery negative for the ground/negative circuit. Interpretation: below 0.2V per side is healthy, 0.2-0.5V is marginal requiring investigation, above 0.5V is a definite fault. If total drop is high, isolate by testing across each connection point (post-to-clamp, clamp-to-cable, cable-to-junction) — the highest single drop is the specific fault. Corrective action is almost always cleaning the connection or replacing the terminal or cable, then retesting to confirm below 0.2V per side.
Why does cold weather affect truck batteries so much?
Battery chemistry is temperature-sensitive. A fully charged 12V lead-acid battery at 25°C (77°F) delivers 100% of its rated capacity; at 0°C (32°F) it delivers roughly 80%; at -18°C (0°F) it delivers about 50%. At the same time, diesel engine oil thickens dramatically in cold weather, meaning the starter needs significantly more amperage to crank — a truck that easily starts on a marginal battery in summer can fail to start on the same battery in winter. Cold Cranking Amps (CCA) is the industry rating specifically designed to measure how much current a battery can deliver at cold temperatures, and Class 8 trucks typically require 750-1000 CCA per battery in a 3000-4000 CCA total bank to reliably crank in northern winters. Related factors: chemical self-discharge is lower in cold (a positive) but so is the alternator's charge acceptance rate (a negative), meaning short winter trips can leave a battery gradually depleting even while driving. Additional considerations: keep battery temperature between 70-90°F where possible via engine compartment insulation or block heaters, run pre-heat cycles on very cold mornings, verify parasitic draw is at the low end of acceptable range because cold amplifies any drain, and check CCA per battery entering winter to catch weak units before they strand a driver.
Stop replacing batteries. Start finding the actual fault.
HVI captures the 5 diagnostic measurements (rested voltage, cranking voltage, charging voltage, cable drop, parasitic draw) per truck at every electrical inspection, records per-battery test results across the bank, flags recurring failures on specific trucks, and converts confirmed defects into corrective work orders with responsible person and due date. The truck that eats batteries traces back to the specific cable, connection, or module — not to another set of replacement batteries. Live in under two weeks. No hardware. No credit card.
Trusted by fleet workshops running structured electrical diagnostics across USA, Canada, UK & Australia · Ready on day one