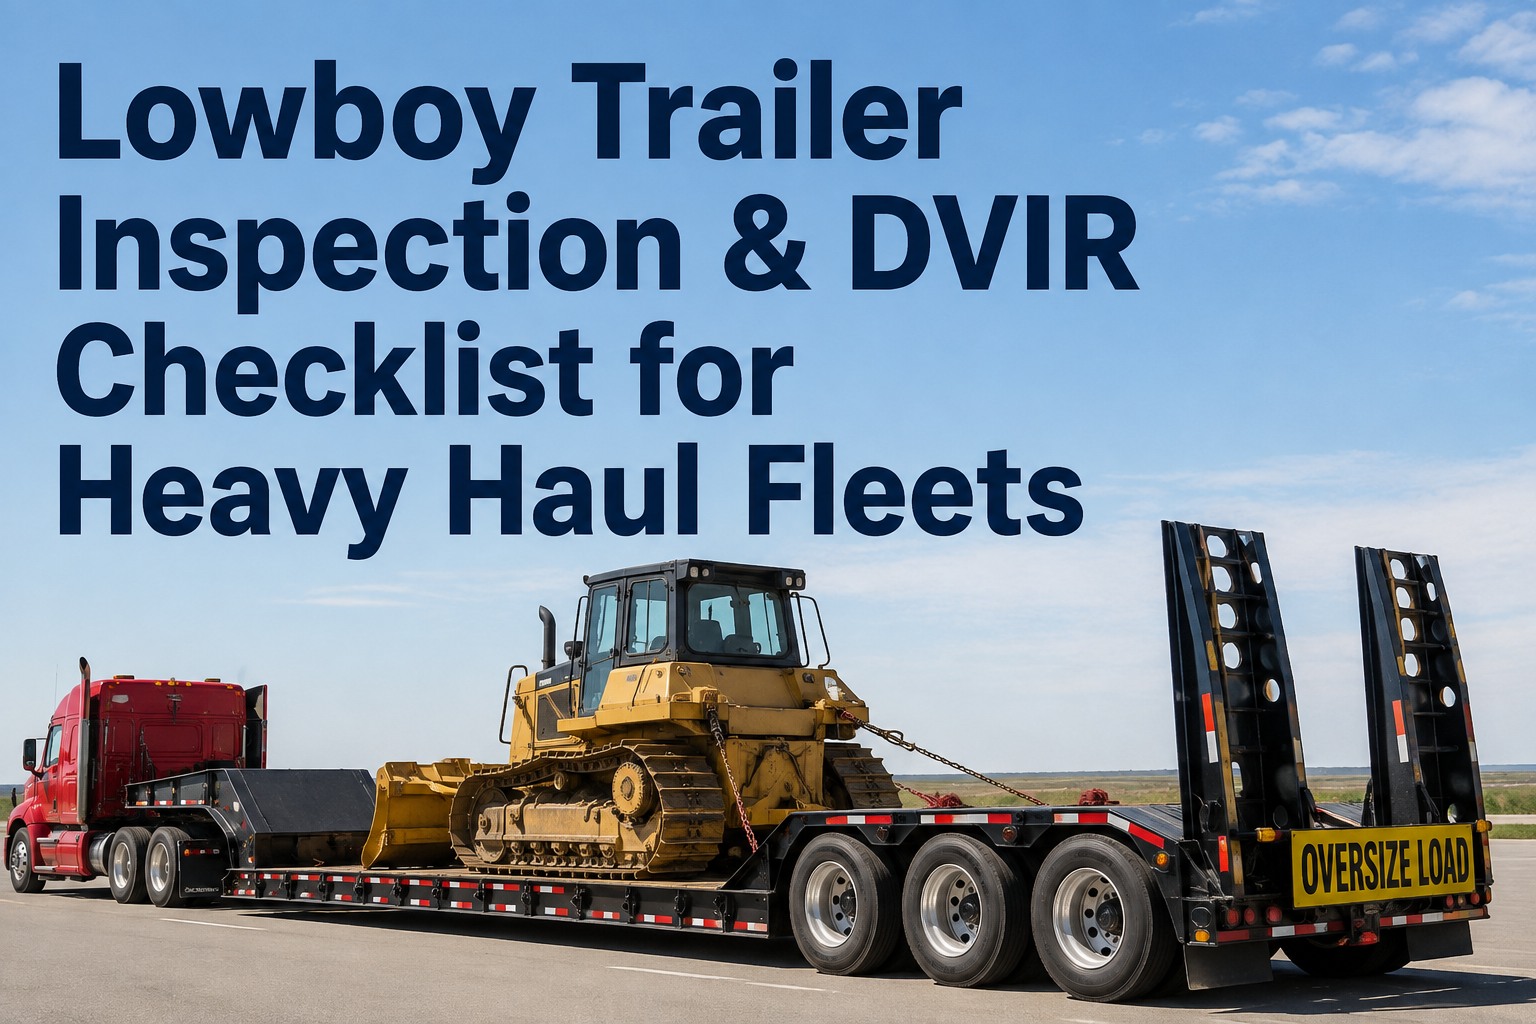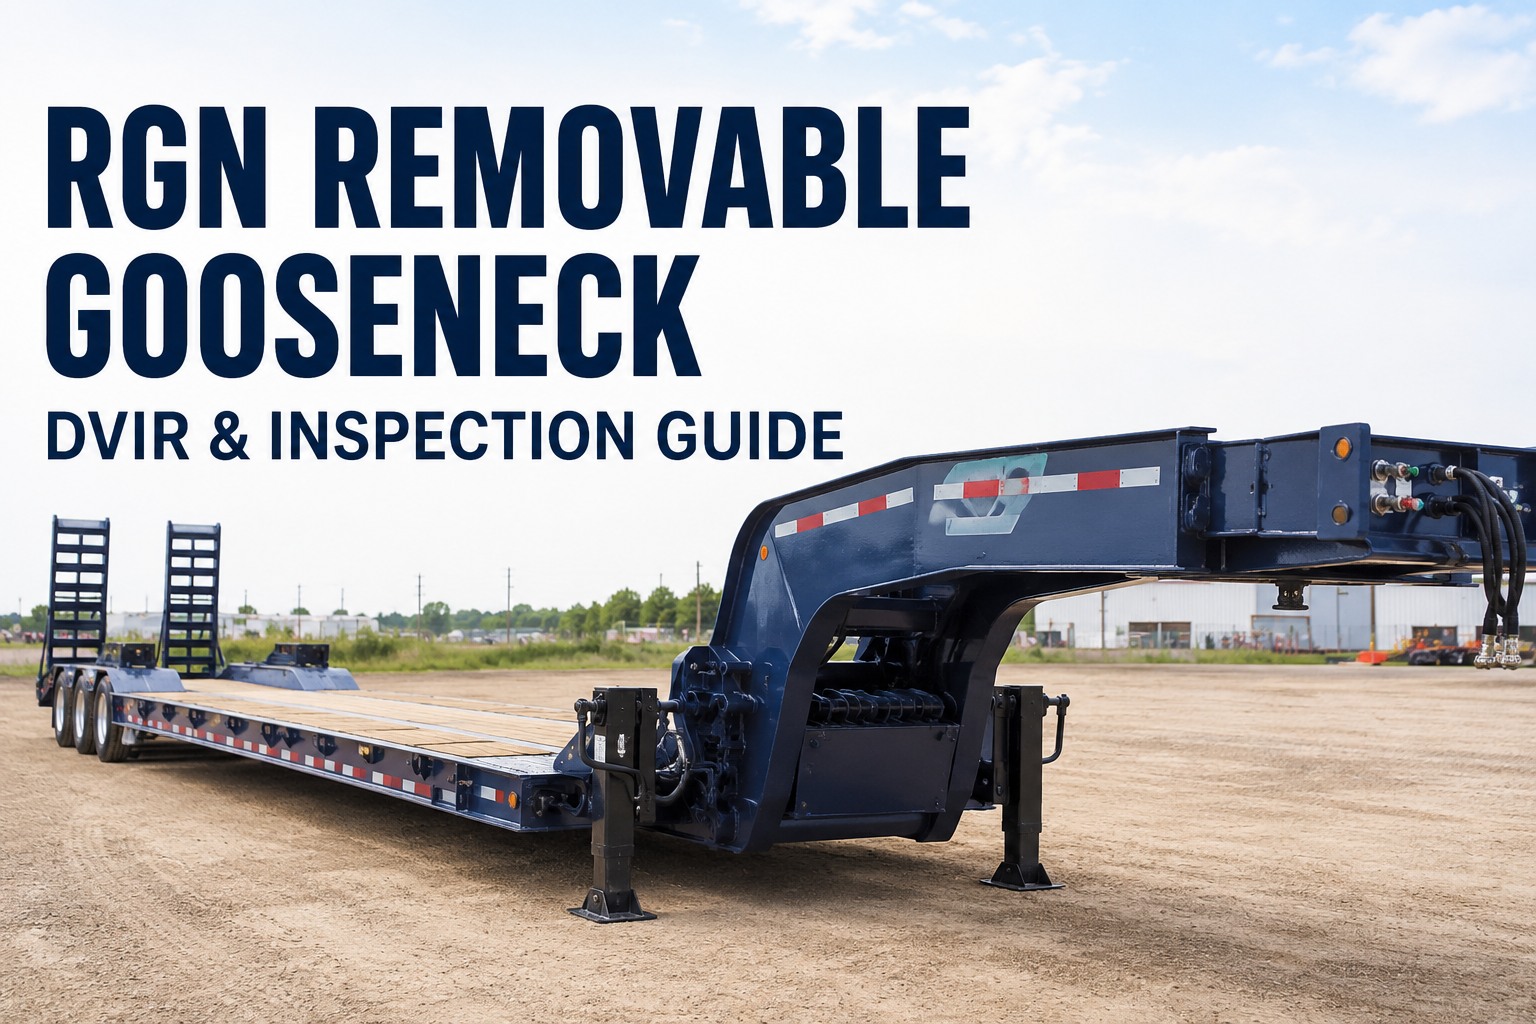
A standard trailer walk-around does not cover an RGN. Removable gooseneck trailers add hydraulic pressure systems, locking pins under enormous shear stress, and load-securement tied to $500K equipment. An RGN removable gooseneck DVIR needs its own inspection sequence — not a modified flatbed template with a couple items bolted on. This guide walks the 7 inspection zones every RGN pre-trip must cover, why gooseneck pin fatigue is the single most dangerous defect, and how to structure defect reporting. Book a demo to see RGN templates live.
Every RGN Inspection Zone in One Diagram
Here's the full RGN trailer with the seven zones every DVIR must cover — walk it front-to-back, same sequence every time.
The seven zones above cover 100% of the safety-critical inspection surface on a hydraulic RGN. Mechanical rollers/ramps RGNs vary slightly in Zone 2 (hydraulic system replaced with mechanical linkage inspection), but Zones 1, 3–7 are identical. What follows walks each zone with the specific items every DVIR must include — and why the pin inspection in Zone 3 is the single most consequential check on the entire trailer.
Zone 1 · Gooseneck body & connectionThe kingpin, fifth-wheel plate, and structural welds
The gooseneck sits on the tractor's fifth wheel and transfers all pulling force to the trailer. Any wear on the kingpin, contact plate, or structural welds around the neck compromises the entire haul. Book a demo to see how RGN-specific templates capture these items
Measure kingpin diameter with a gauge; check for grooves, flat spots, or ovaling. Wear beyond OEM spec is out-of-service condition.
Verify contact surface is greased, free of gouges, rust flaking, or looseness. Contact plate integrity determines load transfer accuracy.
Visual inspection of every weld on the neck body. Cracks propagate under load cycling; any visible crack line is a shop item, not a road item.
With gooseneck attached, verify no lateral play, no rocking. Play in the neck-to-deck coupling is felt as stress on every rough approach.
Zone 2 · Hydraulic system & cylindersPressure integrity, seal condition, hose routing
The hydraulic system on an RGN raises and lowers the deck for detachment. A hydraulic failure mid-detachment can drop the neck onto the ground or, worse, drop a partially loaded deck. Pre-trip pressure and seal checks are non-negotiable.
Rods should be free of scoring, pitting, or corrosion. Damaged rods tear seals and cause pressure loss under load.
Look for chafing at flex points, weeping fittings, or hose sag near hot surfaces. A blown hose at 2,500 PSI is a same-shift shop event.
Fluid level within OEM range, color amber (not milky — milky = water contamination). Log meter reading against last fluid change.
Cycle the neck up and down through full range while checking gauge for pressure drop or hesitation. Weekly at minimum, daily on high-cycle ops.
Zone 3 · Locking pins & wedgesThe single most consequential inspection on the entire trailer
Every RGN driver, foreman, and safety manager should treat locking pins as the highest-priority item on the DVIR. Pins carry enormous shear stress under load and are the failure mode with the worst downstream consequence: gooseneck separation at highway speed, dropping the front of the trailer and cargo onto the road. Pins can develop hairline cracks that are invisible without a straight-edge and light. Book a demo to see pin-status tracking against replacement intervals
Pin fatigue is silent until it isn't
Fleets that only replace pins "when visibly damaged" replace them after failure. OEM replacement intervals exist because fatigue cracks initiate long before they're visible with the naked eye. Replace at scheduled intervals regardless of visual condition, and require a mandatory photo of every pin on every DVIR.
Every primary pin visually inspected + photographed. Look for grooves, wear rings, or bent shaft. Any doubt = pull the pin, measure, replace or clear.
Every primary pin has a secondary retention (cotter, snap ring, or safety pin). Missing secondary = out-of-service.
Wedges should sit flush, no slop when engaged. Any lateral movement on inspection = the neck will move under load.
Every RGN tracks pin service life. If overdue on the manufacturer interval, out-of-service until replaced — visual condition irrelevant.
Zones 4–7 · Deck, axles, brakes, lights, tie-downsThe rest of the walkaround, front to back
The remaining four zones cover the standard heavy-trailer inspection surface, adapted for RGN geometry. These are non-negotiable but simpler than Zones 1–3.
- Deck plate condition — no gouges deeper than 1/4", no missing plates
- Well-area clearance — verify load will clear all bulkheads and coupling points
- Cross-members — no visible cracks, no separation from deck plate
- Ramp condition (if attached) — hinge points, cable attachment, spring assist
- Tire tread depth ≥ 4/32" on all steer-adjacent positions
- Sidewall condition — no cuts, no exposed cord, no bulging
- Brake stroke measurement within FMCSA limits (49 CFR 393.47)
- Air lines — no chafing, no leaks, glad hands seated
- Suspension components — no cracked leaves, no broken U-bolts
- Same tire, brake, and air-line checks as Zone 5
- Wheel end play — grab & rock check on each rear wheel
- Slack adjusters — visual and functional check
- ABS light functional on tractor dash when trailer connected
- All lights functional: brake, turn, marker, ID lights per 49 CFR 393.11
- Reflective tape/conspicuity per 49 CFR 393.13
- Tie-down anchor points — count minimum 4 for 10,000+ lb loads per 49 CFR 393.130
- Chain / strap condition — working load limit stamped and legible
- License plate light + rear registration visible
Zones 4–7 are shared discipline with any heavy trailer — the RGN-specific safety story lives in Zones 1–3. Book a demo to see the full 7-zone template on a real DVIR
Load securement: the 4-tiedown ruleFMCSA 49 CFR 393.130 for heavy equipment
Load securement is not a walk-around item — it's a load-cycle item. But it belongs on every RGN DVIR because the trailer's tie-down points are part of the safety chain. FMCSA rules for heavy equipment on flatbed/lowboy are specific and enforceable roadside. Start a free trial and build a securement checklist into your RGN template.
Any single article of equipment weighing 10,000 lb or more requires a minimum of 4 tiedowns per 49 CFR 393.130.
Combined working load limit of all tiedowns must equal or exceed 50% of the article's weight.
Anchoring devices must prevent movement in all directions — front tiedowns resist forward, rear tiedowns resist rearward.
Driver must inspect securement within the first 50 miles after starting a trip and adjust as necessary.
From a heavy haul ops manager running 22 RGN trailers
Our worst near-miss in 15 years was a locking pin that visually looked fine on a Monday morning walkaround. Turned out it had a hairline crack we couldn't see. Driver felt the neck shift 40 miles into the run — pulled off just before it fully failed. We got lucky.
After that, we rewrote our RGN DVIR to require photos of every primary pin on every pre-trip, plus mandatory pin-interval tracking against OEM spec. Any pin overdue on the interval is OOS, no exceptions. Feels like overkill on a Tuesday morning until you remember what a $500K excavator sliding off a lowboy at 55 mph looks like.
Frequently asked questions
What makes an RGN inspection different from a standard flatbed inspection?
Three things: the removable gooseneck itself, the hydraulic system that raises and lowers it, and the load-securement expectations that come with hauling equipment worth $200,000–$1M+ per unit. A standard flatbed DVIR covers deck, tires, brakes, lights, and coupling — but an RGN adds the gooseneck body, kingpin condition against a spec gauge, hydraulic cylinder condition, hose and fitting integrity, reservoir fluid checks, primary locking pins with mandatory photo capture, secondary safety pin retention, wedge and locking-surface fit, and pin replacement interval tracking against OEM spec. The pin inspection is the single most consequential difference — a failed pin at highway speed drops the front of the trailer and cargo onto the road, which no standard trailer inspection needs to address. RGN DVIRs typically run 35–45 items vs 22–28 for a standard flatbed.
How often should RGN locking pins be replaced?
Follow the trailer manufacturer's interval — not a visual condition standard. Pin service life varies by manufacturer, load cycle count, and pin material spec, but most OEMs publish a defined replacement interval in service hours or load cycles. The mistake fleets make is treating pin replacement as condition-driven ("replace when visibly damaged") when the physics is actually cycle-driven. Fatigue cracks initiate on the interior of the pin long before they become visible on the surface. A pin that looks perfect on Monday morning can fail on Wednesday afternoon if it has accumulated enough load cycles past its rated life. Track pin service history against OEM interval in your CMMS, flag OOS any RGN with overdue pins regardless of visual condition, and require a photo of every primary pin on every DVIR to build the audit trail. This is the single most important operational discipline for RGN fleets.
Do FMCSA rules require a specific RGN inspection template?
No — FMCSA does not mandate a specific DVIR form for any trailer type, including RGN. What FMCSA requires under 49 CFR 396.11 is that the required 11 component categories are inspected: service brakes, parking brake, steering, lighting devices, tires, horn, windshield wipers, rear-vision mirrors, coupling devices, wheels and rims, and emergency equipment. Fleets are free to design forms that fit their specific vehicle types, and heavy haul operations universally add RGN-specific items on top of the FMCSA baseline — hydraulic system checks, pin inspection, load securement per 49 CFR 393.130. The February 2026 eDVIR Final Rule explicitly authorized electronic DVIRs, meaning RGN inspections can be digital with mandatory photo capture, checksum-validated data entry, and instant defect routing to shop — all fully compliant.
What's the minimum tiedown count for hauling heavy equipment on an RGN?
Under FMCSA 49 CFR 393.130, any single article of equipment weighing 10,000 pounds or more requires a minimum of 4 tiedowns, and the aggregate working load limit (WLL) of all tiedowns combined must equal or exceed 50% of the article's weight. That's the federal floor — not the operational best practice. Most heavy haul carriers add tiedowns beyond the minimum for equipment approaching the trailer's capacity or for loads with high center of gravity. Tiedowns must also be arranged to prevent movement in all directions: front tiedowns resist forward motion under braking, rear tiedowns resist rearward motion, and lateral tiedowns (or angled front/rear pairs) resist side movement. The driver is required to inspect securement within the first 50 miles of the trip and re-tension as needed — loads settle in the first hour of driving and initial tension can drop 15–20%.
Should hydraulic RGN checks happen daily or before every load?
Both, at different depths. The pre-trip DVIR (daily or per-shift) covers hydraulic fluid level, visual hose/fitting condition, and a single cylinder cycle to verify functional operation. A pre-load hydraulic check is deeper: run the full detachment cycle empty first to verify no pressure drop under load motion, verify cylinder rods extend and retract smoothly with no hesitation, and confirm no fluid weeping under working pressure. High-cycle operations (multiple detach/reattach cycles per day) should run a full pressure test weekly and a fluid analysis quarterly. Fluid color is the fastest diagnostic — amber and clear is healthy, milky indicates water contamination (seal failure imminent), and dark or burned smell indicates internal cylinder wear. All three findings are shop items, not road items.
Run RGN inspections built for the way heavy haul actually works
HVI's RGN template covers all 7 zones with mandatory photos on Zone 3 pin inspections, hydraulic pressure numeric fields, pin-interval tracking against OEM spec, tie-down count validation per 49 CFR 393.130, and instant P1 routing on any pin or hydraulic defect. Purpose-built for heavy haul, deployed to driver phones in under 15 minutes.
No credit card · No hardware · RGN template ready on day one